Upgrading to a Jumbo Flyer

My trusty Ashford Traditional has been with me for three years now. It’s a very reliable wheel and spins beautifully, but the orifice size limits the size and type of yarn I can spin. Luckily Ashford make a jumbo flyer which has a larger orifice and can be fitted to their wheels (other spinning wheel manufacturers usually offer similar upgrades too). A family member treated me to a jumbo flyer for Christmas the year before last, but I wanted to use my old flyer to finish a project before I fitted the jumbo.

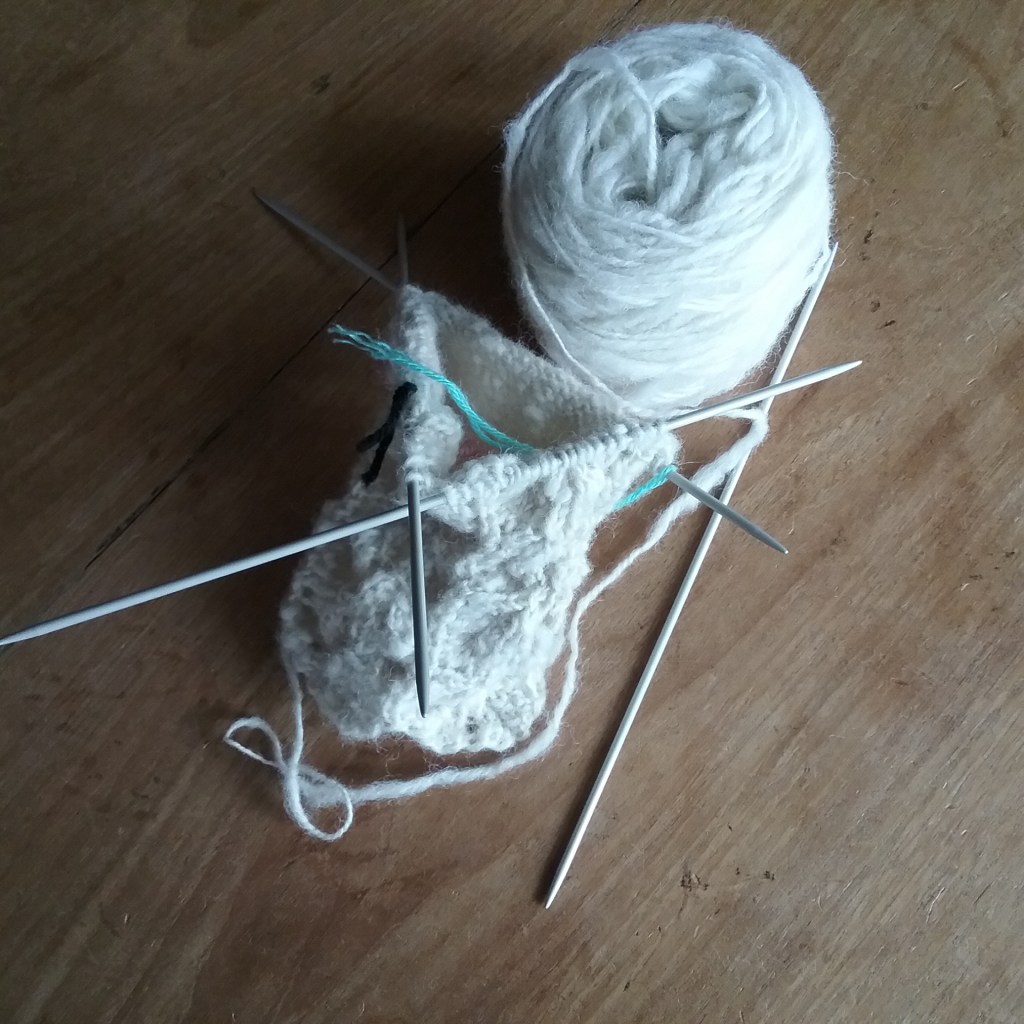
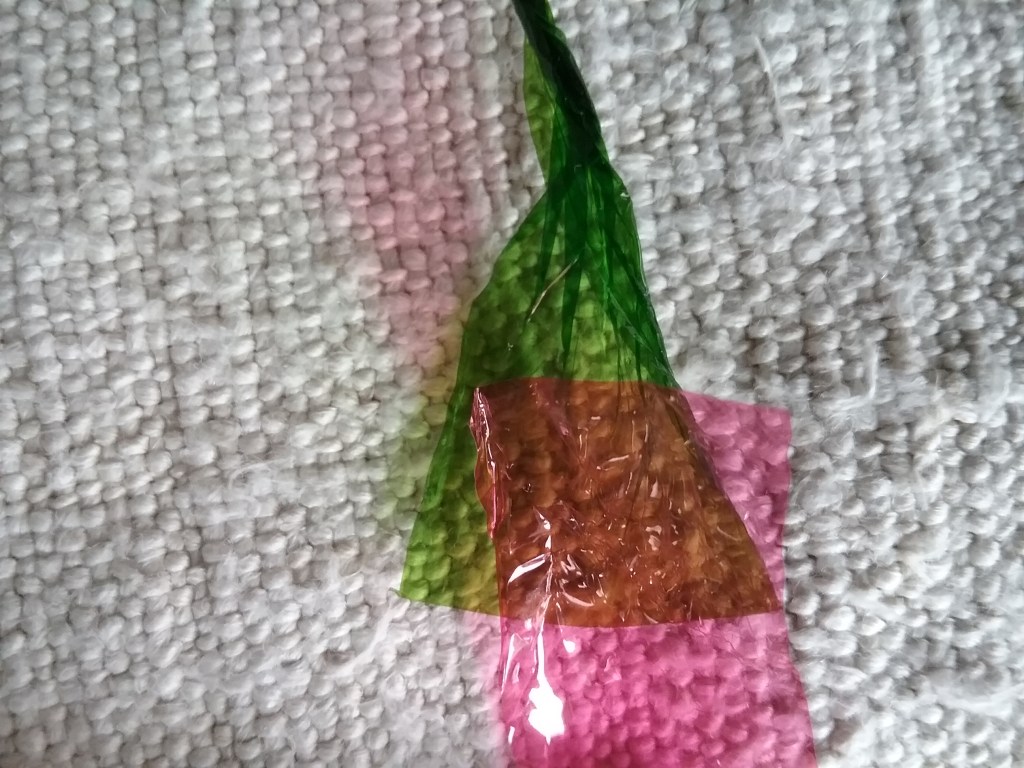
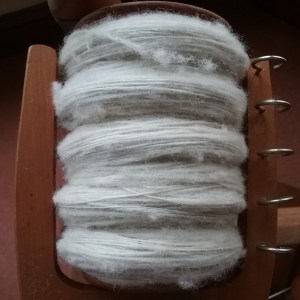
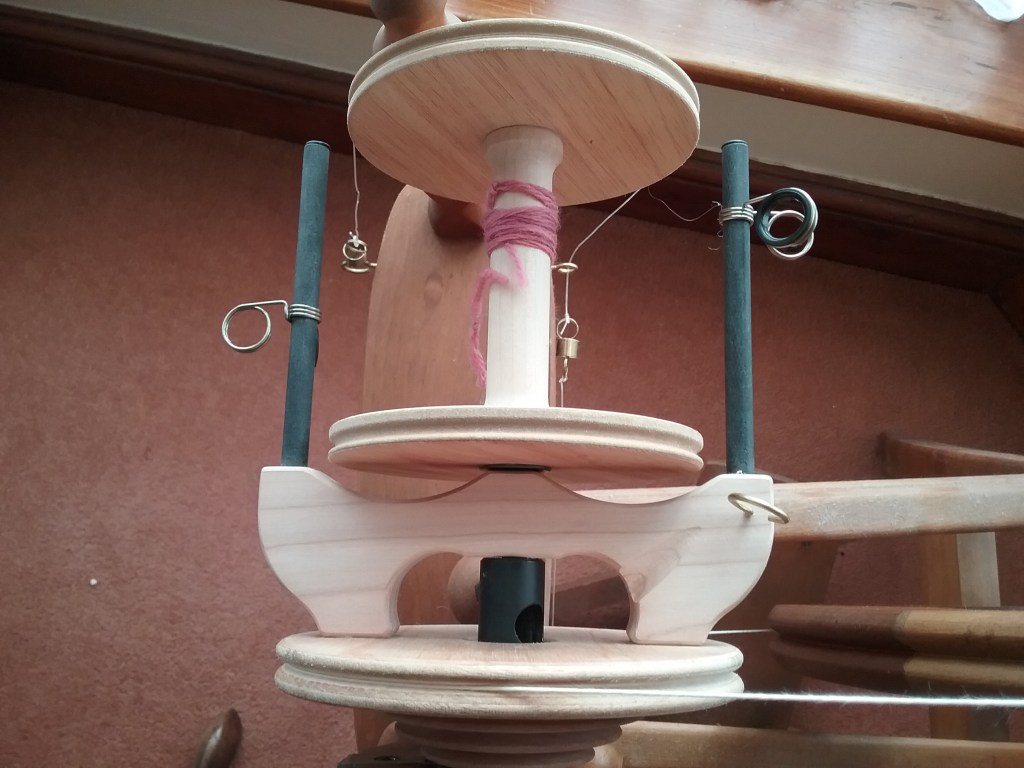
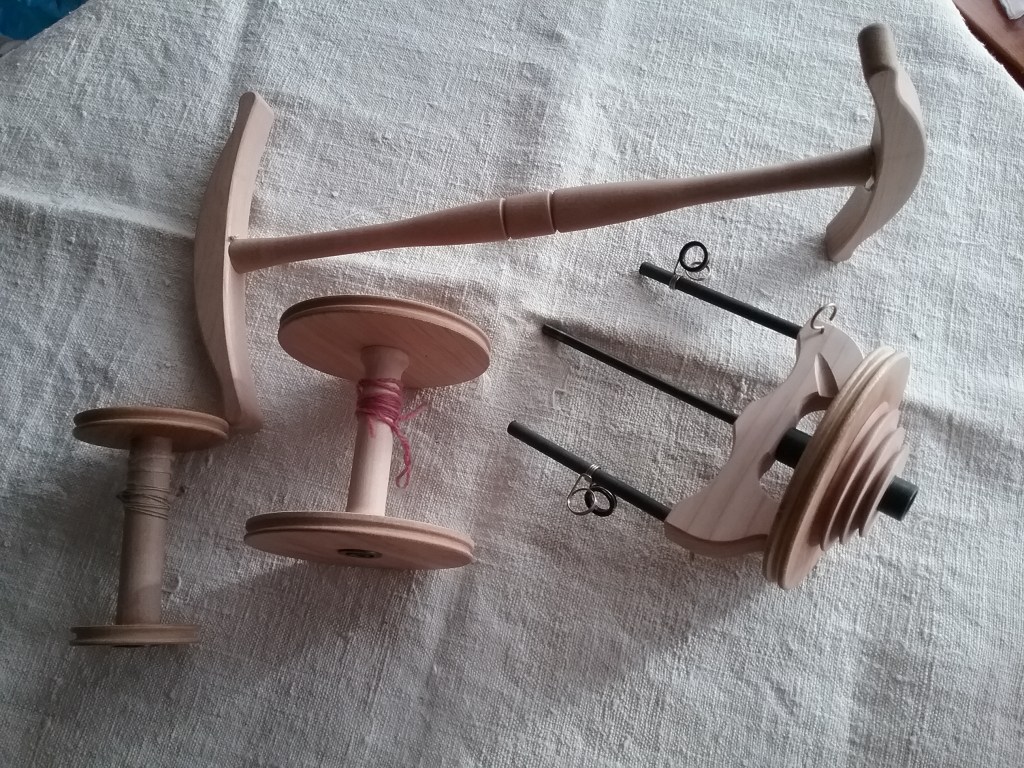
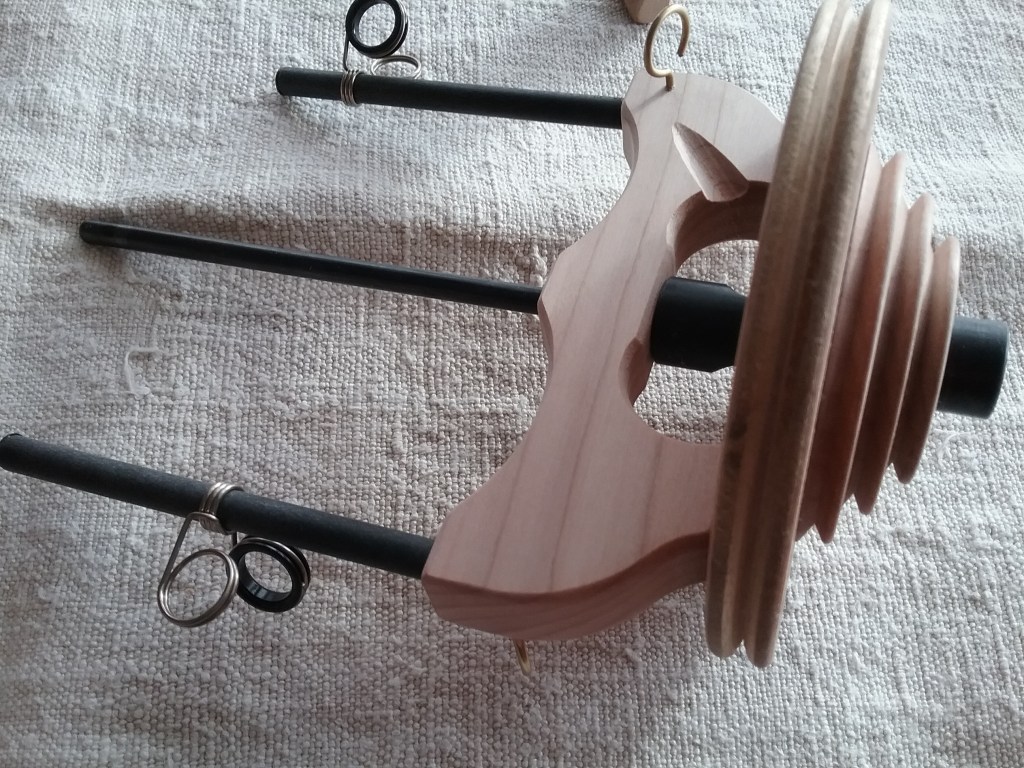
There are two styles of jumbo flyer; the standard which has individual hooks to fill the bobbin and the sliding hook (above). I opted for the sliding hook flyer as I wanted to spin textured art yarns and with the sliding hook there are fewer places for stray wool to get caught on as it winds onto the bobbin. The standard size Ashford bobbins can still be used on a jumbo flyer and it comes with an orifice reducer that you can clip into the orifice when spinning thinner yarns.

Fitting the Flyer

The flyer comes with very easy to follow fitting instructions, but there was the odd thing I did differently. I did also get carried away and fitted the flyer before having added a finish, so the order below is how it should be done, not how I did it!

My flyer was purchased unfinished, so the first job was adding a couple of coats of wax to the wooden parts of the flyer and bobbin. I also took this opportunity to wax my niddy noddy and one of my standard bobbins that were still unfinished. You could use an oil or lacquer finish instead, but I had wax to hand, it doesn’t have a strong smell and is easy to apply. After polishing the wood you can then slide the hooks onto the rods and screw the guide hooks into the pre-positioned holes.

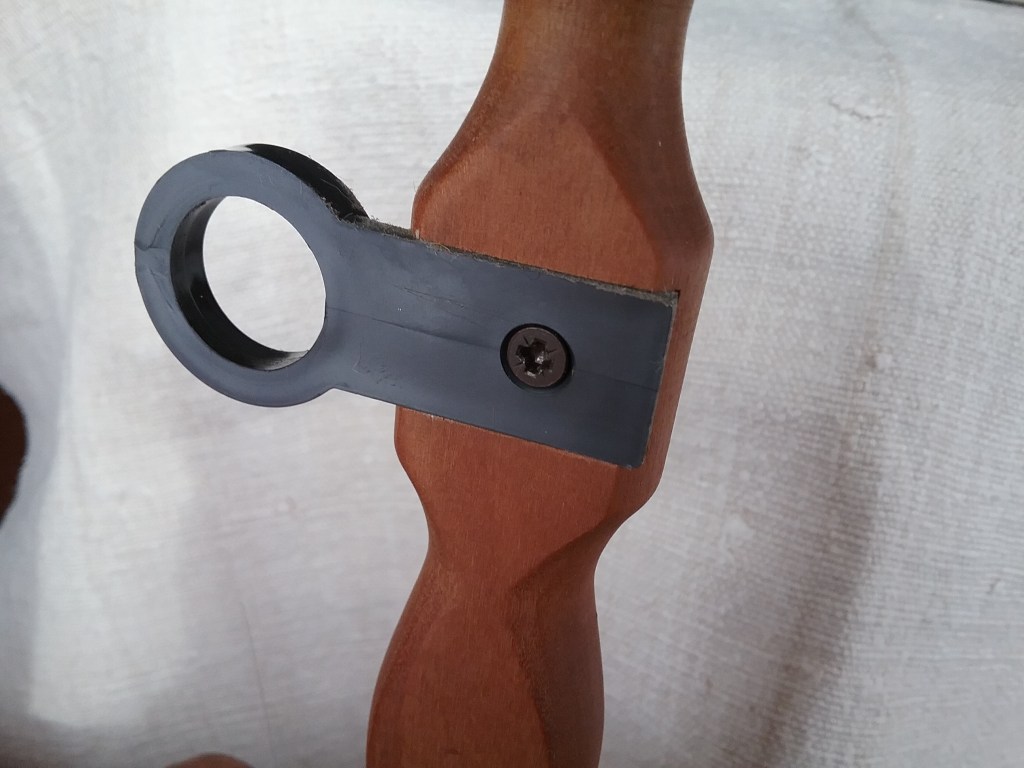
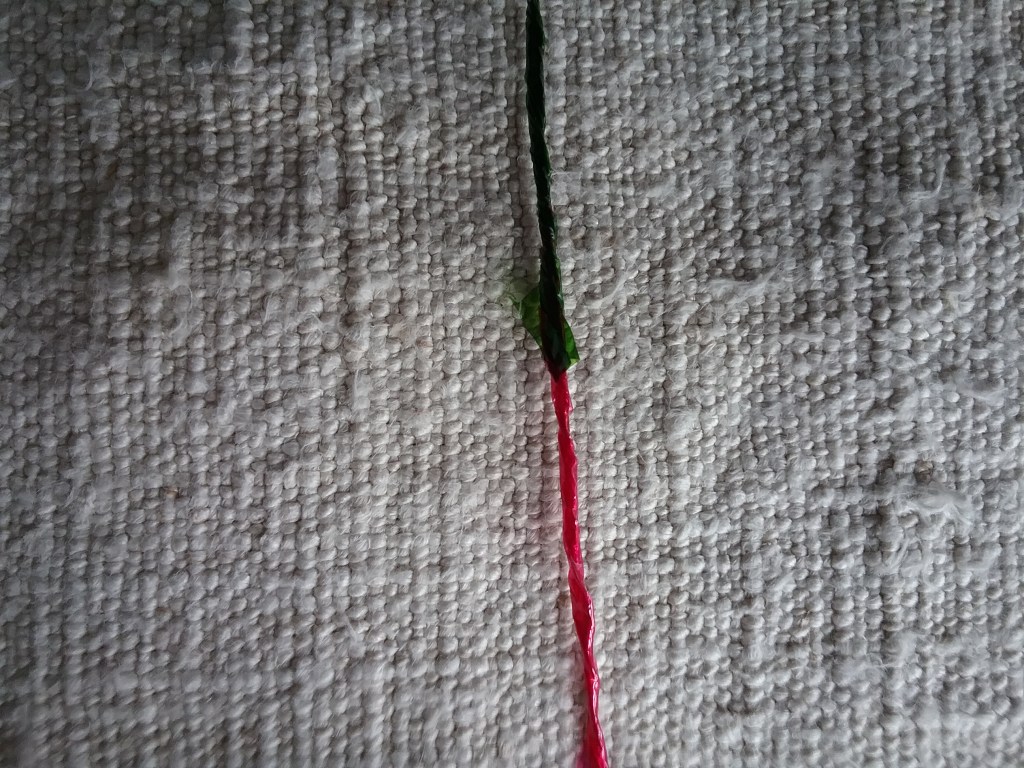
The next job was to replace the flyer bearings. The front bearing is the only one that needs to be replaced, but as my spinning wheel is from the 70’s I had previously replaced my back bearing with the newer style that lets the flyer clip in and out. Something that isn’t mentioned in the instructions is that new bearings can be slightly too large to fit the gap. Ashford send sandpaper in the pack to gently sand down the bearing edges, but it does need to be a tight fit, so gradually sanding and trying the fit is advised. It’s also a good idea to make sure the bearings are fitted in the correct direction with the entirely flat side facing in towards the flyer (see above).

After that the flyer can be slotted into place between the maidens and the new drive band fitted. I used my original break band and loosened it a little. Before using the flyer you then need to oil the usual points and tie on a leader.

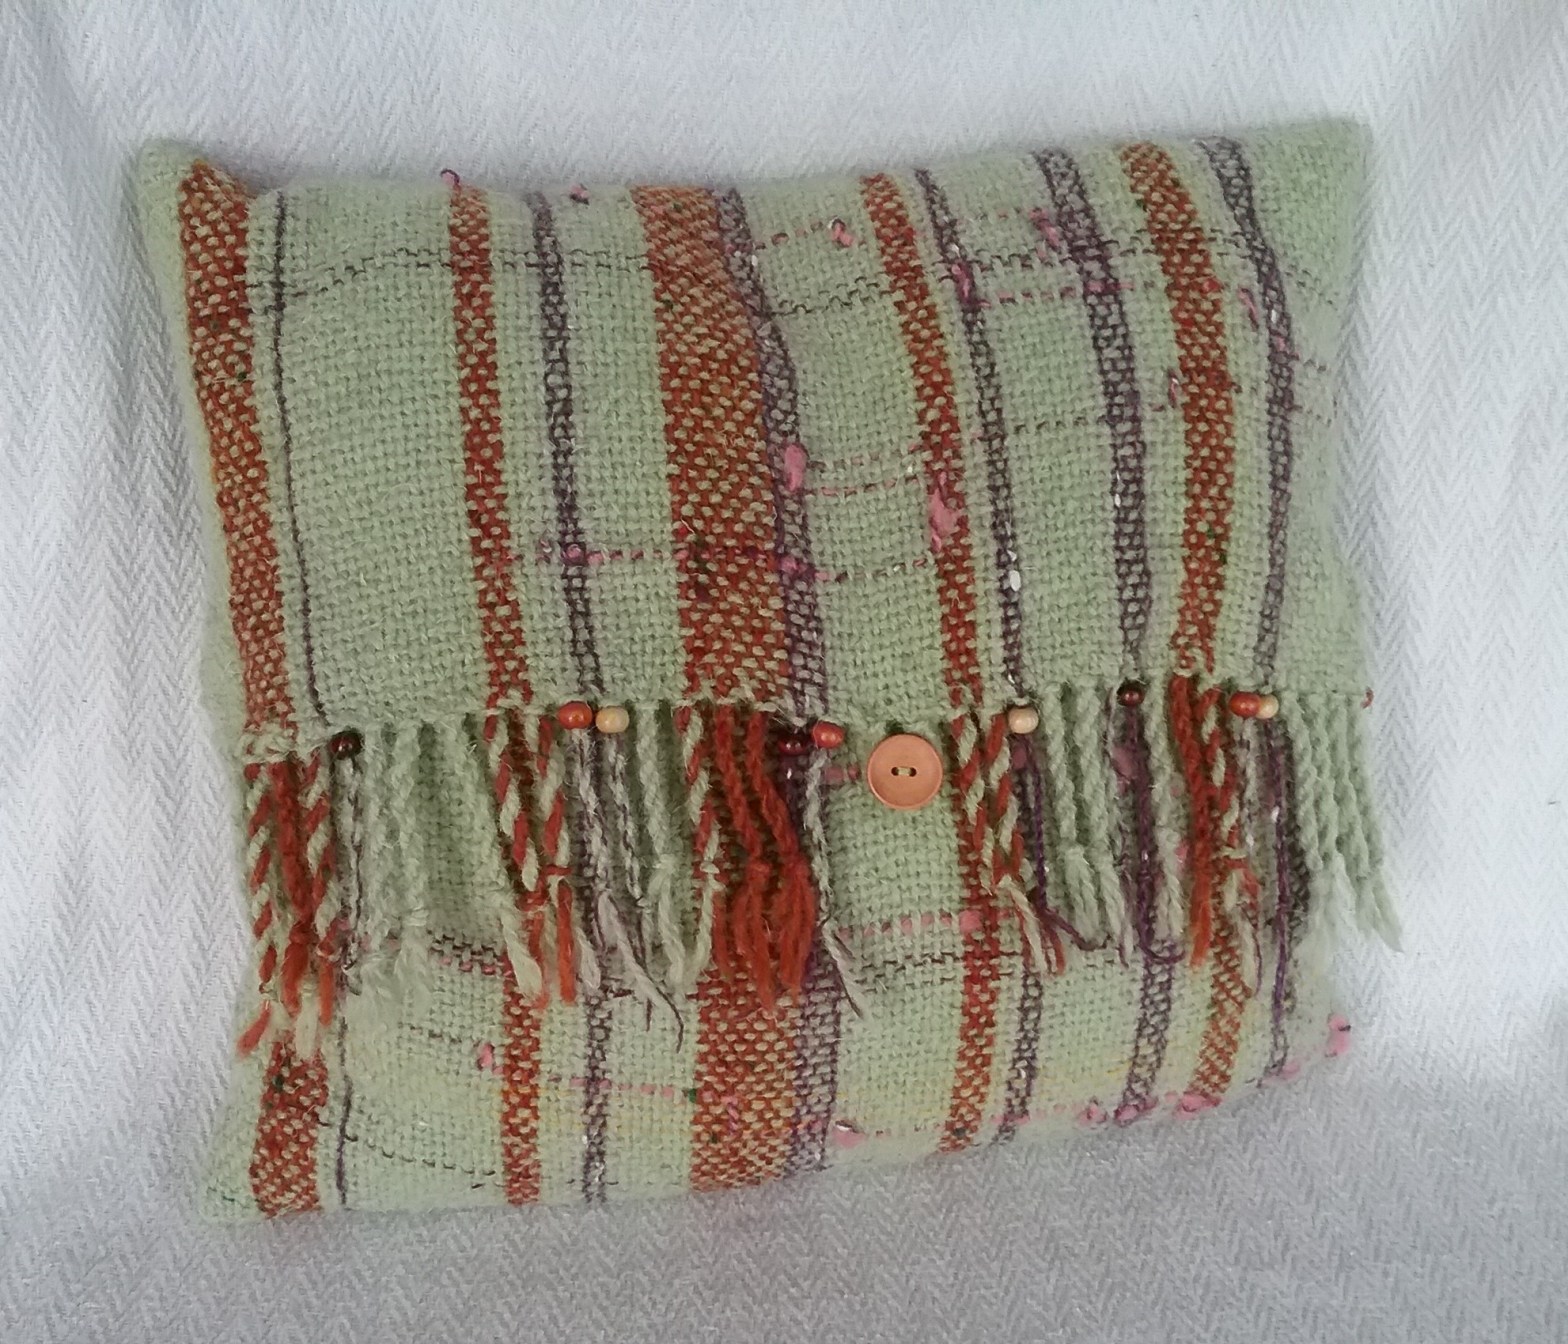
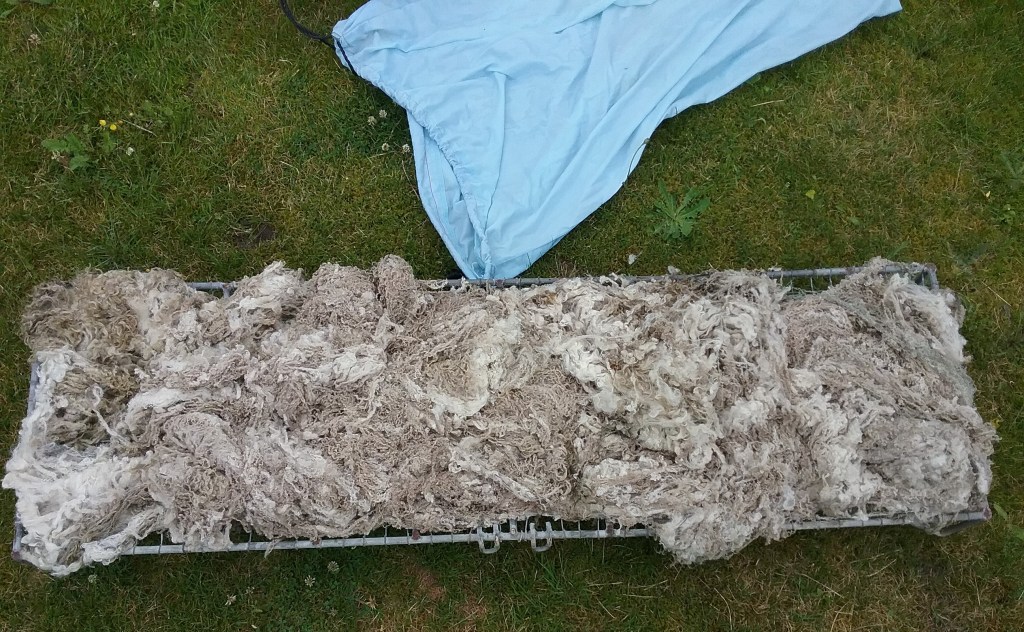
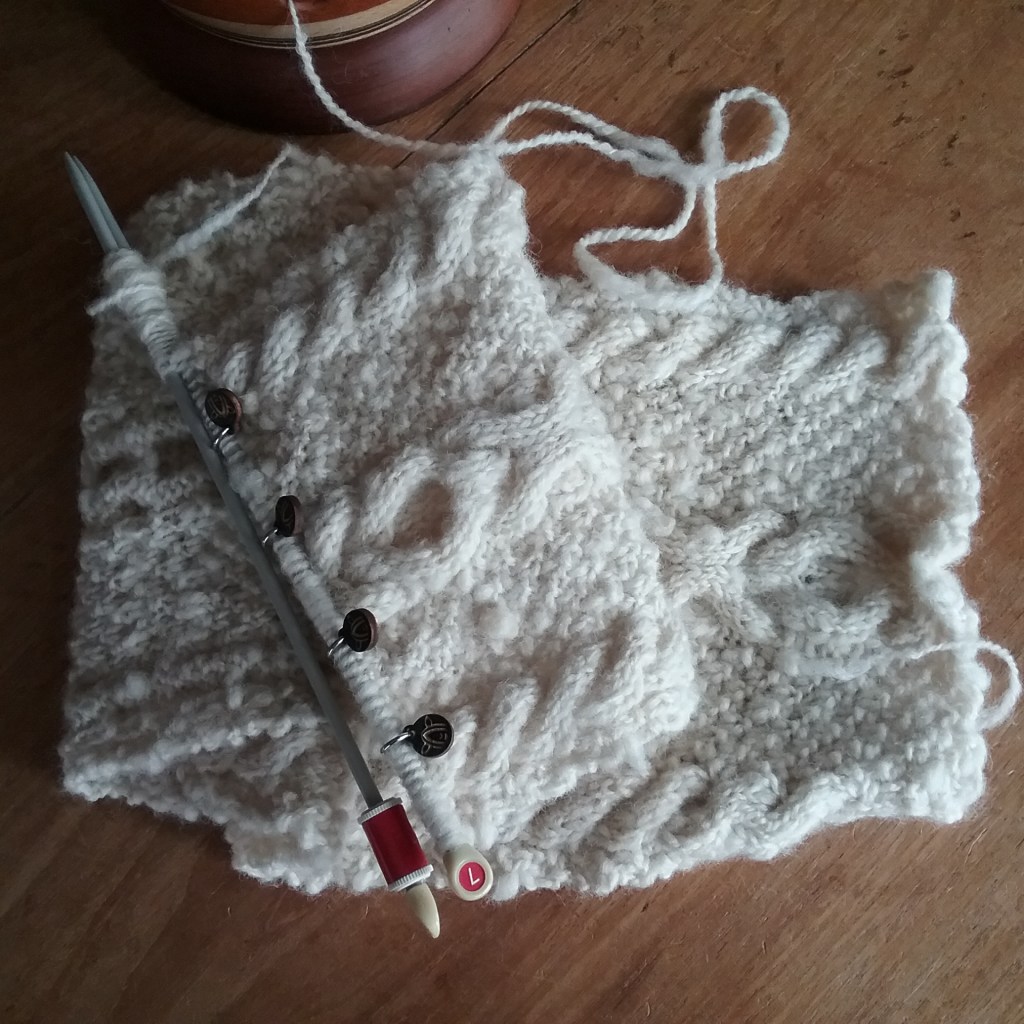
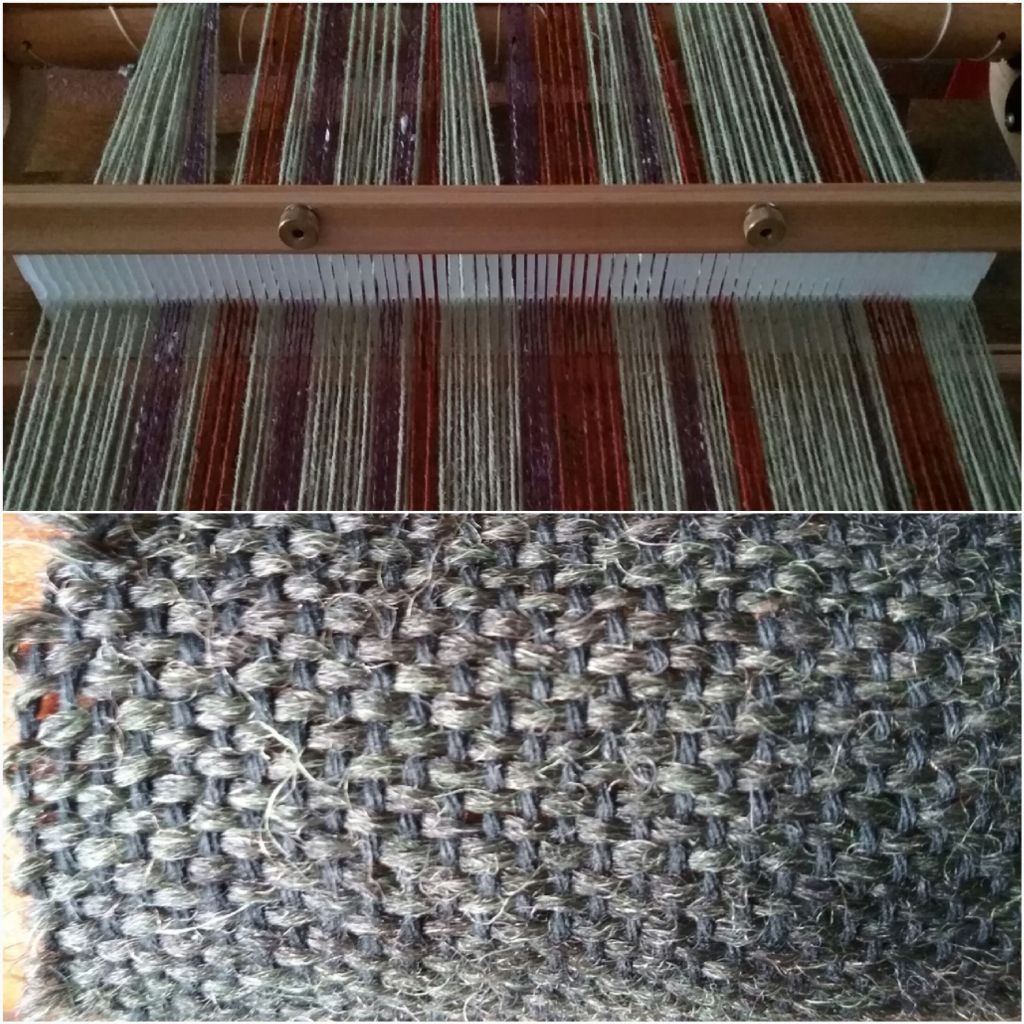
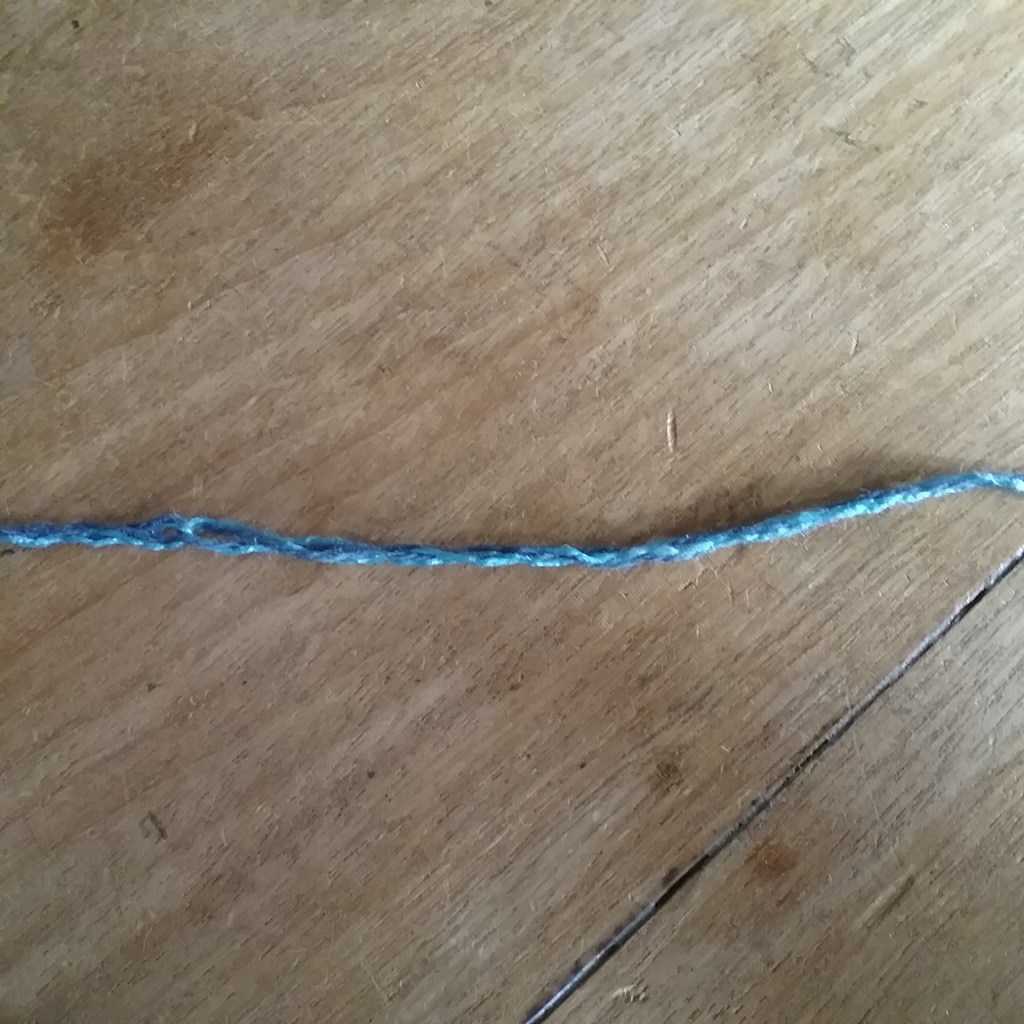
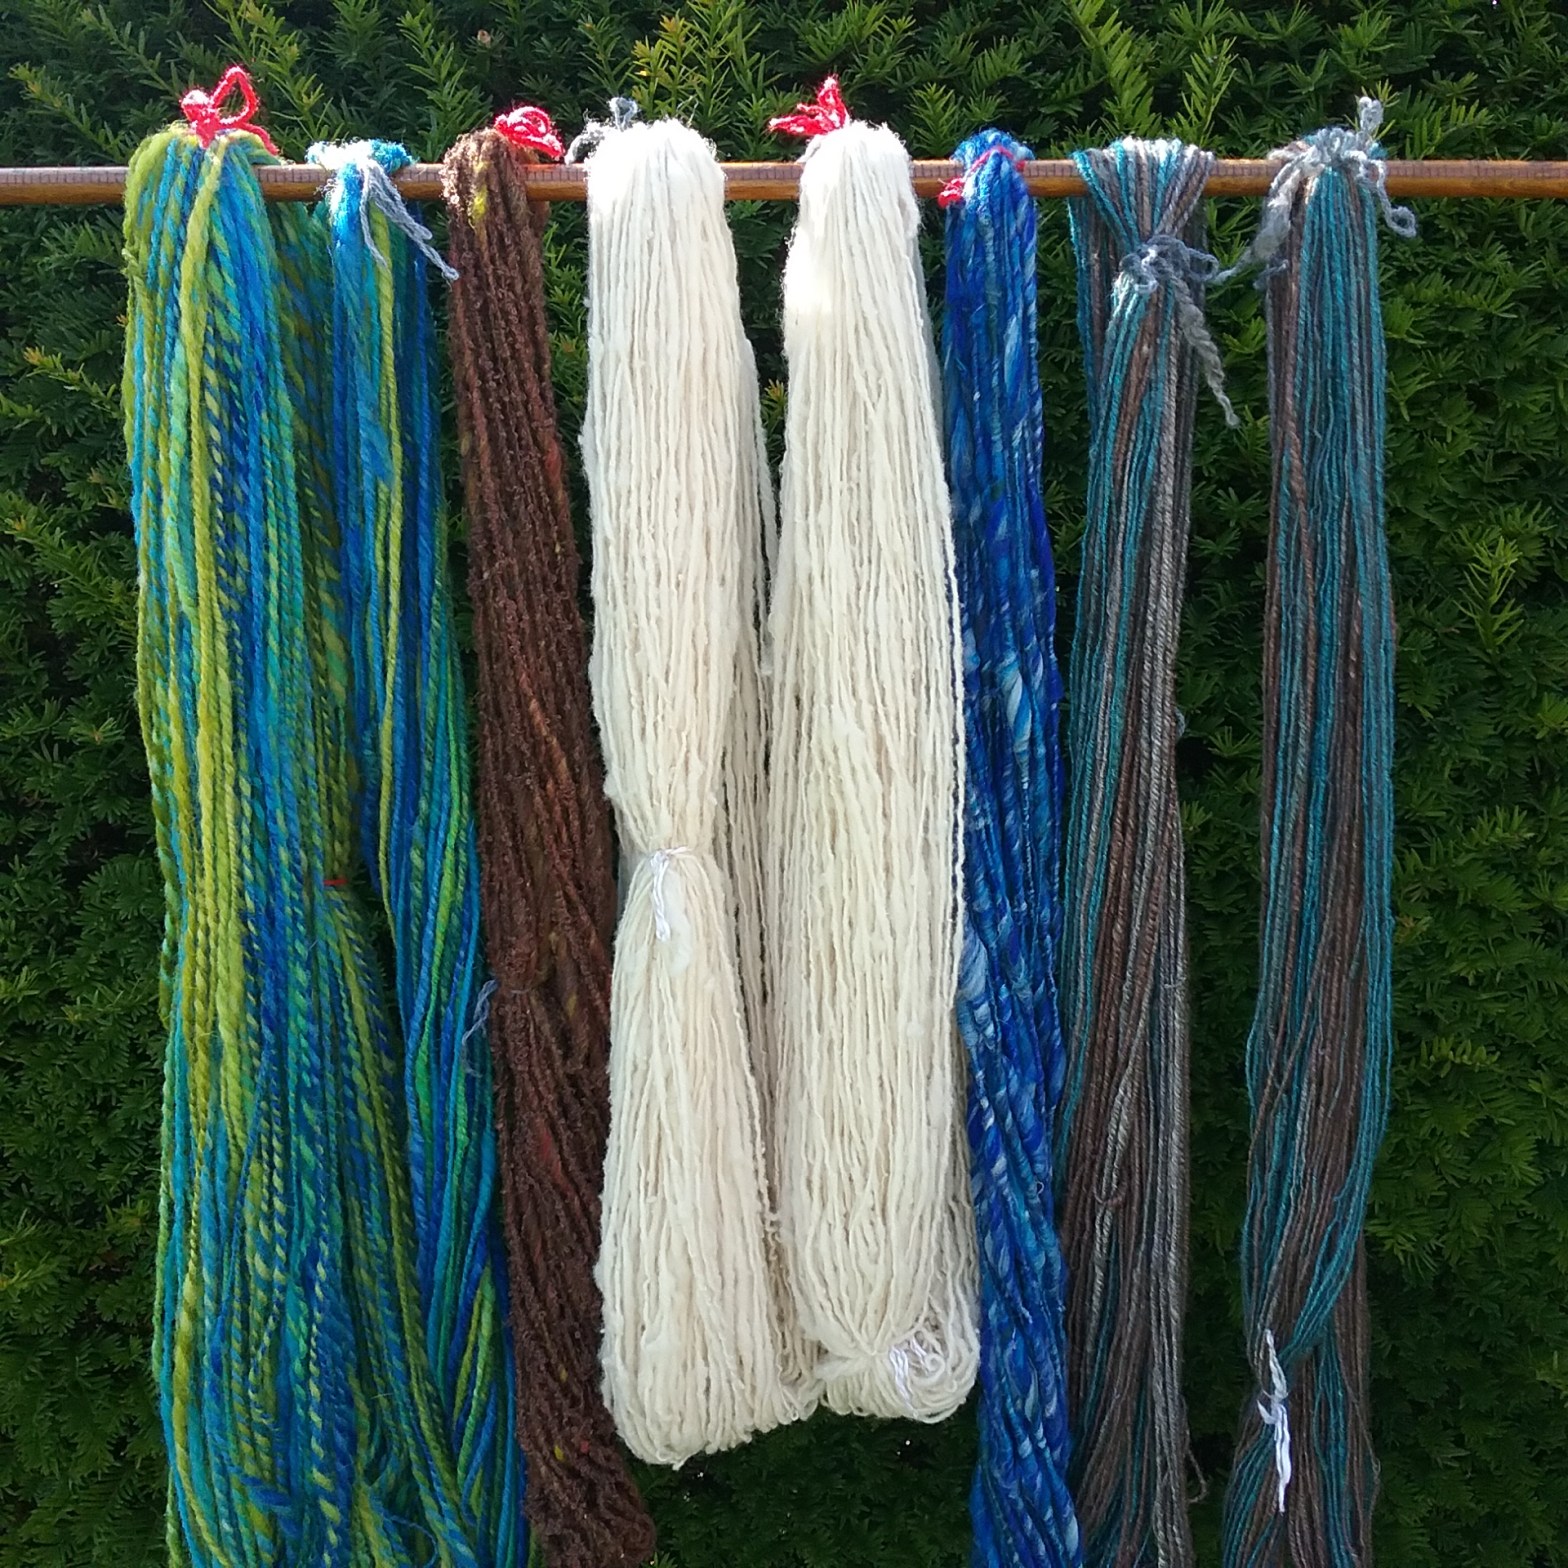
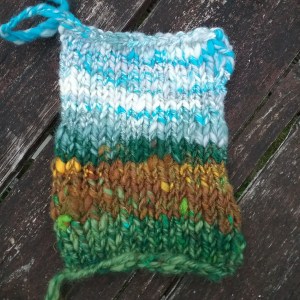
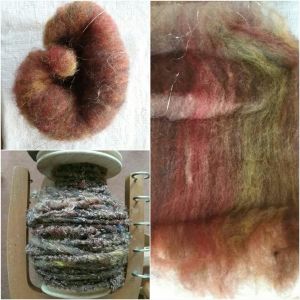
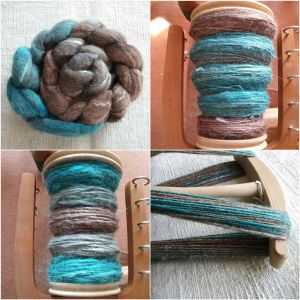
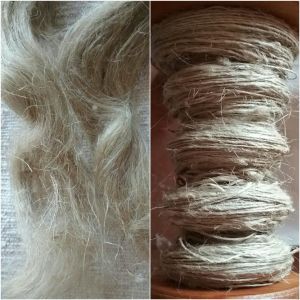
I’ve had a little experiment with the new flyer and am very excited by the possibilities it presents. I like to spin wool in a way that preserves it’s character, rather than making it uniform, so this flyer gives me the freedom to spin thicker, looser, neppy and lockspun yarns and means I can finally work with some of the more textured fleece in my stash.

Happy Spinning!

Woven Lord of The Rings Inspired Hooded Scarf

A final fibre related gift I made last year was this Lord of the Rings inspired hooded scarf. I was trying to think of a way of incorporating the medieval/fantasy style hood into something that could be worn every day and this was the result.

My Saori loom had a narrow thin black cotton warp currently on it that I wanted to use up ready to put another warp on and this was a perfect width for a scarf. I selected a forest green for the weft and a contrasting grey to weave patterns. I had originally intended to weave a pattern of curved lines evocative of elvish patterns, but whilst experimenting realised that my lines had turned into half of a dwarvish rune (seen in the front of The Hobbit book and on Thorin’s map) and I spiralled down a rabbit hole of weaving a message into the cloth. A Saori loom only has two shafts for a plain weave, so a different method might work better on a multi shaft loom.

All the runes had to be woven sideways (as above) so I found a reference sheet was useful here. I also counted in from either side for the centre thread and made a note of this as it was useful for lining up where diagonal lines met. I had 1 boat shuttle threaded with green for the background and 1-2 bobbins threaded with grey depending on the rune. These bobbins were ‘free’ and I rested them atop the weaving as I worked. I began by weaving some plain green for seam allowance later on, before moving onto the runes. Straight lines were created by weaving 2-3 lines of grey thread instead of green. The diagonal lines were created by moving a grey bobbin under one warp thread at a time every other row in the direction required, whilst the green weft continued in a two row repeat i.e.

Row 1: Grey thread under 1 warp thread (right or left), weave 1 row green

Change shed as usual

Row 2: Weave back with 1 row green changing shed as usual

Depending on the letter, more than one grey bobbin may need to be moved at the same time.

Close up of straight and diagonal lines

After I had woven the length I required, I cut the weaving from the loom and knotted it before washing. I tidied up any loose grey ends by weaving them as invisibly as I could into the back of the fabric. I then sewed both ends together creating an ‘infinity scarf’ loop.

Although I had planned on weaving the fabric for the hood as well, I was running short on time, so I opted to use a complementary green wool fabric for this with a velvet lining. I used the hood shape from pattern C of Simplicity 5794, but opted to hand sew the lining into the hood so I could set it back a bit to prevent it from turning to the outside. After assembling the hood and hemming the bottom to prevent fraying I attached it to the top edge of the scarf, making sure both hood and scarf seams were aligned.

This was a very enjoyable project, most of it was experimenting and lots of pinning to get the positions right. The scarf can be worn either wrapped around as an infinity scarf or draping down (and who knew an empty yarn cone would make such as good hood prop!)

Happy Crafting!

Modern Art Inspired Woven Cushion Cover

The next project that I thought I would share is a woven cushion cover I made for a friend. It had to have a modern art feel and pastel colours, which differs from my usual style, but it gave me an opportunity to explore some new techniques.

I first measured the size of the cushion the cover would need to fit. The length of the warp needed to be twice the height of the cushion, some extra for the fold over, plus an allowance for shrinkage (these measurements depend on the size of cushion and the amount of shrinkage in the yarn used). Whilst my Saori loom was engaged in another project and I only needed a small warp, I decided to use my rigid heddle with the weavers choice heddle set up in a random dent configuration. Instead of overcomplicating the mathematics for the warp width, I took the width measurement of the cushion, plus extra for shrinkage/seams and clipped my heddles together until they reached that measurement. I then picked some colours out and warped up my loom using the direct warping method.

Start of weaving

After warping and winding on I began weaving. The cushion is a plain weave using the mint green as the main weft thread to contrast the warp stripes and the pink ‘wandering weft’ hand spun yarn (this was the first yarn I tried spinning on my drop spindle). Ashford have a good tutorial on using art yarn in weaving here. I also added some contrasting weft threads in at random intervals.

When I’d finished weaving I hemstitched both ends (I have a habit of forgetting to hemstitch the start of the weaving and having to do it at the end!) and then cut it off the loom before washing it to allow the threads to properly move into place. To save having to weave in loose ends, I like to use the Saori method and weave them into the fabric as I go.

Although I omitted to take any pictures, sewing was completed on a vintage Singer hand crank machine – I have found that vintage machines sew handwoven fabric very well. The cushion is a simple folded construction. Firstly one of the edge widths is ‘hemmed’ and the excess fringe cut off – this will be the end that sits under the fringed fold. The fabric is then folded around the cushion (you can choose any configuration) and pinned right sides together at the seams. The cushion is then removed and the seams sewn. I find it is easiest to pin and sew the bottom seams first and then pin and sew the seams at the folding top. The cushion then slides into the cover.

I added a twisted fringe with wooden beads (good Youtube video showing twisted fringe here). To close the cushion I encircled two of the twisted fringes around each other and sewed them to create a button loop, before sewing on a button.

Close up of button and fringe

This was quite a quick weave and gave me an excuse to try out new techniques I’d wanted to do for a long time. As always, let me know in the comments below if you’ve attempted something similar.

Happy Weaving!

Harry Potter Knitting: Cornish Pixie & Hedwig

Happy New Year everyone, the end of last year saw me knitting, weaving and sewing Christmas gifts for friends, which I can now share. A friend gifted me the Harry Potter Knitting Magic book by Tanis Gray the year before, so I thought it only fitting to try out some of the patterns this year.

I began with a Cornish pixie. Most patterns in this book are knitted in the round, and since this was something I did not have much experience of, I decided to give it a go. I plied wool from two cones in my stash together on my wheel and then chain plied the resulting yarn to make it slightly thicker. I followed the pattern apart from the wings which I decided to make myself as I didn’t like how they looked in the book.

Cornish Pixie before assembly

I made the wings by printing a wing template from Google and bending some wire to its shape. I then traced the wire wings onto some scraps of cotton muslin and cut them out. Using a sewing machine (vintage hand crank) I stitched the veins onto the muslin and then stitched the muslin to the wire frames. This proved to be difficult on a sewing machine as the presser foot and feed dogs are in the way. After struggling for a while and catching my finger with the needle, I ended up purchasing a feed cover plate add on (Singer part number 32622) that covers the feed dogs so when you remove the presser foot you can freemotion.

Close up of wing detail

After getting on well with the Cornish pixie I decided to have a go at knitting Hedwig. I had some white cotton in my stash so decided to use this. I didn’t have any speckled black for the wings, but as the figure shouldn’t need to be washed, I watered down some black all-purpose acrylic paint to create the speckles. Otherwise, Hedwig was knitted according to the pattern.

Close up of wing detail

I enjoyed the challenge of kitting on DPN’s and was certainly much improved by the time I’d finished. The patterns also gave me an opportunity to learn some new techniques and I now have a much greater appreciation of how fiddly toys are to knit!

Happy Crafting!

🎄Festive Greetings!🎄

As another year draws to a close I would like to wish all my readers and followers a relaxing festive season. This year has been busy and I haven’t managed to put out as many posts as I had hoped; but I did take part in my first Tour de Fleece (which I plan to do again next year) and completed my first Wovember Instagram challenge alongside my Wovember blog posts. Craft time during the latter part of the year has been dedicated to making gifts which I will soon be able to share without spoiling the surprise!

Thank you for all your support in 2021, here’s to another year of crafting & blogging!

Loose Ends

Wovember: Fibre Library Part 3

A continuation of last years Fibre Library parts 1 & 2 with some newly discovered books and magazines.

Disclaimer: I am not affiliated with any of the publishers, authors etc. of any books or magazines mentioned in this post. All books mentioned are my personal copies which have been purchased either new or secondhand. This list is not exhaustive, so if a book isn’t listed here it doesn’t mean it’s bad – I just haven’t discovered it yet.

The Fleece & Fiber Source Book

Author/s: Deborah Robson & Carol Ekarius

ISBN: 9781603427111

This is an up-scaled version of The Field Guide to Fleece and is written by the same authors. It contains further information about each sheep breed alongside other animals that produce fibre (goats, alpacas, yaks etc.). Each breed is arranged in it’s group with a history, facts and figures, advice on preparation and using the wool, broken up nicely with images. Unlike the Field Guide which is pocket sized, this book is heavy, so is probably not advisable to travel with!

The Practical Spinners Guide: Cotton, Flax, Hemp

Author/s: Stephanie Gaustad

ISBN: 9781596686694

I have not found many books that are specific to these three fibres and working with them is quite different to working with wool. The book explains for each fibre everything from harvesting, preparation, spinning on both spindle and wheel and finishing. There are clear easy to follow diagrams and pictures with lots of hints and tips. There are also other books in the series focused on working with wool and silk, which I imagine would be written in the same manner.

Wild Colour

Author/s: Jenny Dean

ISBN: 9781784725532

Clear and concise, this book contains a short history of natural dyeing, methods for dyeing and handy colour charts in the dye plant section showing which parts of the plant give which dyes and the effects of modifiers on these colours. It also has information on planting and harvesting dye plants, which some other books tend to emit.

The Wheel Magazine

Author/s: Ashford Wheels & Looms

ISBN: N/A

Ashford’s annual magazine contains a variety of interesting articles written by fibre artists from all over the world. There are usually some weaving patterns, felting, knitting and spinning techniques alongside articles exploring lesser known elements of fibre craft. Although usually sourced from a subscription, Ashford also publish a non-glossy version (known as the newsprint version – pictured right) which is available free from stockists (though postage charges may apply).

Spin Off Magazine

Spin off magazine is another magazine available by subscription, but I am lucky that my local library has many issues available to borrow for free online. Like Ashford’s The Wheel it has a variety of articles from spinning to crochet, but is a bit advert heavy. Spin off do however have some interesting articles written by fibre artists on their website (image opposite is a stock image from Spin Off’s website).

The library is a good (and free!) place to look through books and some magazines can be borrowed as well. I believe many libraries now have the option of borrowing e-book/magazine copies of titles too, so you don’t even have to venture out.

If you are looking to purchase a fibre book, then please do consider supporting an independent bookshop or craft store. If you’re in the UK or America there is a website called Bookshop.org where you can purchase books online, but support an indie bookshop of your choice (I’m not affiliated – this isn’t an ad).

I would love to know if there are any fibre books that should be on my reading list, please leave me any sugestions in the comments below.

Happy Crafting!

Optimising the Suint Fermentation Process

I first started experimenting with suint fermentation last year and it quickly became my preferred fleece washing method. I’ve made a few improvements to the process since then to make it more efficient and a little easier to manage which I thought I would share. I won’t be going into detail about how suint fermentation works as I have a dedicated post for that here.

Improvement 1 – Reducing Evaporation

I began my suint bath in a plastic tub that I had seen others use (although I prefer not to use plastic, it is easy to clean and using some metals can affect how the wool looks if dyed). It worked, but I found if using the bath more than once that I needed to keep topping it up with rainwater which diluted the concentration of the bath. I also found that there was an added issue of insects falling in and not being able to climb out. Knowing that the suint bath was going to be a permanent fixture I decided to invest in a black plastic bin with a lid.

The lid fixes the insect issue and significantly reduces the evaporation – I only had to do a small top up once over the summer. The black plastic also absorbs and holds the heat well, which speeds up the process a bit. I’ve also located my suint bath in the greenhouse to help with keeping it warm.

Improvement 2 – Not Losing Fleece

The second issue I faced was that it was difficult to remove the fleece when it had finished washing. Fleece tends to separate out in water so smaller bits would get left behind in the suint bath and the colour of the water meant it was difficult to see them. I had made some simple drawstring sacks out of an old sheet to store fleeces indoors after washing and had a couple to spare, so wondered if this might work. If using a sack for suint baths make sure that the fabric doesn’t have a dye that will run onto the fleece and make sure it’s old fabric – the sack will get very dirty.

I put the fleece to be washed into the bag before submerging it in the suint bath as usual. Although you have to undo the sack to check if the wool is clean, it was much easier to remove the fleece from the bath and it also protected it from collecting the scum that forms on the surface. A word of caution though – make sure that there isn’t too much fleece in the sack at once, as wool can absorb around 30% of its weight in water. So, if the sack is hard to lift before going into the bath it will be very difficult coming out!

Experimenting with Rinsing

After a fleece has come out of the suint bath it needs to be rinsed in fresh rainwater. One fleece came out of the suint bath just before rain was forecast and I wondered if there would be any improvements in rinsing if I spread the fleece out on a rack and let the rain wash through it instead of rinsing it in a tub with rainwater collected in a water butt. It was difficult to tell if this was any better or not; the fleece still smelt until it dried and it was difficult to make a visual comparison, but it was definitely easy if short on time or stored rainwater.

Blue Faced Leiscter fleece after rinsing with rain

Let me know in the comments if you have used suint fermentation. I’m always glad of any advice.

Happy Crafting!

Wovember 2021 – Week 1 WIP’s

Wovember Logo

Happy Wovember! It’s been a while since my last blog post; when I haven’t been working over the summer I’ve been washing fleece ready to store over winter. Over the past few months I’ve finished some Tour de Fleece spins and have spent quite a lot of time making Christmas presents (which unfortunately I can’t show yet!). This has left me with quite a few WIP’s at various stages, which I thought I would share to start off Wovember, alongside some sneak peaks of the Christmas projects. As a bit of fun, I’m also doing this years Wovember daily word prompt challenge over on instagram.

Knitting

I’ve started two Romney knitting projects with the wool that I had spun. I started with a cabled cowl which is very nearly finished, but finding the right buttons proved difficult so it has been on hold over the summer. I have now decided to make my own, so hopefully this will be finished quite soon.

Romney Cowl

Whilst the cowl sat on the needles I decided to start knitting a pair of fingerless mittens from a book a friend kindly gifted me for Christmas. This is my first attempt at lace knitting and following a chart rather than written instructions, but the first mitten is coming along well, albeit it quite slowly.

Romney Fingerless Mittens

Weaving

I have several weaving projects on the go, most of which are for presents so below are some very small sneak peaks of those!

I’ve been pondering the Ryeland weave conundrum for a while. My intention was to turn the woven cloth into some kind of jumper, but it is quite springy so I haven’t yet found a shape that it holds well without looking to bulky or cutting the fabric (the weave is too open for that). It’s been sitting folded on a chair for a time and the more I look at it, the more I think it would make an amazing blanket instead.

Washing Fleece

The suint bath has been in full flow over the summer months, I’ve washed a BFL, Hampshire Down, a sample of Shetland fleece and a large Clun Forest fleece (I was a bit overenthusiastic in washing this one and didn’t split it in half before washing it – it was a struggle to lift it out of the tub even with two people!). I’ve been optimising my suint method over the past year and I will do an updated post with all my modifications shortly.

From top left to bottom right: Shetland, Hampshire Down, Clun Forest, BFL

Spinning

I have finished some of my tour de fleece spins (I will be doing a write up of my linen yarn after Wovember) and I’ve been continuing to spin Clun Forest – it’s a long process as there’s a lot of fleece and it’s being spun thinly. I have also been customising some yarn for a present knitting project.

Spinning up more clun forest

Sample of spun yarn for knitting project

That’s about all of my current WIP’s, many of them are quick finishes, so once I’ve finished making Christmas presents I will hopefully be doing full posts for them soon. I’ve linked more information about Wovember and my Wovember posts from last year below.

Happy Crafting!

Wovember was an annual blog campaign running from 2011-2017 centred on celebrating natural wool throughout the month of November. It was started to raise awareness of the importance of labelling commercial fabrics correctly (i.e. not using the term ‘made with wool’ for something made from a fluffy synthetic fibre). You can read more about Wovember and lots of other woolly information on the website.

Wovember Blog Posts from 2020:

Combating Plastic Waste: Spinning Sweet Wrappers

It is difficult in today’s society to avoid plastic entirely; particularly when it comes to packaging made from single use plastic which consumers often have little choice over. Whilst some companies are beginning to use recyclable/biodegradable packaging, I often find, particularly with large companies at least part of the packaging is not recyclable or compostable (I recently ordered some recycled cardboard folders from a large stationary company that arrived well protected in a cardboard box with paper packaging, so why did the company decide to wrap them in individual plastic sleeves first?!).

Further examples of this can be found in food packaging. About 3 years ago I had eaten some chocolate truffles – a gift at Christmas, when I looked into how the packaging could be recycled. Whilst the cardboard box could be recycled, the individual chocolate wrappers made from a non-recyclable plastic bonded to aluminium foil could not. I realised that this was the case for many individually wrapped sweets, so wondered what I could use them for instead of putting them into landfill. I considered how each wrapper is twisted around the sweet at either end and wondered if I could spin them into yarn…

Quick disclaimer – although I am aware that certain brands can probably be identified from my photographs, this post is not an attack on any brand or company (nor am I affiliated with them). Photographs are used to illustrate one method of re-use I have found for non-recyclable sweet wrappers, should you also wish to reduce your plastic waste.

Prepping the Wrappers

I attempted to spin the wrappers individually, but found that the twist did not travel through well enough, so I decided to cut each wrapper into strips about 1.5-2cm wide as shown below. Please also note that to produce the amount of yarn above, I asked my family to straighten and save their wrappers for the following two Christmases – it drove them mad, but stopped the wrappers going to landfill!

Spinning the Wrappers

Spinning a solid material is very different to spinning fibre. The wrappers twist, but cannot be drafted and the yarn did not get taken up onto the bobbin – I had to stop every 3-4 strips and wind it on manually. Treadling needs to be very slow and you don’t need much twist to spin with. Also as a quick safety note, please be aware that both the plastic and the foil edges on the wrappers can be sharp when handled in this way.

Spinning will always twist the ‘fibre’ in a diagonal direction, so to get the most length out of each strip (if you are spinning with the wheel clockwise) it is best to start in the top left corner and allow the twist to move down to the bottom right (fig.1). Upon reaching the bottom 1-2cm another strip needs to be attached. To do this I overlapped the top left corner of the new strip on top of the bottom right corner of the old strip (fig.2). To begin with I found it useful to stop the wheel whilst positioning the strips. Continue spinning and let the twist travel down catching the new strip in the last 1-2cm of the old strip (fig.3). The process then begins again.

It’s quite a simple process, but does require practice, perseverance and some trial and error. The ‘yarn’ itself is rigid and very rough, but is surprisingly sturdy. I haven’t decided if I’m going to try knitting or weaving with it or what I will turn it into (please feel free to leave any ideas in the comments!) This method should work with any kind of plastic sweet wrapper (with or without foil – I’ve tested it with both) and I imagine that a modified method would work with newspaper and possibly fabric scraps (perhaps I’ll try that another day!).

Let me know if you think you’ll attempt spinning sweet wrappers in the comments below, or if you’ve done any unconventional spinning lately.

Happy Crafting!

Tour De Fleece 2021 – Week 3 Wrap-up

Tour de Fleece 2021 Wool Spins

Today was the final day of Tour de Fleece 2021 and like most people; I thought I could do more in 23 days than I would normally do in 3 months! This week’s spinning has been a bit more varied with some project finishing, stash busting and experimenting. Below are my daily progress photos from days 16-23 (11th July – 18th July).

How did my experience compare to my initial challenge?

I wrote a blog post at the start of tour de fleece to set out a general list of aims/projects for my challenge, so which of those did I manage to achieve?

Timing – I fluctuated around my 1 hour time guide, some days I spent much longer, others much shorter and I wrote off day 6 due to bereavement. Even with limited time I still managed to get quite a lot done and kept up the daily photos & weekly updates.

Fibre Crafts – 23 days seemed a long time when I started TDF so I gave myself a list of 5 fibre crafts that would ‘count’ in my challenge. Based on my photos (excluding day 6) here was the percentage breakdown of what I did each day:

  • Spinning – 82%
  • Carding/Combing – 14%
  • Fleece Washing – 0% (although un-documented, I did put a fleece into the suint bath)
  • Weaving – 0%
  • Knitting – 4%

Spinning ended up being the focus (although I didn’t expect it to be) and I didn’t get any WIP’s finished. I did however do quite a lot of stash spinning which I can now use in projects and I started on the Clun Forest spin (I have a big weaving project planned for this, but need to do some sampling to see how suitable the fleece will be, so I can now make a start on that). I spent the rest of my time experimenting with different techniques and fibres, which has been incredibly useful in helping me decide how I want to process other raw fleeces in my stash and has given shape to future projects (I have plans to try growing some flax next year to process).

Will I do it again? – I will definitely be joining in with Tour de Fleece again, I may change my strategy next time and attempt just one or two larger projects instead of lots of smaller ones, or I might devote it to learning/trying out a new technique each day, depending on what I have in my stash at the time.

The links to all my Tour de Fleece 2021 blog posts are below:

Did you join in with Tour de Fleece 2021? Are you hoping to join in next year? Feel free to share your thoughts in the comments section below and let me know if there is anything from my Tour de Fleece that you would like more information about.

Happy Spinning!