Wovember: Fibre Library Part 1

When I started my fibre journey, I began looking for the relevant books. I like to look through reference books before committing to buy, to check that the information is useful, but as fibre books are quite niche, they aren’t often found in local libraries (although guilds are sometimes happy to loan books) and some craft shops won’t stock them if there isn’t much demand. There are lots of fibre books out there, so I thought I would share some of the books on my shelf and give a very brief rundown of what content they include, should it be useful to anyone else.

Fibre Library Part 2 will be coming later in Wovember.

Disclaimer: I am not affiliated with any of the publishers, authors etc. in any books mentioned in this post. All books mentioned are my personal copies which have been purchased either new or second hand. This list is not exhaustive, so if a book isn’t listed here it doesn’t mean it’s bad – I probably just haven’t discovered it yet.

The Field Guide to Fleece

Author/s: Deborah Robson & Carol Ekarius

ISBN: 9781612121789

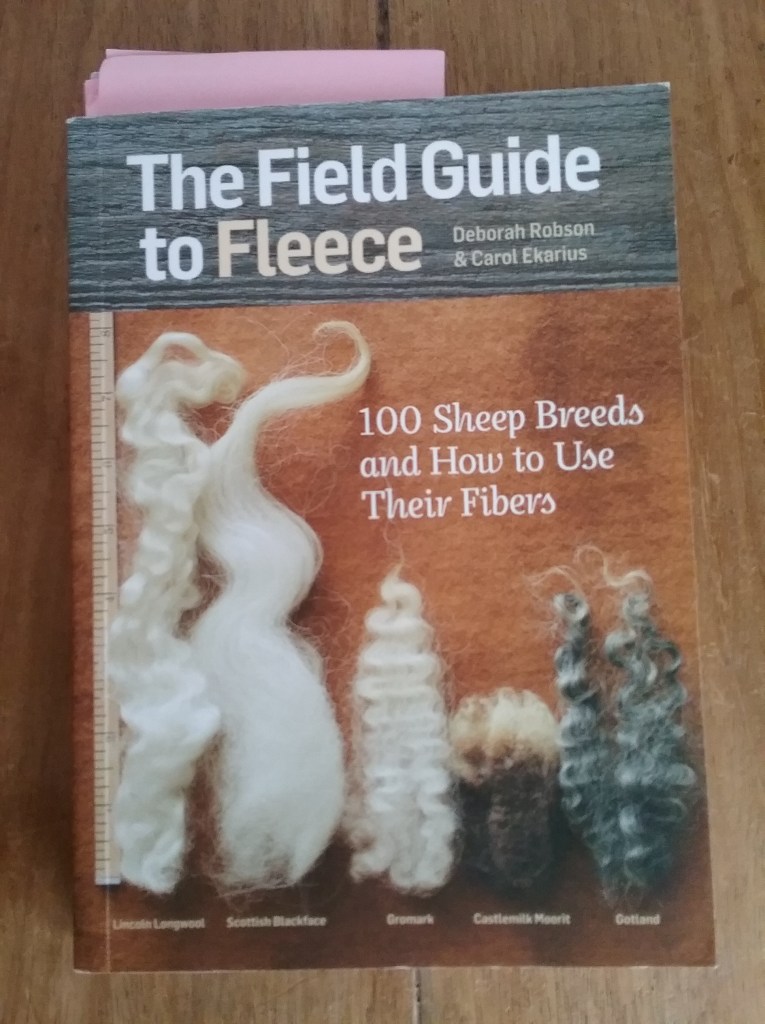
This is my go to book when I’m choosing which raw fleece to work with next (please ignore my pink paper bookmarks in the photo!). Its small (designed to be taken to wool fairs for reference) and has two pages on each breed. It gives a short background and snippets of information on each breed from best fibre prep, to staple length and best uses (although it is not a ‘how to’ guide). Each breed is arranged alphabetically, so it’s very easy to navigate.

Hand Spinning

Author/s: Pam Austin

ISBN: 9781785003738

This book has lots of information and goes from beginner to advanced. It’s written in a chatty style, so it has the feel of a supportive spinning teacher guiding you. It has information on using both spindles & wheels, tensioning, troubleshooting, carding, choosing fleece, fibre prep, art yarn, dyeing (natural & synthetic) and working with other plant fibres i.e. flax & silk. It also has very clear diagrams and photos to support the text, so is good for ‘book learning’.

Spinning & Dyeing Yarn

Author/s: Ashley Martineau

ISBN: 9781909342460

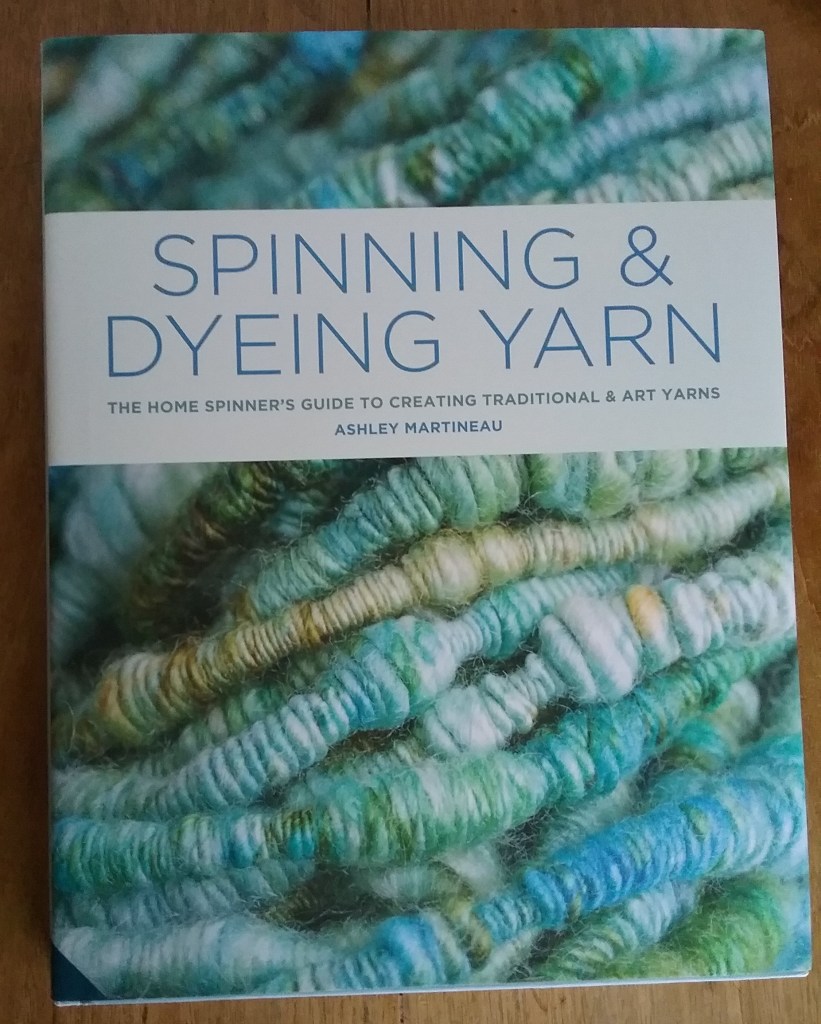
The main focus of this book is art yarn, so it has lots of information about blending fibres on hackles and carders and lots of art yarn techniques, both on the wheel and the spindle. It has sections teaching you how to DIY equipment (including how to make a spinning wheel from pipe and a bicycle wheel) and lots of different techniques for dyeing with commercial dyes. It has a short fibre prep section along with some basic skills and also contains pages written by professional fibre artists giving several perspectives.

A Dyer’s Garden

Author/s: Rita Buchanan

ISBN: 9781883010072

This book is a short but detailed text that explores natural dyeing. Although I have read this book, I haven’t had a chance to try natural dyeing yet, so cannot vouch for how the methods turn out (and results would undoubtedly be reliant on skill). It contains sections on the basics of natural dyeing, alongside dye garden layouts and page edges showing photos of the colours produced from plants on different fibres and the effect of mordants and modifiers on these. It is an American book however, so although most plants could probably be grown in similar climates, it may not be relevant to every geographical area.

The Modern Natural Dyer

Author/s: Kristine Vejar

ISBN: 9781617691751

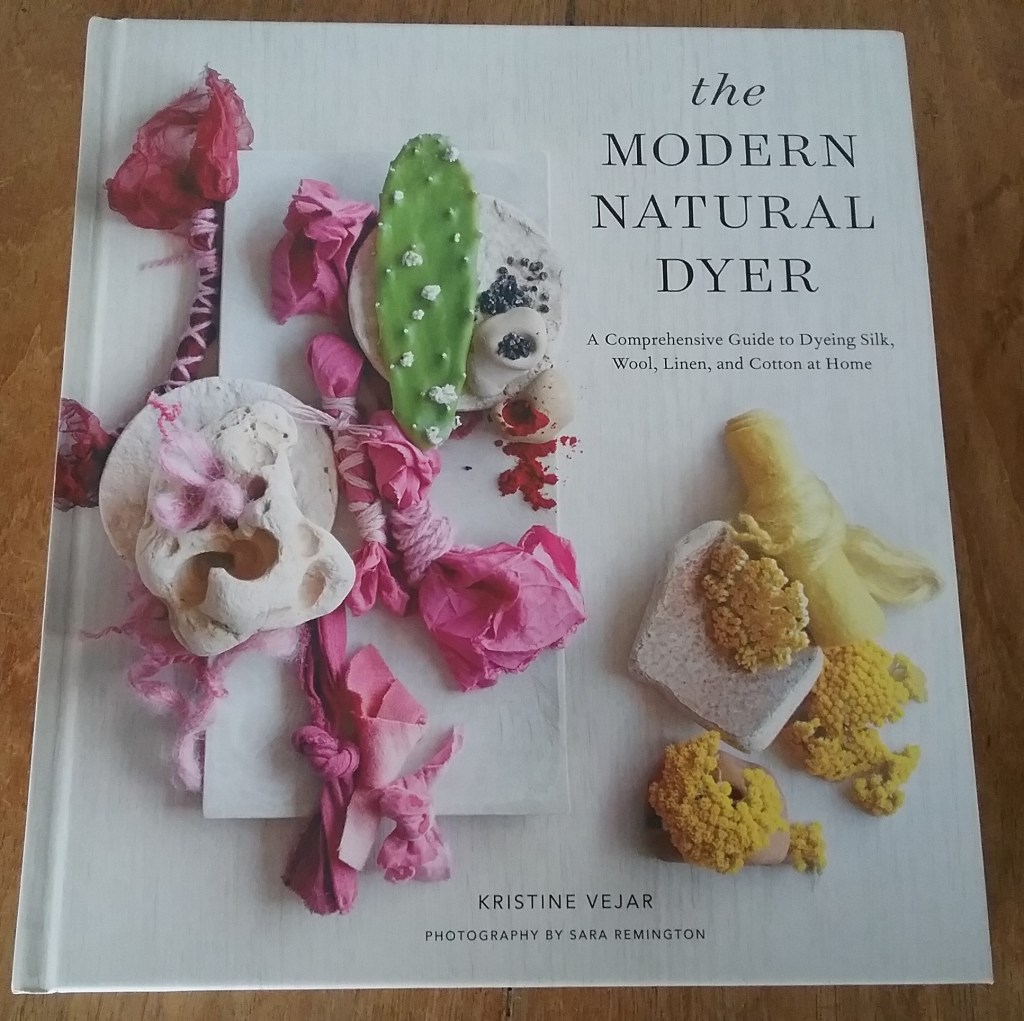
Again, I cannot vouch for how the methods in this book work, but it contains lots of information on dyeing both wool and non-wool fibres. It also has sections on record keeping and the book is set out with the basic method first followed by several project ideas including knitting and sewing patterns that incorporate the dyeing skills learnt on the pages before, which, as the title suggests, helps explore how natural dyes can be used in modern life.

I would love to know if there are any fibre books that should be on my reading list, please leave me any suggestions in the comments below.

If you are looking to purchase a fibre book, then please do consider supporting an independent bookshop or craft store. I’ve recently heard of a website called Bookshop (I’m not affiliated – this isn’t an ad) that lets you order books online, but supports the indie bookshop of your choice.

Happy Crafting!

A Little About: Lincoln Longwool

A Pair of Lincoln Longwool Sheep
Photo Via lincolnlongwools.co.uk

History

Lincoln Longwool sheep are one of the older British sheep breeds and were established in the English city of Lincoln in the Middle Ages, where their long, lustrous fleeces formed an important part of the wool trade. Lincoln sheep were later developed to provide both wool and meat and were exported across the world during the Victorian era. After WW2 the changing textile industry and reduced exporting of the breed led to a large decline in numbers. Today the breed is categorised by the RBST as ‘vulnerable’ (only 500-900 sheep), with most flocks still located in the Lincolnshire area.

Fleece Research

In 2020 the Rare Breeds Survival Trust launched a campaign called ‘Love a Longwool‘ aiming to draw awareness to the rare longwool breeds, many of which still have declining numbers, so of course I had to try and work with a longwool fleece before the year ended. Lincoln Longwool fleeces are large and have staple lengths of around 20-30cm. The fleece is reportedly high in Lanolin, but difficult to felt, so will hopefully clean up well in a suint bath. The fibres are too long for carding, so combing or spinning from the lock is recommended. It is not the softest of fleeces, often used commercially in carpets, so is probably not best used in clothing. This fleece does however, seem to be the quintessential candidate for lock spinning to make some art yarn and preserve the natural crimp.

Further Reading

The following sources have been used for reference

Celebrating Wovember: What is Wool?

Wovember was an annual blog campaign running from 2011-2017 centred around celebrating natural wool throughout the month of November. It was started to raise awareness of the importance of labelling commercial fabrics correctly (i.e. not using the term ‘made with wool’ for something made from a fluffy synthetic fibre). You can read more about Wovember and lots of other woolly information on the website.

To celebrate, throughout the month of ‘Wovember’, alongside some of my usual wool posts, I will also be sharing some information about wool and some resources & books I have found useful during my first couple of years starting in fibre, in the hope that it will encourage others to try crafting with natural wool in some way during November (and hopefully after).

What is Wool?

One does not need to be scientific to work with wool; it’s soft, fluffy and warm. However, I like to know a little wool biology to understand why it has these properties.

Wool is a protein fibre and like human hair, is part of the Keratin group. Each wool fibre is comprised of many different internal components surrounded by cuticles that cover the surface like scales (this site has a really good interactive diagram and more scientific explanations). The Woolmark Company also have a very short Youtube video showing the structure of wool here. These cuticles are surrounded by glands on the sheep that produce lanolin – the waxy substance that allows wool to repel water. Each of the components give wool its specific characteristics.

Why is wool so unique?

A very brief explanation of the properties of sheeps wool

Insulation: All wool has crimp. This is due to the arrangement of cells in the cortex and varies depending on the breed. Crimp gives wool natural elasticity and helps trap air between the individual fibres which reduces heat loss. This makes it useful for both clothing and house insulation.

Absorbent: The cuticle that surrounds each fibre has pores that allow moisture to travel through the fibres. This along with the air pockets created by the crimp, means that wool can efficiently absorb moisture from the body and transfer it into the atmosphere. Alternatively, it can also generate heat through absorbing moisture from the atmosphere (wool can absorb up to 30% its own weight in moisture before feeling wet). This means wool can help regulate body temperature when worn (and why its described as being able to keep you both cool and warm).

Flame Resistant: Keratin proteins contain high levels of nitrogen and due to wools high moisture absorption it requires much more oxygen than other materials in order to burn. This means that typically wool will not sustain a flame and instead, will smoulder for a short time before extinguishing itself.

Felting: The cuticle scales are arranged much like tiles on a roof – they are smooth in one direction, but cause friction in the other. For example; if you hold out hair from your head and run your finger along it from root to tip, your finger moves smoothly, if you move it from tip to root there is more resistance. Heat and agitation can lift the cuticles at their ‘open’ end causing them to interlock with other fibres aligned in the opposite direction. This process cannot be easily reversed, so makes a strong fabric without the need for chemical processes (although it is not as useful if felting is unintended!).

Renewable & Biodegradable: Sheep grow a new fleece every year and require a regular trim to prevent a multitude of health problems such as overheating and parasites (there are very few sheep breeds now that can naturally moult). While there are sheep, wool will never run out. Washing textiles made from natural wool does not release harmful microplastics into waterways and when it comes to the end of it’s useable life, it can be composted and biodegrades in a relatively short space of time (short video of a wool vs an acrylic jumper biodegrading on Youtube).

Websites for Further Reading:


I’ve given a very basic overview of all the wool science, so if you are looking for further explanations, then do visit the links in the post to websites with further information. A quick internet search will also bring up lots of results and I highly recommend having a look if you are so inclined.

Happy Crafting!

Britspin & British Wool Week

Today marks the end of both Britspin and British Wool Week. I’ve had to put my fibre play on hold while I try and get ahead making Christmas presents in my spare time. I’ve been very productive, but unfortunately I can’t show any completed gifts, as the people who will receive them follow this blog. However, in order to celebrate the fibre week I thought I would share a couple of recent projects.

Power Cut Spinning

A few weeks ago there was a long power cut in my area, so I decided to spin up the ‘underwater treasures’ and ‘forest treasures’ rovings I purchased from Yarns from the Plain during Fibre East.

It was the first time I’d spun roving (I’m used to spinning from rolags) and have never spun anything with silk in it, so I think they turned out rather well even though I couldn’t really see what I was doing in the dark!

I was initially going to use them in some weaving, but the skeins of the forest colourway have been sitting next to the rest of my Ryeland fleece and the colours go together so well, I may knit myself another pair of fingerless gloves with an arty cuff instead. Decisions, decisions!

Weaving

I recently finished weaving a length of fabric that will get turned into a cushion cover. This was a bit of an experiment as it was my first project on the rigid heddle loom I got myself over the summer – my Saori loom is great for big projects and long warps, but I can’t just put it in a bag and take it with me (plus I can now have 2 warps on the go at once!).

I’ve just got to tidy up the ends at the back and sew it together.

Happy Crafting!

Ryeland: Knitted Cowl & Gloves

Hello everyone, it’s been a while since I last wrote a blog post – I haven’t had much spare time to play with fibre and I’ve been trying to wash as many fleeces as possible while the weather is still dry (I have been optimising my suint method, but that’s a post for another time). Anyway, without further ado, onto a finished project!

Since this was my first attempt at knitting with my handspun yarn, I decided to use small simple patterns, but wanted to see how the wool behaved on different needle sizes. I’m certainly not a very experienced knitter and for some reason I find calculating tension gauges confusing, so unfortunately I have no such data for these projects, just my experiments. Happily, my handspun yarn doesn’t fall into any standard size/weight category as I spun it with the intention of making it uneven (some sections are about 3x the size of others). For both projects I decided to use moss stitch to accentuate the uneven squishy nature of the yarn, which I think it did perfectly.

The Cowl

This was the first of the two projects and my first time using circular needles. I cast on an uneven number of stitches onto 6mm circular needles (the only size I have) and just continued knitting rounds of moss stitch until it reached a length I was happy with. In my enthusiasm to use the circular needles, I confess I did forget the importance of checking the stitches don’t get twisted at the start and I knitted about 4 rows before noticing something was wrong!

The Fingerless Gloves

For the gloves I adapted a vintage pattern (pictured left) that I had used before to make a present for a family member. It uses size 11 & 9 needles. I didn’t change much, just knitted the cuff and finger tops in moss stitch instead of 1x1rib. I was surprised how versatile my handspun was as it was just as easy to knit on smaller 3mm needles as on the 6mm and didn’t distort the shape of the gloves.

I love the design of these gloves, they are very comfortable, the cuff goes well over your wrist and the fingers are a bit longer than standard.

I was very pleased with how these projects turned out; I only used about 3 balls/bobbins full of wool on both projects collectively. They are extremely warm, very soft and a beautiful colour (matt brown and grey tones with a subtle pearly lustre). They also have the added advantage of making me feel like I’m about to journey through Middle Earth when I put them on!

Happy Crafting!

Fibre Haul: Fibre East @ Home

I had never been to Fibre East before, but last weekend I attended their virtual event (for those of you who may not know, Fibre East is a fibre festival in the East of England dedicated to promoting wool and textiles). I’m all for supporting small businesses and I get very inspired by other people’s fibre finds, so I thought this week I would do a little fibre haul, as everything was dispatched so quickly it all arrived within the week!

Disclaimer – I am not in any way affiliated with any of the companies mentioned in this post- just very happy with the experience they gave. Links to websites are provided for reference.

Yarn

I try to be very selective when it comes to buying yarn as I have a stash of fleeces waiting to be spun, so it has to be different to justify me buying it! The beautiful green skeins (and complementary teabag!) are from Knit Me Sane, one is a Merino/Linen blend which I’m excited to work with and the other is made from Polworth wool. I also purchased a ‘scrappy bag’ of merino/mohair wool in various colours to experiment with from the Wensleydale Sheep Shop.

Fibre

I tried to be strict with myself when it came to fibre, but couldn’t resist buying a raw Romney fleece from Romney Marsh Wools (it’s so soft I can’t wait to work with it!). I also bought some lovely fibre blends from Yarns from the Plain – 2 are shetland/tussah silk blends (I’ve not tried spinning silk blends before) and the other is a Hill Radnor, a rare British breed that I’ve not yet explored.

I also decided to buy some Angora fibre to try spinning from the National Angora Bunny Club. I’m a big believer in animal welfare, so it was important to me that I purchased Angora that was traceable and had been shorn ethically. The proceeds the club recieves from selling the fibre are used to pay for food and vaccinations for the rabbits.

Miscellaneous Items

I purchased a couple of simple knitting patterns to try – ‘Crafter Hoody’ from In The Wool Shed and a cable collar pattern from the Wensleydale sheep shop (I’ve never attempted cable before and this looked like a good starter project). Whilst on their website I thought it was high time I got myself some proper stitch markers instead of using paperclips, so bought some little wooden ones with Wensleydale Sheep on.

That’s the end of my little Fibre East haul, I ‘came away’ with lots of inspiration (now I’ve just got to find the time to fit everything in!). At the time of writing this, Fibre East still has a full list of previous exhibitors with links to their websites, so I definitely recommend browsing if you’re looking for some creative inspiration or need to add to your stash and want to support small independent businesses.

Happy Crafting!

Alternative Weaving : Making Braid on a Sock Airer

It’s been a few weeks since my last post – I’ve got quite a backlog of spinning, weaving and fibreprep, so whilst I catch up with all that, I thought I would share a tutorial for some simple braid weaving that uses very little equipment. It can be used as embelishment for other projects or have a practical use. I was taught this many years ago and have not researched how far back the method dates, although lots of braiding appears in the medieval era, so other braids may have been developed around the same time.

Materials

  • ‘Flower’ shaped sock airer (for this technique it needs to have 8 grooves)
  • Wool

Preparation

Before starting to weave the airer has to be de-constructed. The hook in the centre needs to be removed and the pegs unhooked – don’t discard these as you will use them as weights (you can remove the plastic bits hanging from the pegs if you feel like it). This should leave you with a setup seen below:

Next you need to prepare your yarn. As a rough guide for length use 1.4x the length of wool than you want you finished cord to be (so if you wanted 1m of cord, use 140cm of wool) plus a bit extra for the knots at the ends.

Cut out 7 of lengths of wool, tie a knot at one end leaving enough tail to tie this end to the hook as seen opposite

Then thread the hook through the centre hole. You might want to lay it on a table at this point ready for the next step.

Spread out the lengths of wool laying them into the grooves (there’s no particular order to this, just lay them where they naturally fall). You should be left with one empty groove.

Finally, wind the extra lengths of each strand into a ball and clip a peg to it – the pegs will serve as weights so you can lift the ‘loom’ off the table and the hook won’t pull the wool straight through. You should have something that looks like this.

Weaving

Now that the ‘loom’ is prepared you can being to weave. This pattern is made up of 3 simple steps that repeat until you reach the desired length of cord. For the purposes of this tutorial I’ve used scraps of different coloured wool in an attempt to illustrate the steps more clearly.

Step One

Start with the empty groove facing away from you. Then count three strands to the left (anticlockwise) from this groove. I’ve numbered the strands on the opposite photo.

Step Two

Take the third strand you just counted and place it in the empty groove.

Step Three

Turn the loom clockwise about 90 degrees to reset. The groove the third strand came from now becomes the empty groove and the pattern starts again from step 1.

And that’s it! The cord will take a little while to start moving down through the centre, but if it seems stuck at top of the loom after a few rounds, give it a gentle pull. As the pegs move closer to the loom, release some of the wound on wool.

The cord coming through the loom
The cord as it’s being made

Keep going until the cord is the desired length, then unclip the pegs, tie a knot in that end and untie the hook at the other end.

For a different design, play around with changing the number of strands and the pattern, there are many other variations that could be achieved on a sock airer loom.

If you are going to give this a go, let me know in the comments, tag me on your blog, or share with me on Pinterest – I would love to see your creations!

Happy Crafting!

A Little About: Clun Forest

A Clun Forest Ram
Photo credit to Dunja Roberts of ‘Travelly’ Clun Forest sheep

History

Clun Forest sheep resided on the hills near Clun, a small town in the South of Shropshire from the 19th century, however it is thought the breed originated in the 10 centuries before and were descended from ancient local breeds. At the start of the 19th century the Clun Forest was described as being white faced and hornless, but over time was crossed with other breeds in the area causing the face to darken until it reached the dark grey/brown it is today. By the end of the 1800’s the breed had become more dispersed across the UK and became popular commercial flocks due to their hardiness. Over time Clun Forest sheep were exported to Europe and North America where they became very popular. Although their popularity in the UK has declined in recent times, many flocks are still well established.

Fleece Research

Clun Forest fleece is not commonly used by fibre enthusiasts, yet is reportedly excellent to work with. The British wool board classify the fibre as fine – the same category as the Dorset horn, so I anticipate that Clun Forest will have very similar qualities and behave in a similar way. The fleece is reported to have very little kemp, which will make fibre prep much quicker and has lots of crimp, so will be ideal for woolen spinning. As the fleece is coloured white, I can use it to experiment with some natural dyeing and hopefully achieve bright clear results. My research stated that ‘industrial felts’ were amongst it’s many typical uses, suggesting that the fibres might be willing to felt, so I may need to experiment to find the ‘felting point’ before attempting to wash it or dye it it hot water.

Further Reading

The following sources have been used for reference

  • Breed Society Website – https://www.clunforestsheep.org.uk/
  • British Sheep & Wool by the British Wool Marketing Board – ISBN 9780904969108
  • The Field Guide to Fleece by Deborah Robson & Carol Ekarius – ISBN 9781612121789

DIY Wool Picker

Researching

Several weeks ago whilst browing the internet, I came across a mention of a wool picker and being curious, decided to do some research. A wool picker is a device that can be used to separate out fibre before carding to make the task easier (as far as I can tell, it is primarily used before drum carding). At the time, I was halfway through hand carding my ryeland fleece, which was proving quite time consuming, as there was a lot of VM and dust. I felt like this would be the perfect opportunity to experiment with this tool and see if it made the job any easier, so I turned to the internet to see if anyone had DIYed one.

Lo and behold, multiple blog posts emerged and it seems that two types of wool picker exist, these being a box picker and a swinging picker (the latter is generally just known as a wool picker). I watched a few videos on youtube of wool pickers and although the box picker appeared simplest in construction, I felt the swinging picker seemed more efficient for larger quantities of fleece. I discovered several good blog posts with instructions for making DIY Box Pickers that I will link below:

I couldn’t find very much information for making a swinging wool picker, however I did find a very informative blog post by Fleecewood, which contained measurements that would form the basis for my own (if you are thinking of making your own swinging picker, please do have a look at it).

That being said, this is in no way a tutorial, as it’s heavily based on the aforementioned post and I cannot take the credit for making the picker, as this was kindly done by my father. As I had no idea if a picker would actually make my fibre prep any easier, I didn’t want it to be expensive, so used materials already to hand. This means my picker does not look very uniform and has very few safety features, but it does the job!

Disclaimer – Please consider your safety and use common sense when making/using wool pickers DIY or otherwise. Nails are sharp and I have come close to getting caught, despite being careful. It is recommended to wear a thick apron, use your picker on a flat surface and clamp it down to reduce the chance of accidents. Wool pickers should definitely not be used by/near children or pets.

Making

The bulk of the structure was made from pallet wood and some wood from a cabinet made by my late grandfather that had been broken down for firewood. The handle (which is not shown on the left) is part of a broken chair and the metal bolts came from my father’s sheds. The nails were purchased as they needed to be the right length and ideally rust resistant so they would last longer and wouldn’t colour the fleece. Below is a slideshow of images after it’s construction.

Does it Work?

I’ve found it’s best function is to open up fibres to remove any dust and debris. The Ryeland fleece had been covering me with dust during carding and it was difficult to identify dark VM against dark fleece. By opening up the fibres, the wool picker allows most of this to fall out and that which doesn’t is easier to identify when carding, speeding up the process considerably (below are some photos of the dirt after picking a handful of fleece). It doesn’t work with fleeces that are very short stapled as the fleece gets stuck to the nails and doesn’t move through. I am yet to try it with longer fleeces, but I will update this post when I’ve tested it.

If your fleece is not dusty and doesn’t contain much VM, then it probably isn’t necessary to put it through a wool picker first. If you’ve got a fleece that has more VM than you expected that you’re struggling to get out before you spin it, or it is very tangled, then a wool picker does make the job easier.

Happy Crafting!

Cleaning Wool Using Suint Fermentation

With the weather getting warmer I decided I needed to find a way of washing fleece that was kinder on the environment and didn’t require as much water and washing powders/detergents, as greasy fleeces can use a surprising amount. I read about suint fermentation a long time ago and thought it too good to be true, but decided to have a play around and see what happened to try and make my wool processing more eco friendly.

What is Suint Fermentation?

Suint is the name given to the sweat and mineral deposits that build up on a sheep’s fleece, this is different from lanolin which is the greasy part. Finer fleeces with shorter staple lengths tend to have more suint and lanolin. By soaking a raw fleece in rainwater, these components and the bacteria on the fleece form a natural ‘soap’ which cleans the fleece when left in the sun to warm up. This suint bath can be re-used again and again, getting stronger after each new fleece. If you’re like me and enjoy a sciencey explanation of the chemical reactions that occur, I recommend reading this post by Blue Barn Fiber.

What did I do?

I recently had two raw Jacob fleeces arrive in the post (yes, my postman thinks I’m slightly mad!) and since the largest of the two would require a lot of water I decided to try suint fermentation (I’ll talk more about the fleece in a Jacob fibre prep post).

I filled a large plastic bucket with rainwater from a water butt and left it outside for a while to warm in the sun. Unfortunately when I came back it was just as cold as I left it, so I moved it into the greenhouse to get it to a more optimum temperature (I read that around 20 degrees celcius is good). I split the fleece in half and fully submerged the first half in the rainwater and left it (others using this method say it takes a week).

The water very quickly went grey/brown in colour and I checked it each day for any sign of bubbles on the surface and a potent farmyard smell that should mean it’s working, but didn’t notice either until after about 8 days. At this point I removed the fleece, draining the suint water back into the bucket before transferring the fleece to another bucket of fresh rainwater to rinse overnight.

Fleece submerged in suint bath
Suint water after removing the fleece

I then put the second half of the fleece in the suint water and topped it up slightly with more rainwater (most people recommend using a lidded container to reduce evaporation, as topping it up dilutes the suint bath, but I’m working with what I already have). The weather then got warmer so I saw bubbles on the second half in about 4-5 days and the smell was much more potent when I removed it for its rinse.

After rinsing, I put the fleece out on the washing line to dry. The smell of the suint bath is supposed to vanish when the fleece is completely dry as the bacteria in the process are anaerobic, so only function in water.

Jacob fleece drying

After it dried I was surprised to find the smell had mostly gone, the fleece wasn’t greasy and it was wonderfully soft after it’s suint bath. Normally when I use washing powder, although the fleece is still soft, it has a slight stiffness to it that I hadn’t noticed before (most likely because it’s been stripped of all it’s lanolin in a short space of time and tap water is generally hard). There was still some dirt at the very tips of the fleece, so I washed it once through with some delicate wool wash to make sure the smell had completely gone and any remaining dirt was washed off, but one wash with tap water compared to my usual 2-4 used much less water.

There was another benefit to the suint bath, as although it will never remove any VM from the fleece, the soak does open up the fibres so small plant matter and any neps tend to fall out. Oh, and the rinse rainwater is amazing for watering plants!

I’m going to summarise this long post with a little pros and cons table of suint fermentation and some links to some good posts by other bloggers that I used in my research if you’re interested in any further reading.

Pros
  • It’s uses much less water and washing powder so is more environmentally friendly
  • If you already have a container it won’t cost you anything
  • It doesn’t require any hard work – you can leave it for at least a week, but if it’s left longer it won’t hurt
  • It leaves it softer than washing powders etc. and hard water.
  • Fleece is less likely to felt as it doesn’t require any agitation or dramatic temperature changes
Cons
  • It smells – Set it up it outside or in a greenhouse
  • For particularly greasy fleeces you may still need to wash them a few times with washing powders
  • The process takes longer than washing in a bowl
  • It’s weather dependent requiring both rain and a high temperature.

Update: A further blog post detailing improvements made to the suint fermentation process can be found here and I also have a YouTube video of the whole process including drying updates:

Let me know in the comments if you have a go at suint fermentation and if you’ve tried it I’m always glad of any advice.

Happy Crafting!