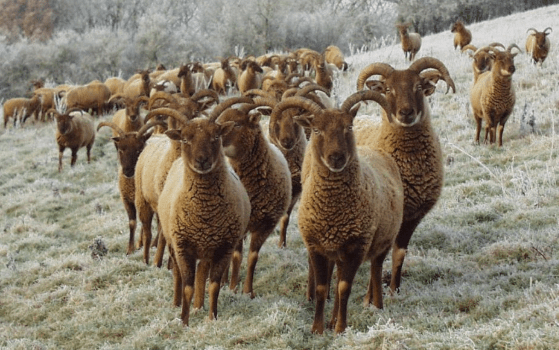
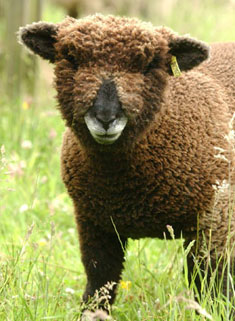
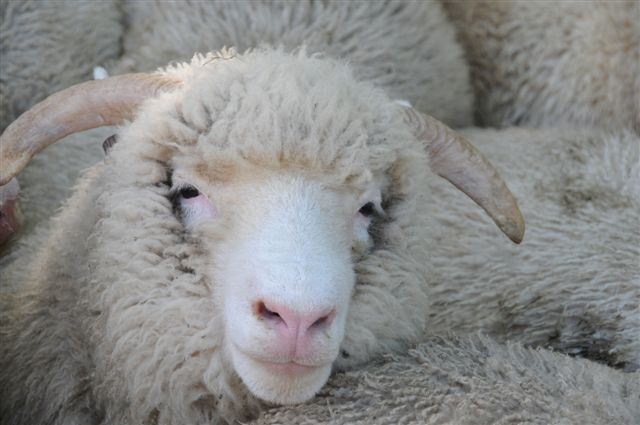
Photo Via castlemilkmooritsociety.co.uk
History
A relatively new breed of sheep, Castlemilk Moorit have their origins in 20th Century Scotland. The breed are a cross between Manx Loaghtan, Moorit Shetland and wild Mouflon and were developed by Sir John Buchanan-Jardine with the purpose of beautifying his Scottish Castlemilk estate. These sheep are classed as ‘at risk’ by the RBST, since shortly after Sir John’s death in 1970, the majority of the flock were culled. A few sheep survived and the RBST and Castlemilk Moorit Society are working hard to secure the future of the breed.
Fleece Research
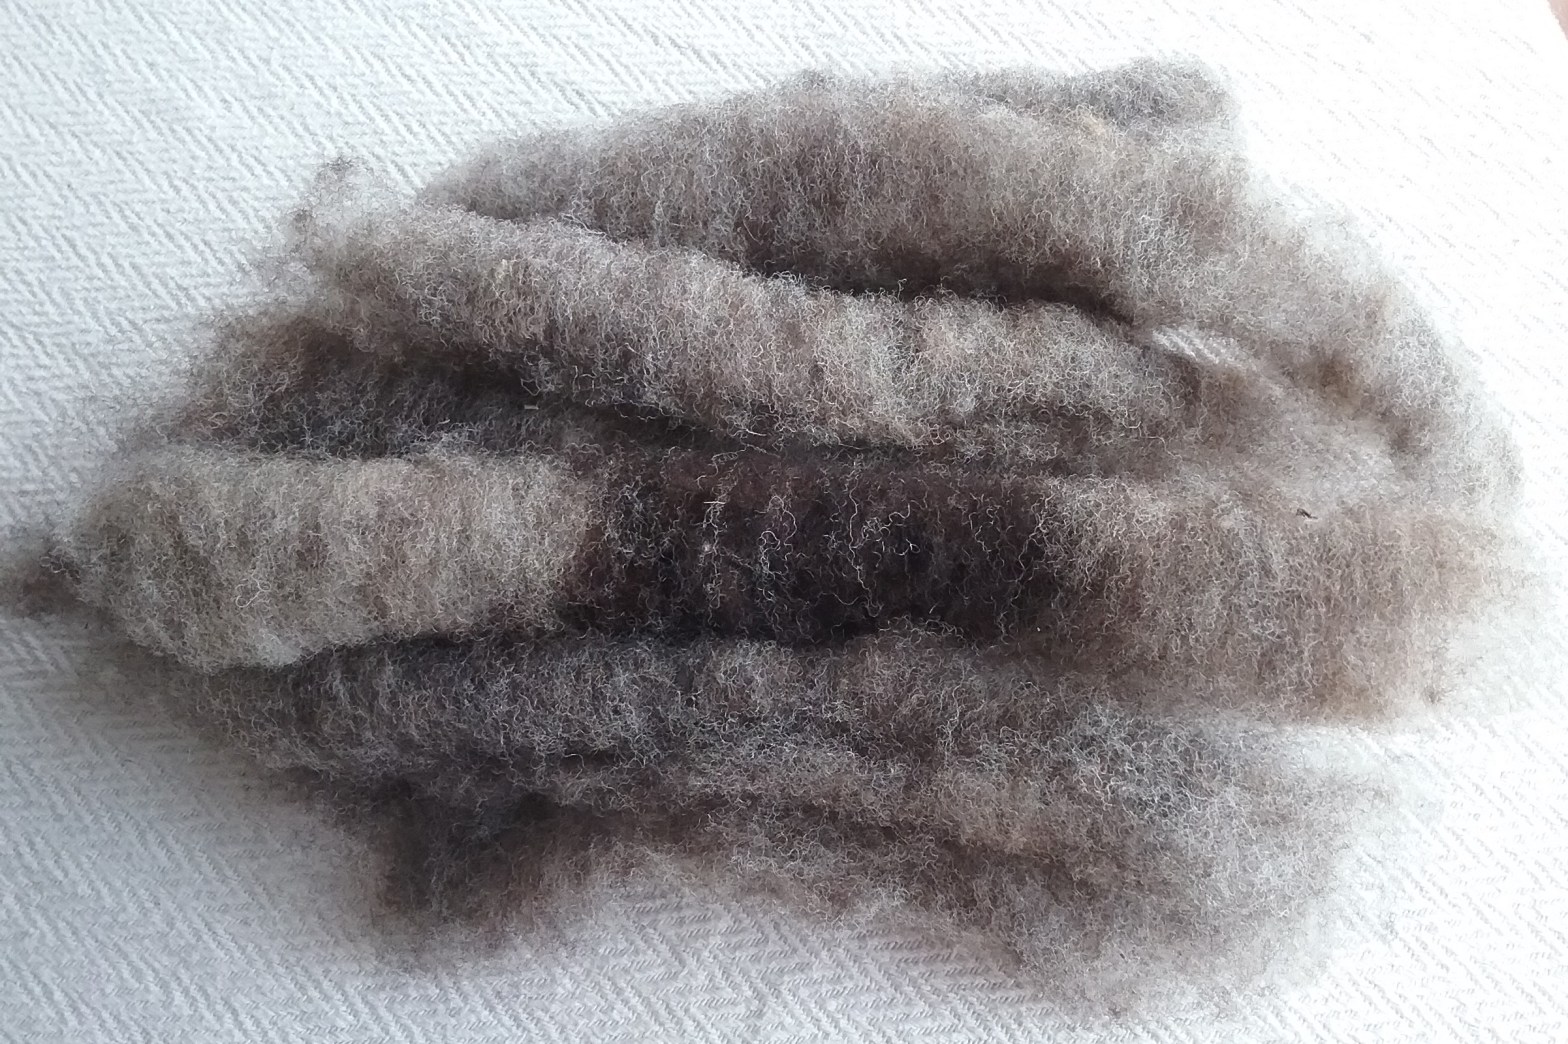
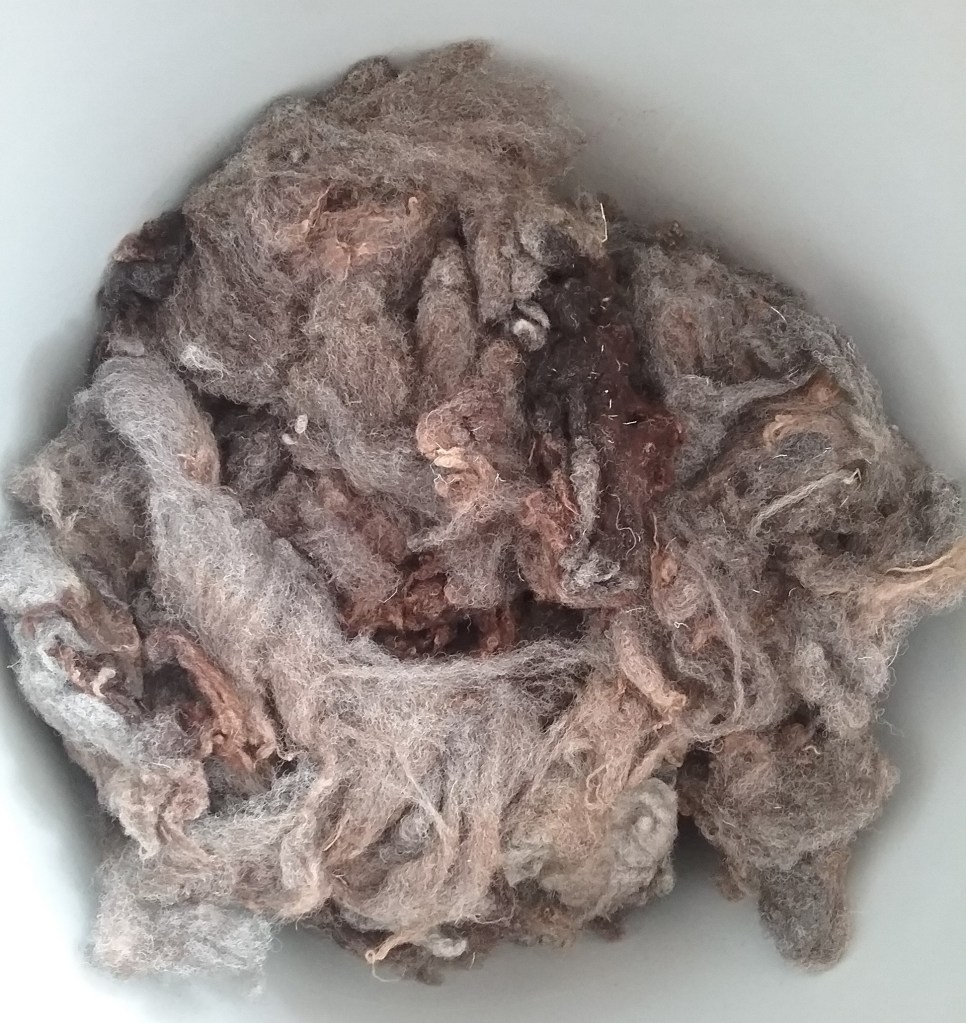
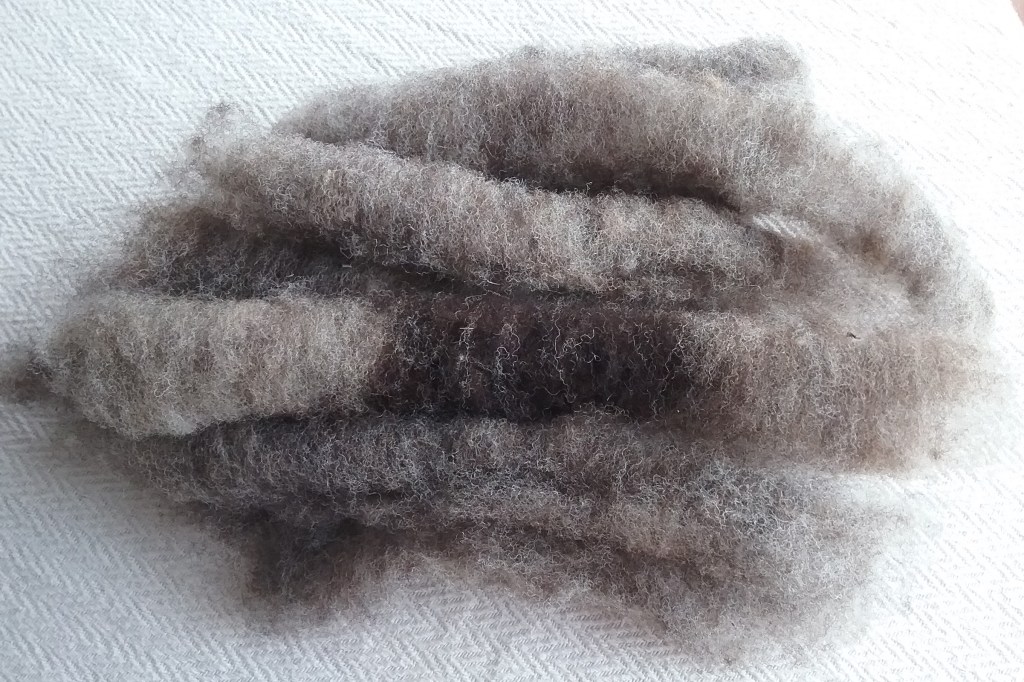
Moorit is derived from old Norse and means reddish brown, exactly the colour this fleece is. They have gorgeous strong natural browns, often with sunbleached ends giving varying shades. I am keen to explore this fleece since it reportedly has little to no kemp – a bonus for fibre prep and making a finished product since it shouldn’t be too itchy. It has quite a short staple length, so perfect for trying out some more woollen spinning and hopefully I will be able to make a finished project that I can wear next to the skin. I’m also curious to explore this fleece since I believe I may have unknowingly worked with it before when a lovely work colleague brought me some bits of mystery fleece caught on a neighbouring fence, but did not know which breed it was from. Since doing my research, I think it may well be Castlemilk Moorit.
Further Reading
The following sources have been used for reference
- Breed Society Website – http://castlemilkmooritsociety.co.uk/
- RBST Website – https://www.rbst.org.uk/castlemilk-moorit
- British Sheep & Wool by the British Wool Marketing Board – ISBN 9780904969108
- The Field Guide to Fleece by Deborah Robson & Carol Ekarius – ISBN 9781612121789

 Loose Ends