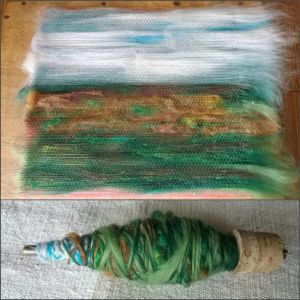
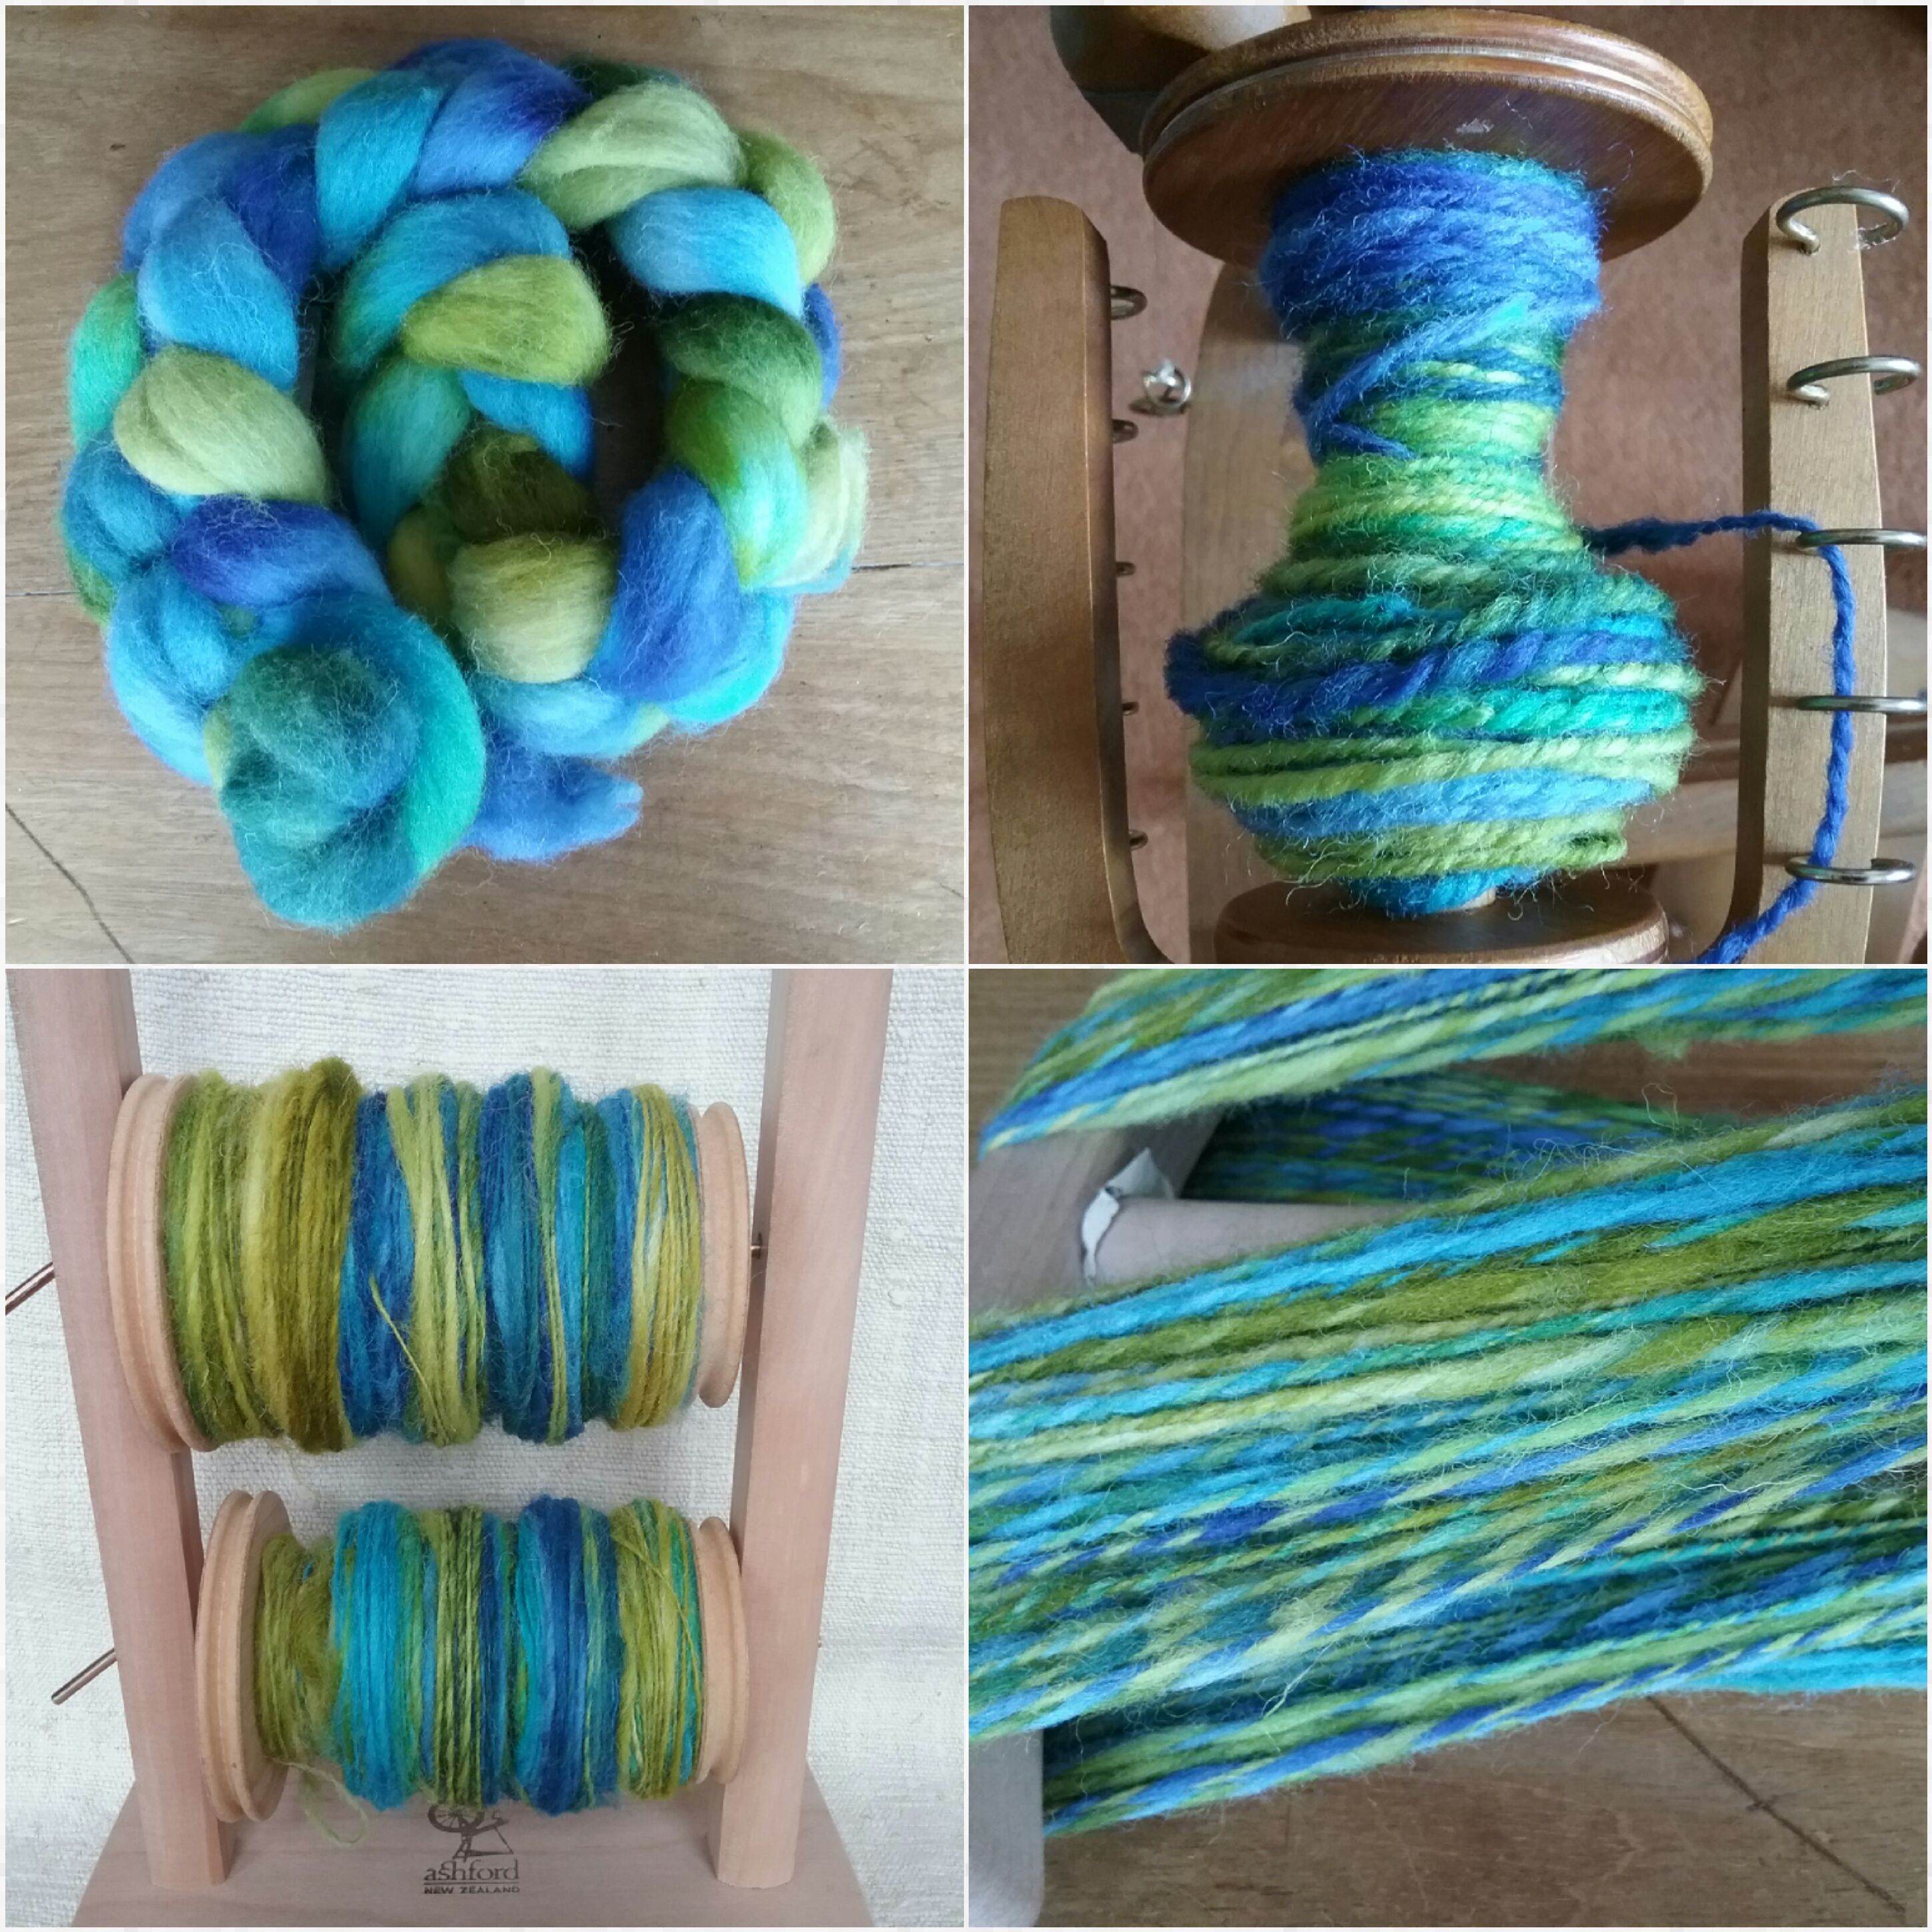
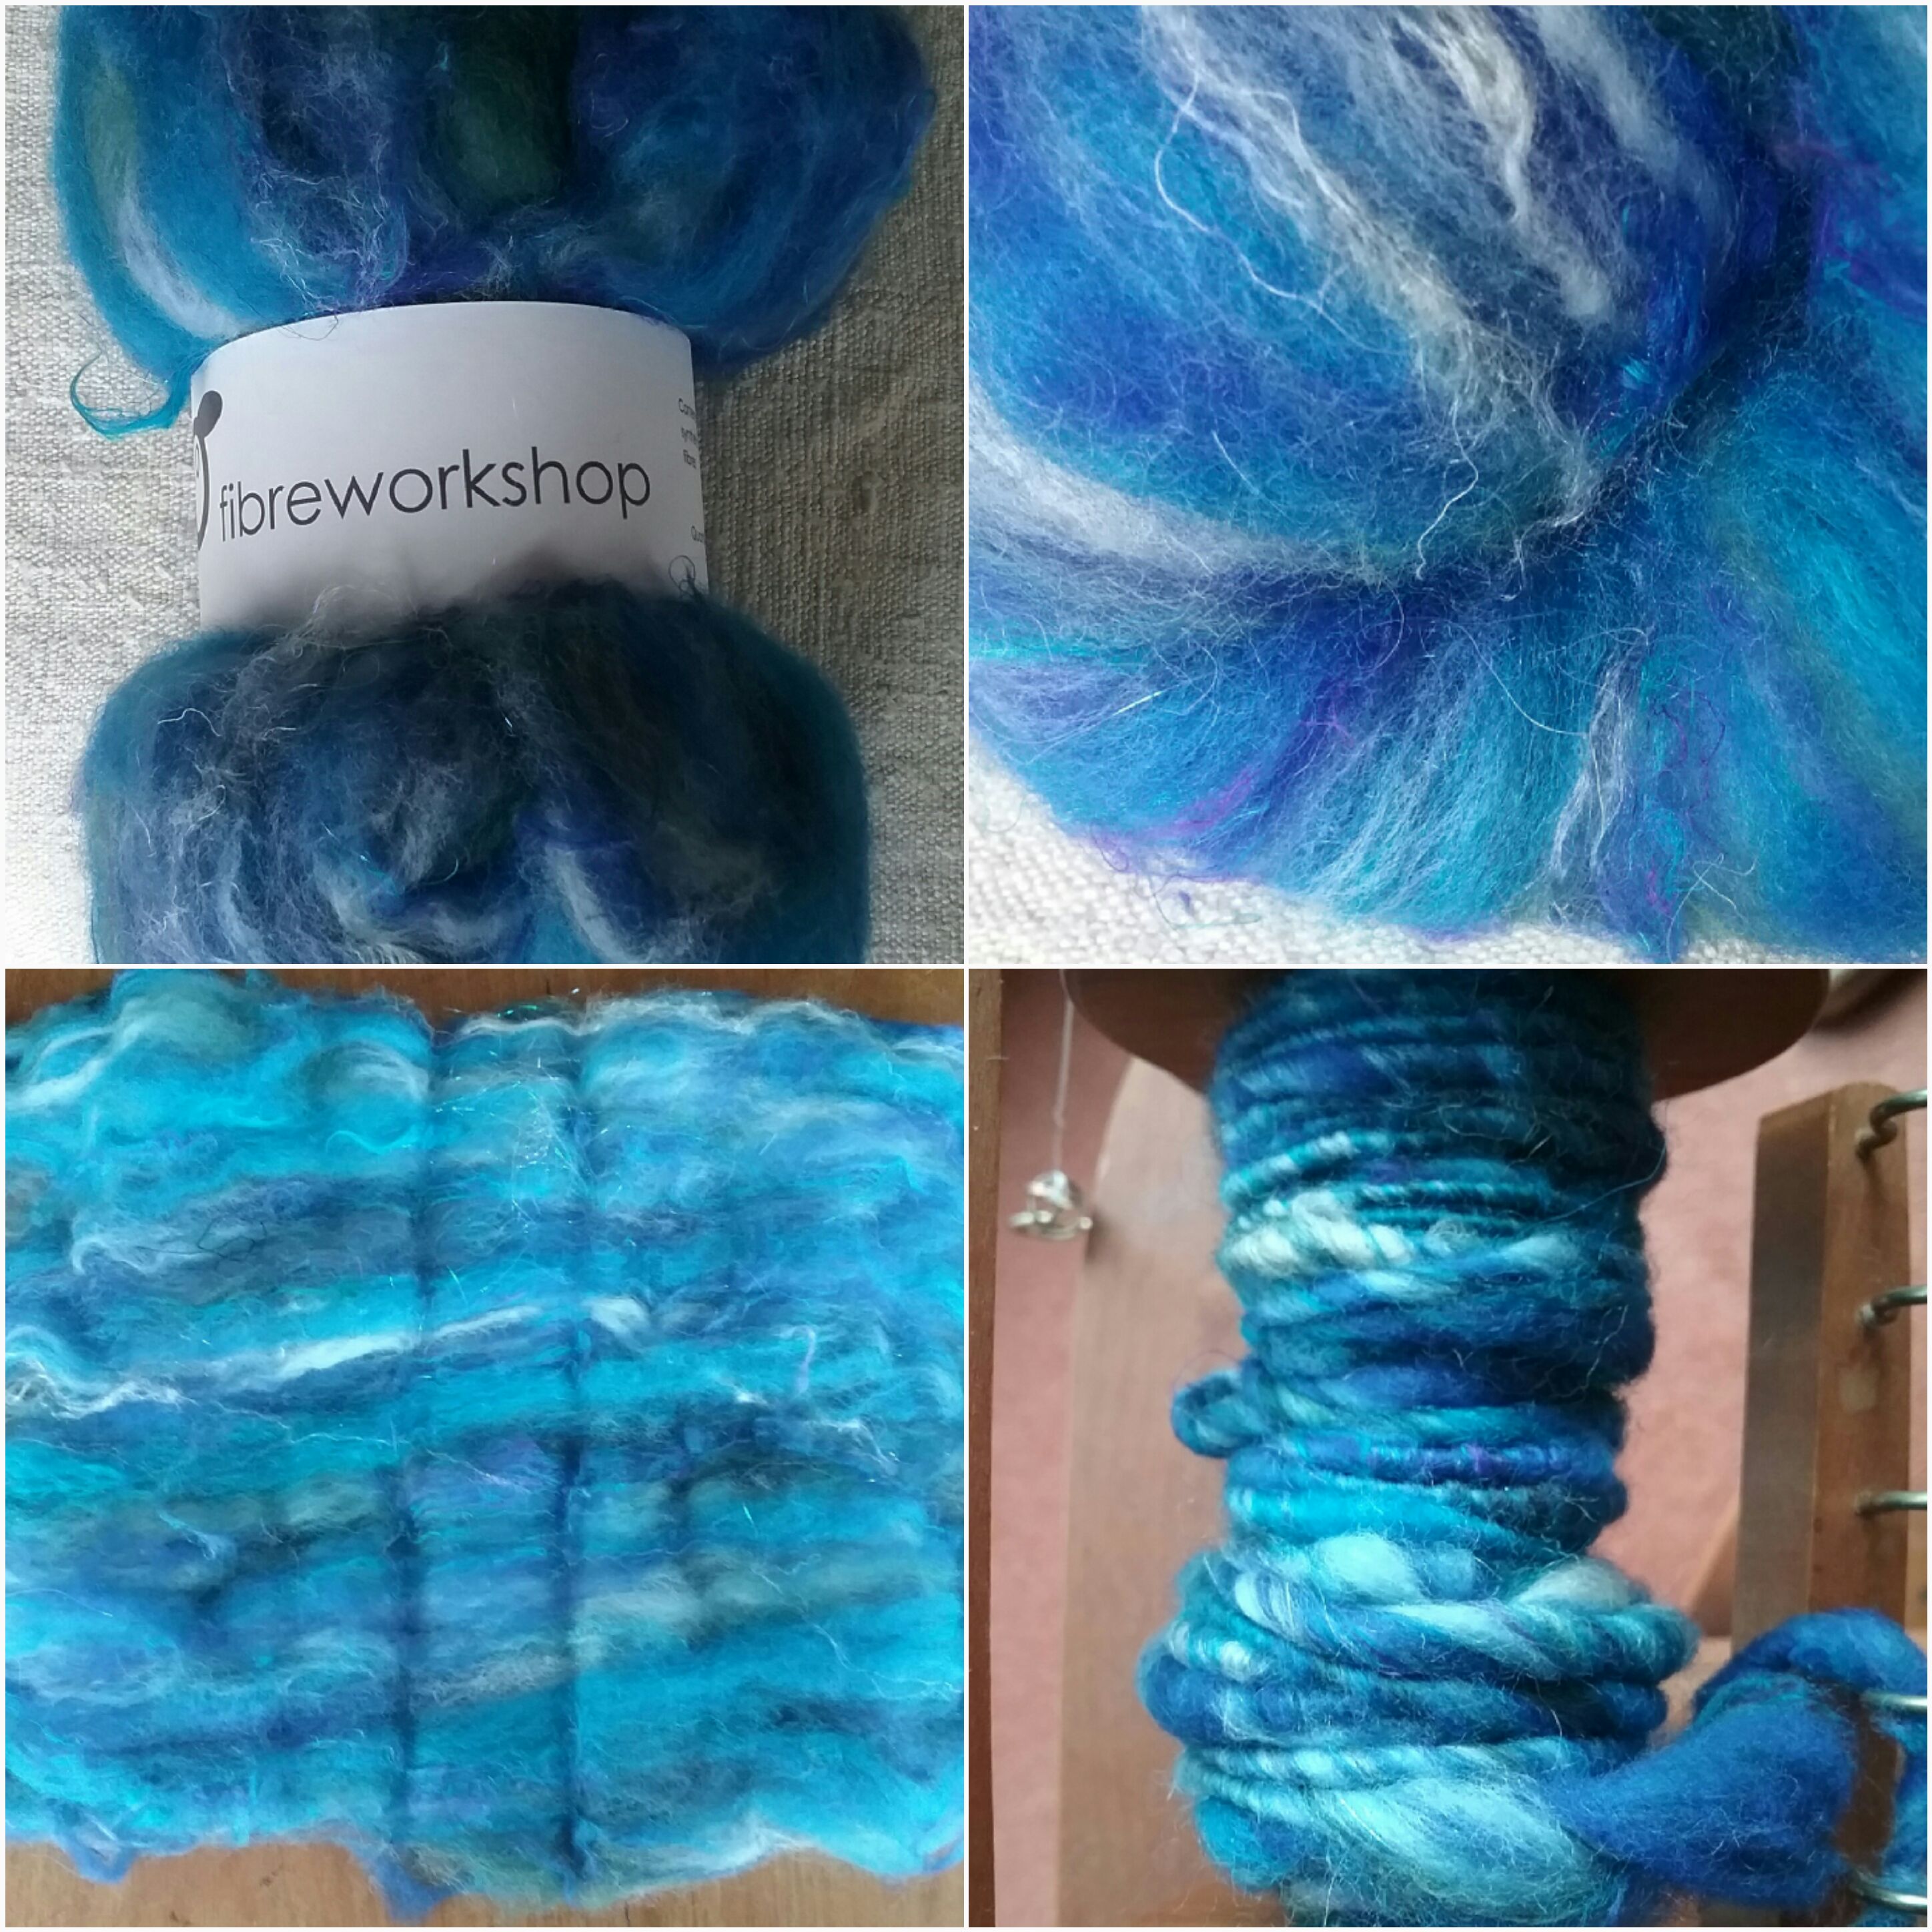
Tour de Fleece week 2 has been a little less varied than week 1. I began the week by experimenting with turning a landscape into yarn inspired by Ashford’s blog. The rest of the week was devoted to Clun Forest spinning. I have a weaving project in mind for this which will require thin warp threads, so I’m spinning thinner singles than I have spun before. Although I get more length this way, it means the bobbin takes longer to fill, so I haven’t got round to plying yet – hopefully next week. Below are my daily progress photos from days 9-15 (4th July – 10th July).
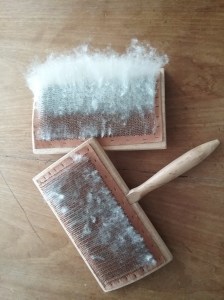
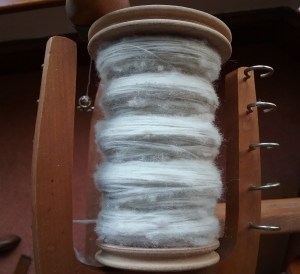
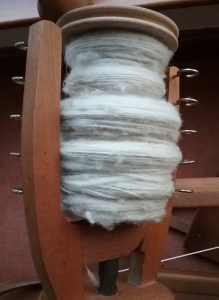
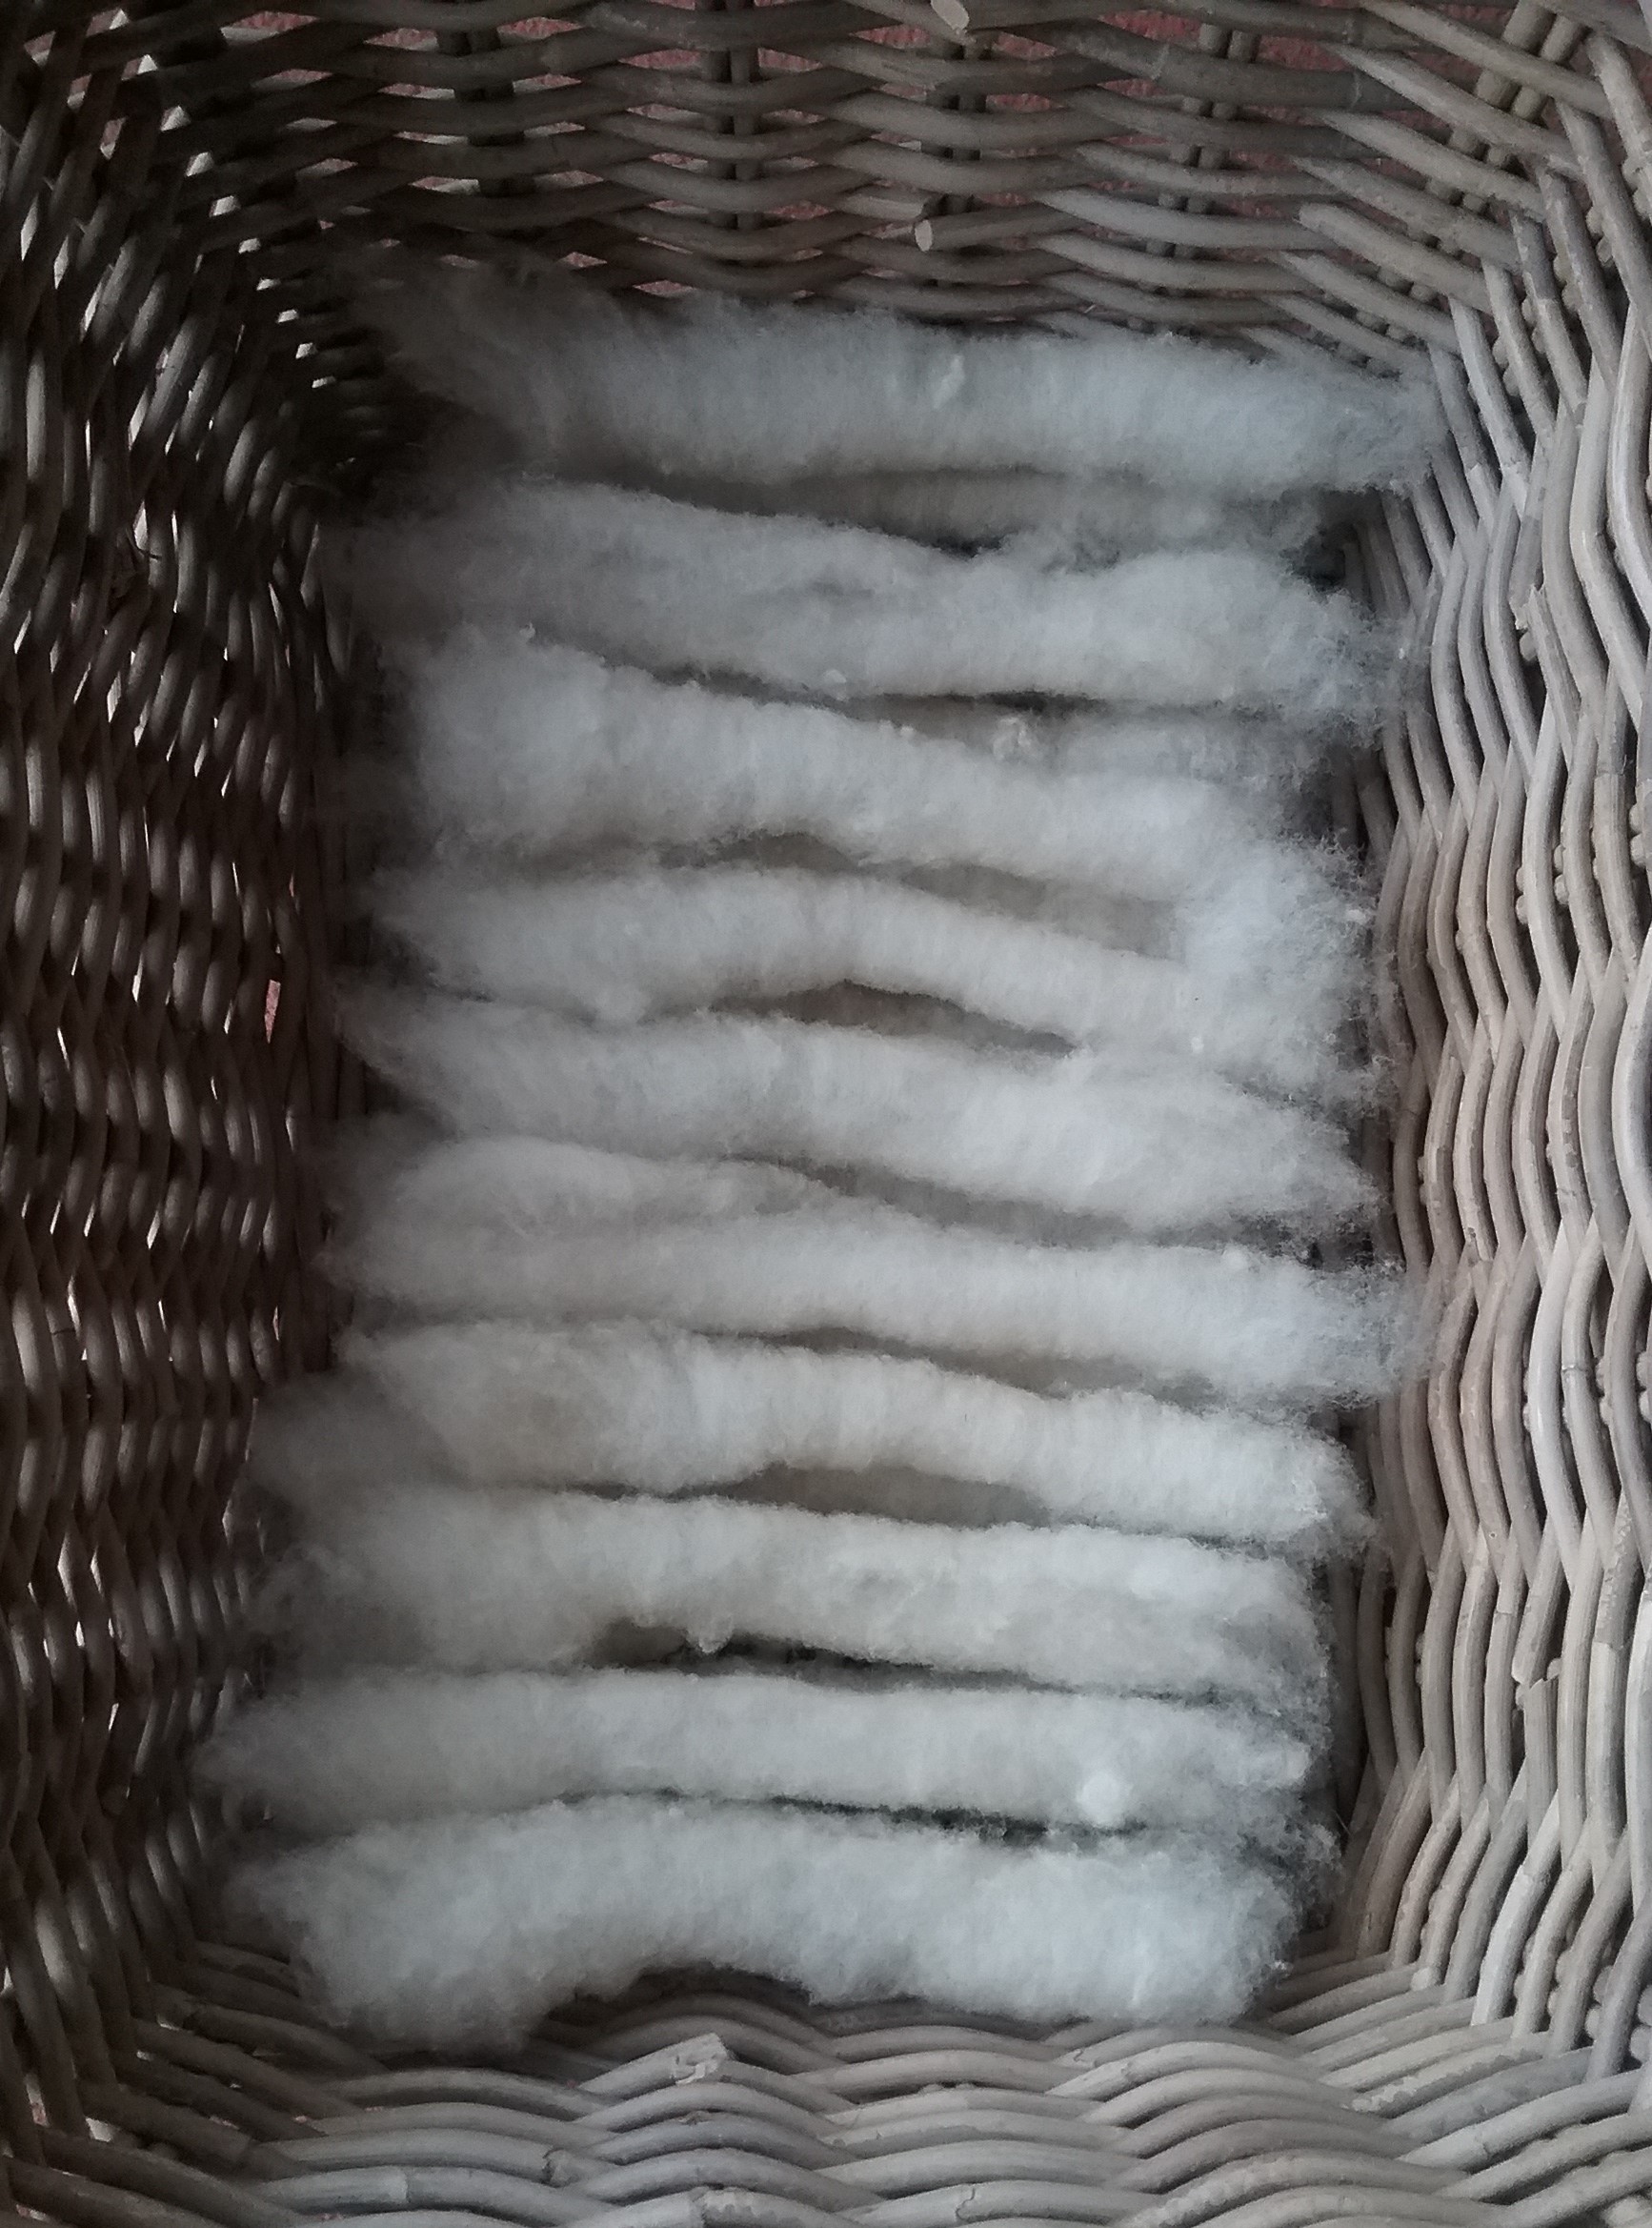
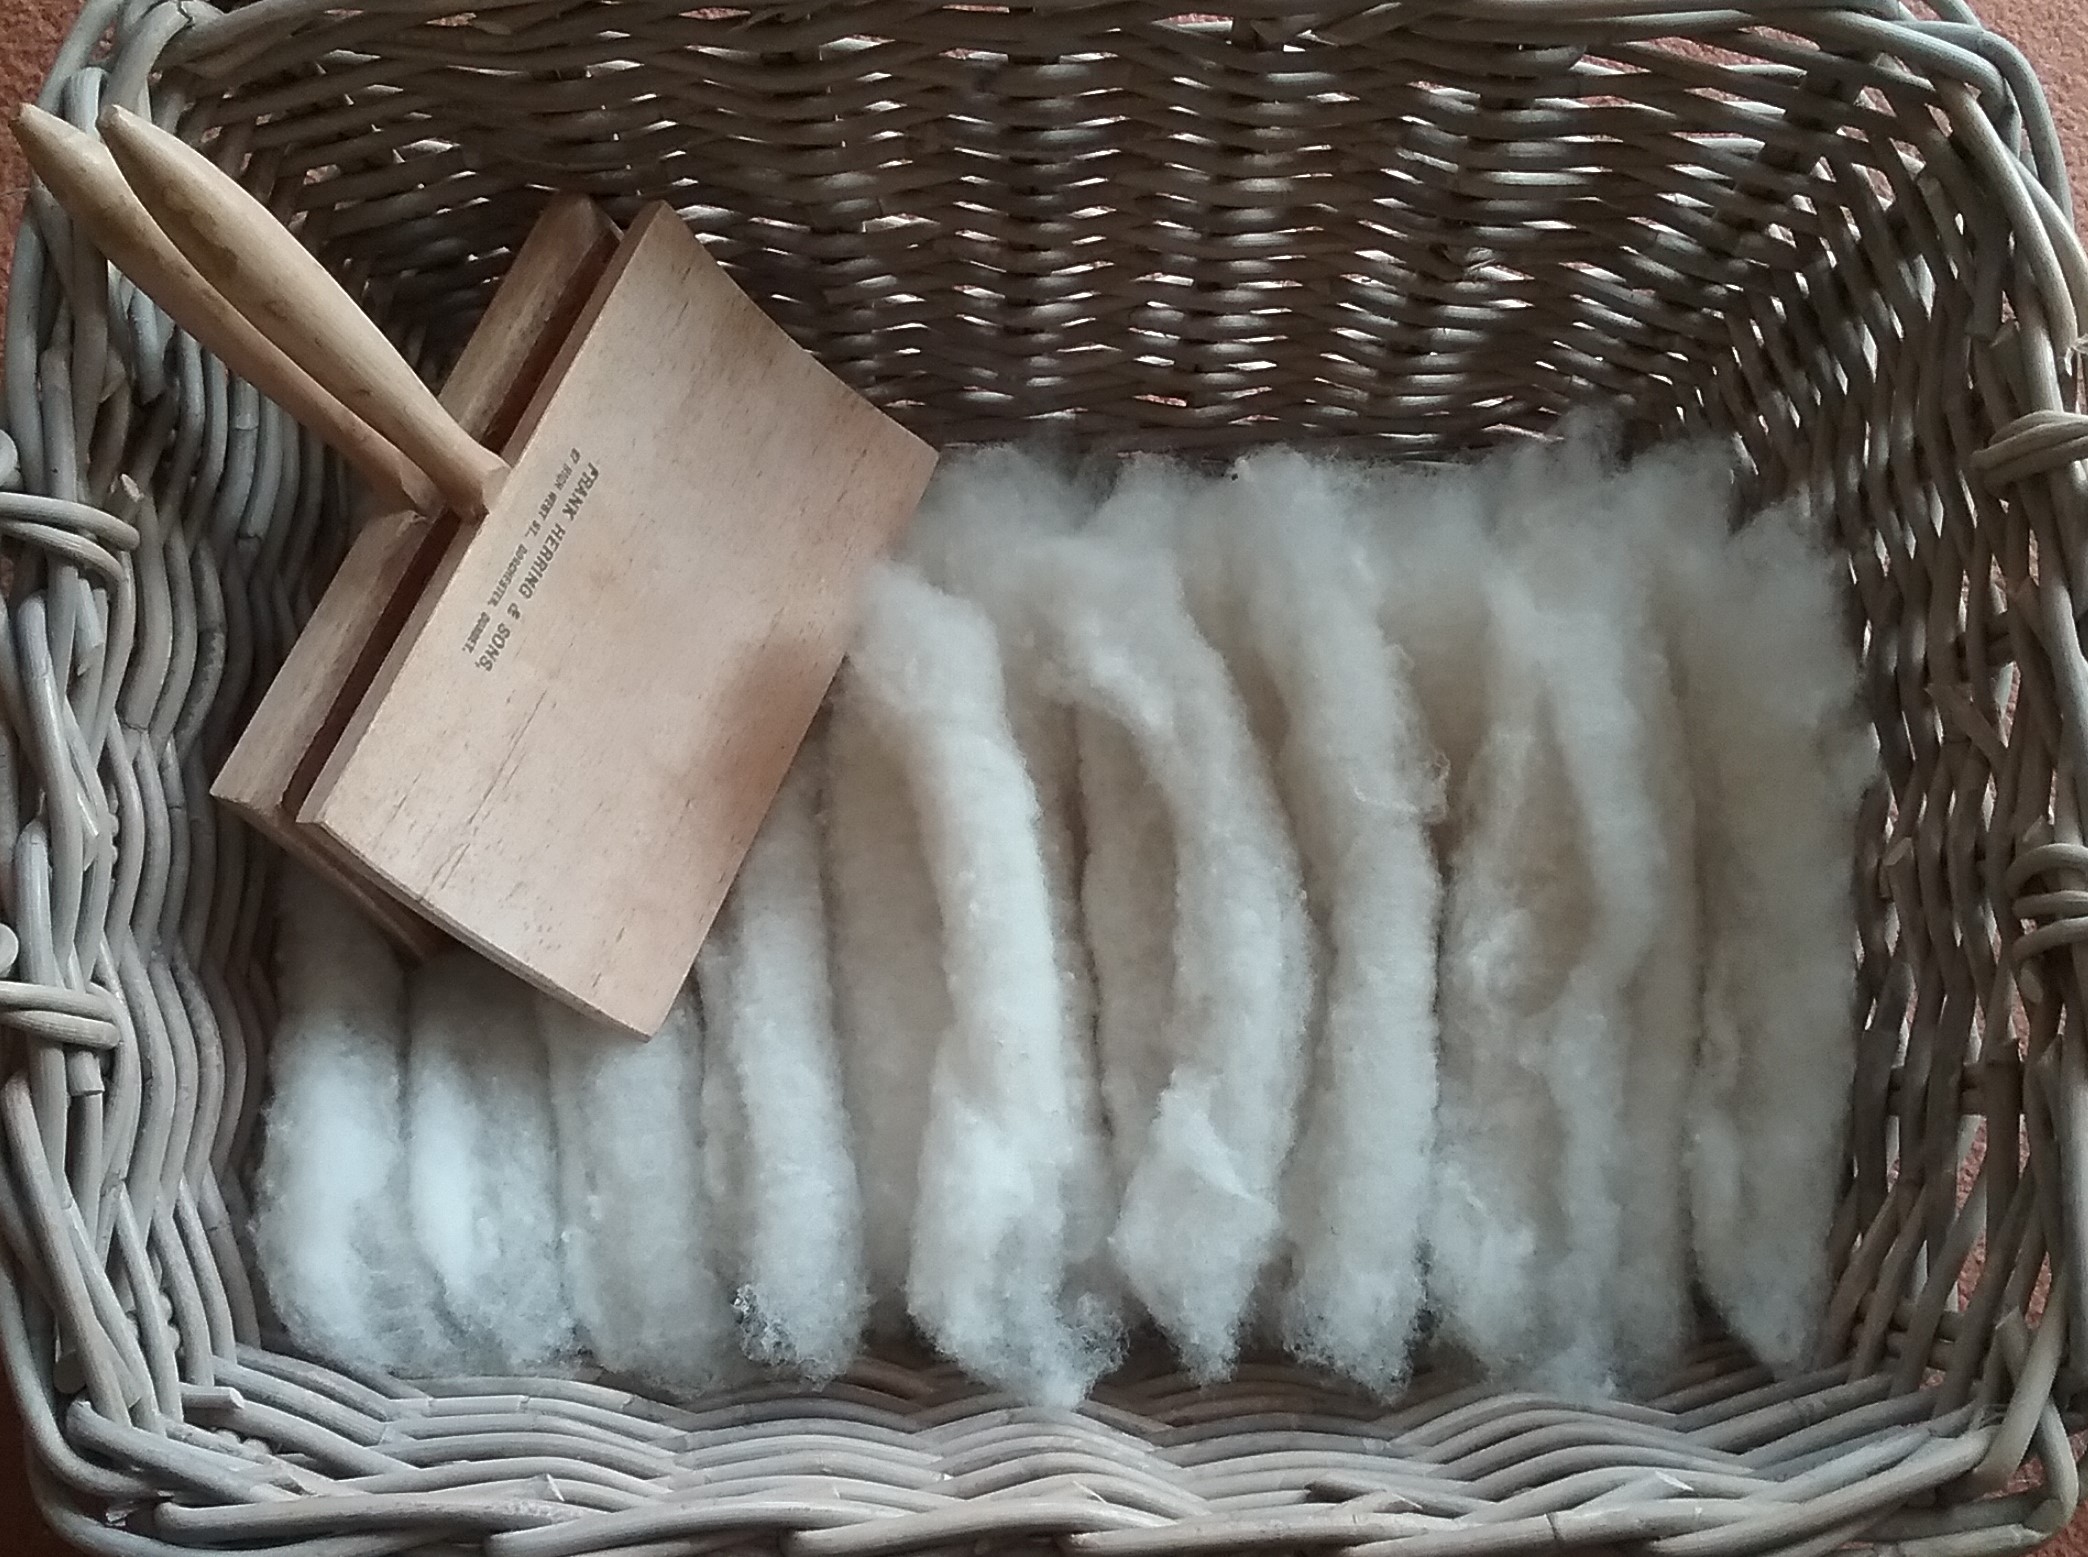
Day 9: Turning a photo to yarn inspired by Ashford’s blog postDay 10: Chain/navajo plying the landscape yarnDay 11: Continuing to card the Clun Forest fleeceDay 12: Starting to spin up the first basket of Clun Forest rolagsDay 13: Continuing with the Clun Forest spin Day 14: Filled the first bobbin with Clun ForestDay 15: Started spinning the second bobbin of Clun Forest
For more information about my tour de fleece challenge my introductory blog post is here and my week 1 wrap up is here. I’m also posting my progress photos daily on my instagram.
If you are also joining in with Tour de Fleece (whether part of a group or going it alone like me!) I’d love to hear how you’re get on – feel free to share your progress/goals in the comments section.
Week 1 of Tour De Fleece got off to a good start, but I called day 6 a write off after losing my beloved pet and spinning companion. Although I don’t feel very creative at the moment, I’m too stubborn to give up, so am doing my best to pick up where I left off. This week has mainly been devoted to stash busting with a little fibre prep for my breed studies (full posts as usual on those in due course). Below are my daily progress photos from days 1-8 (26th June – 3rd July).
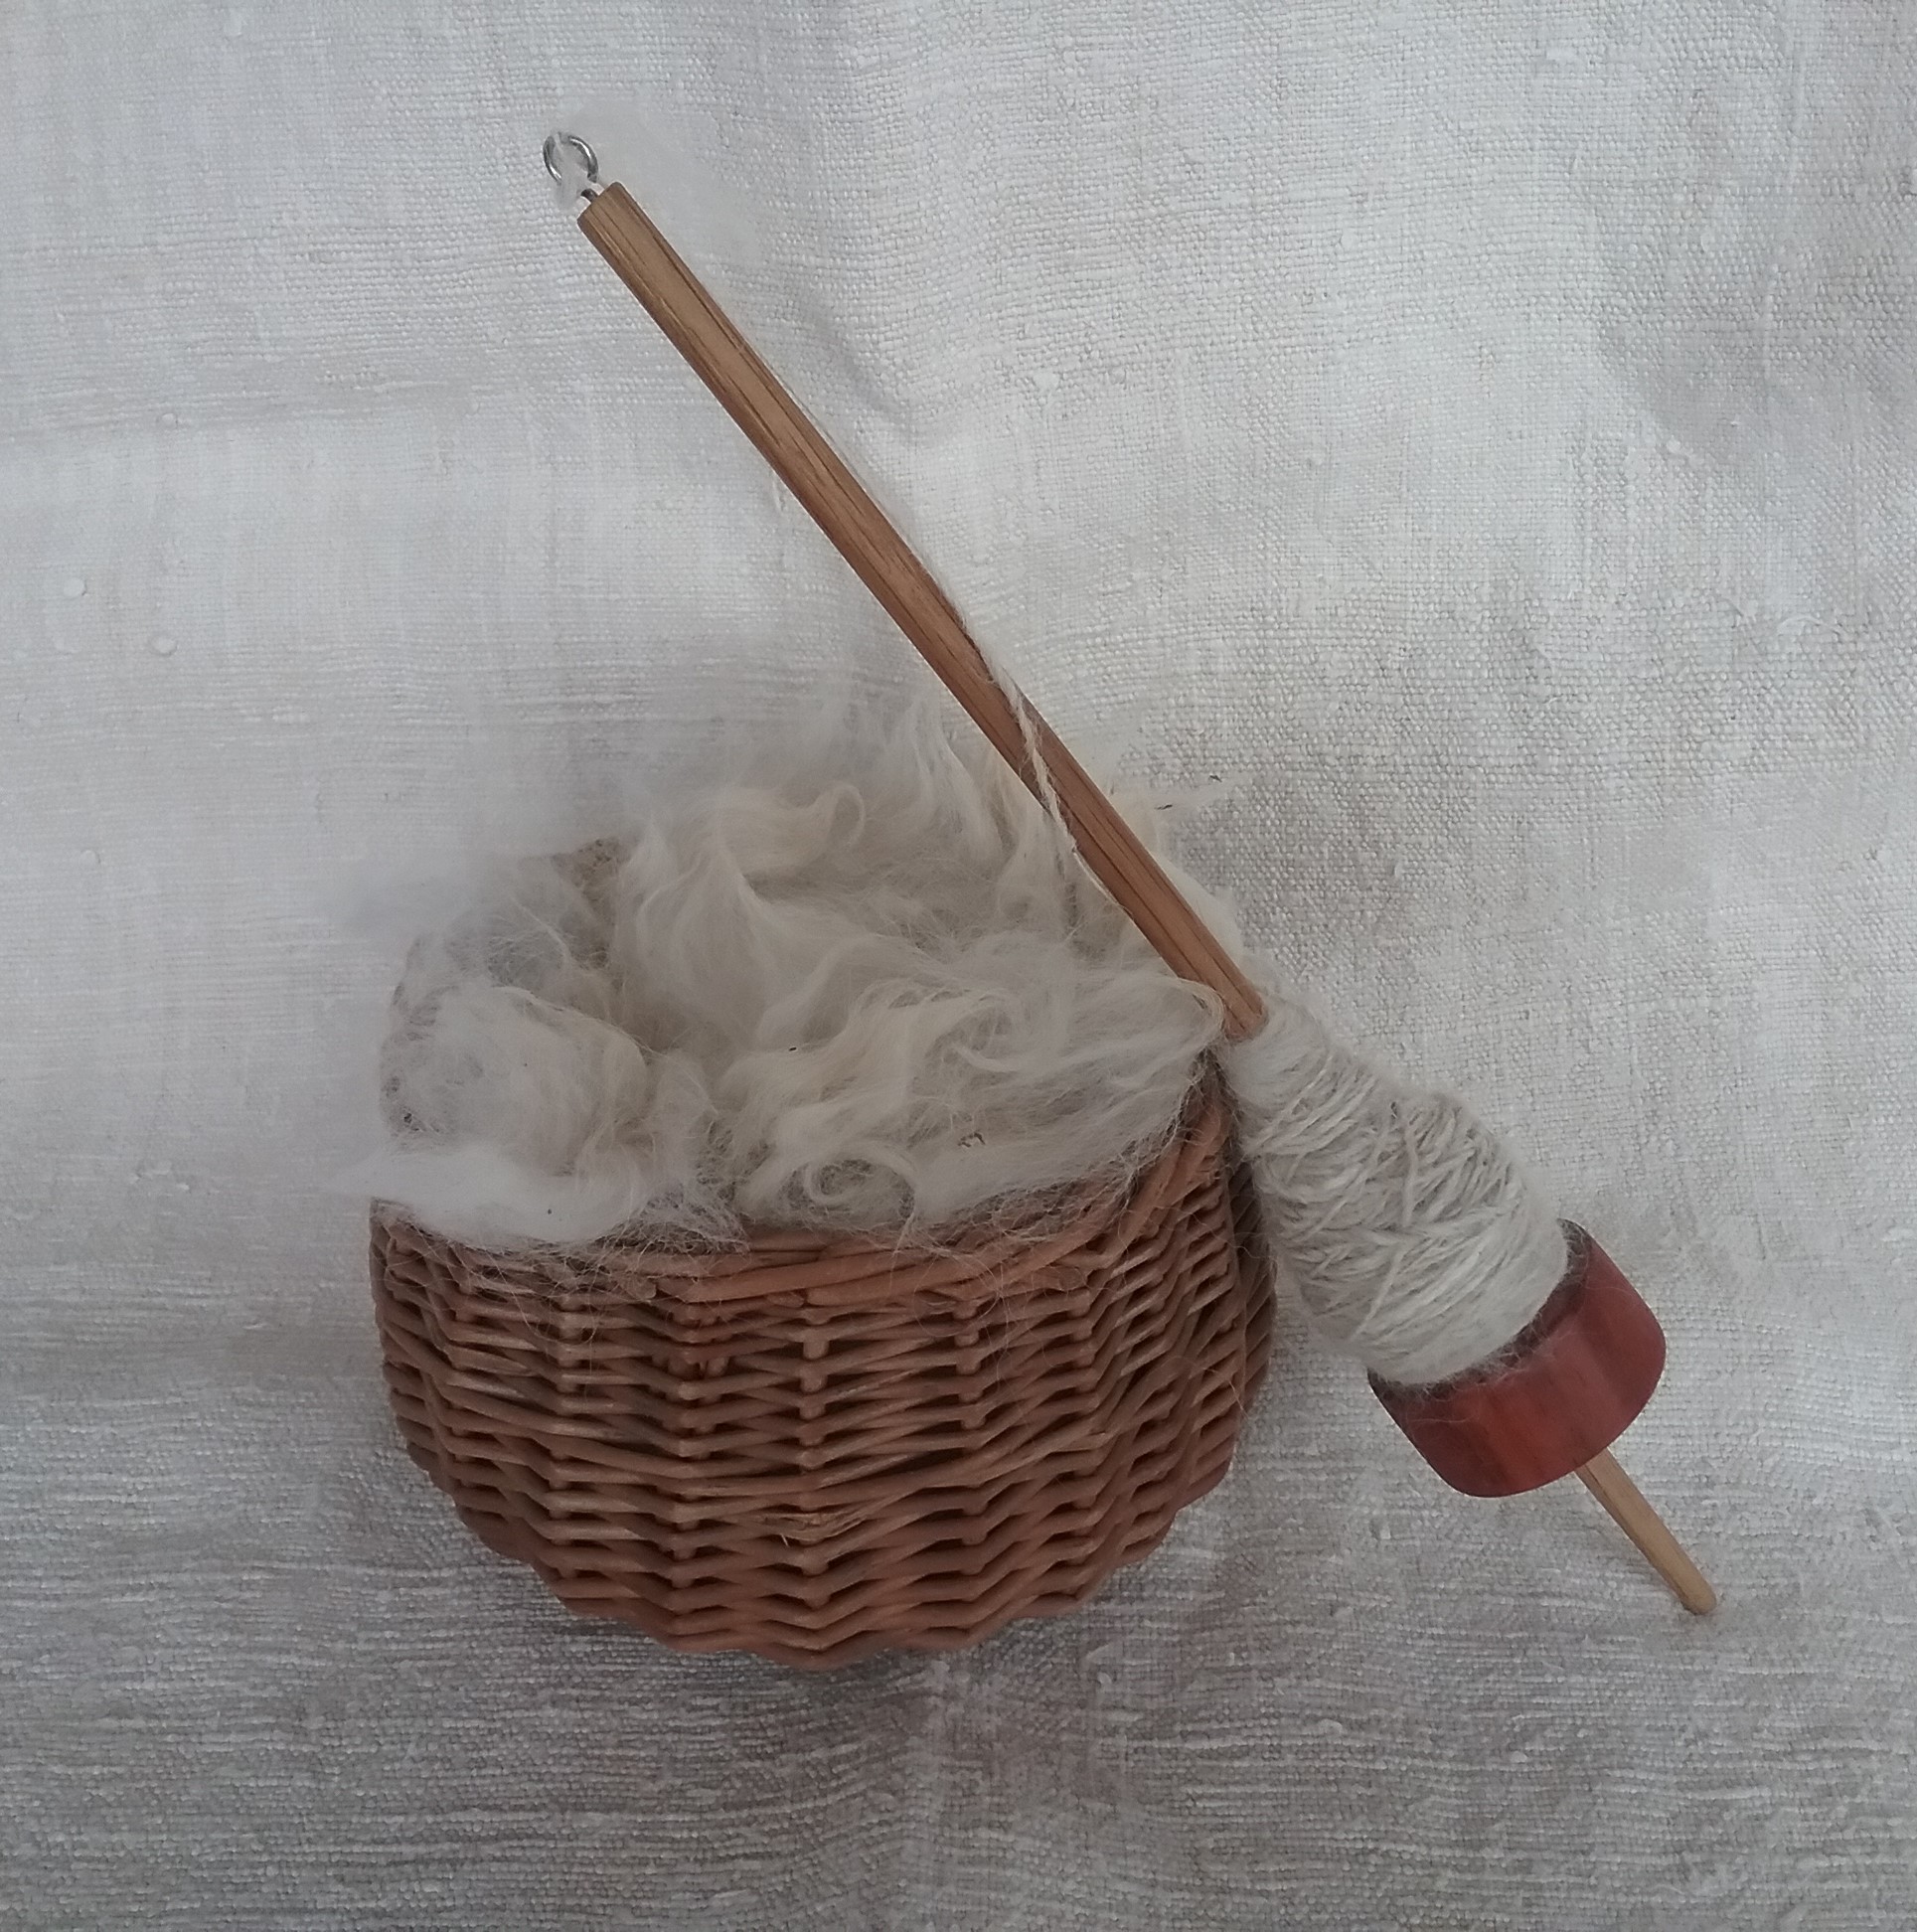
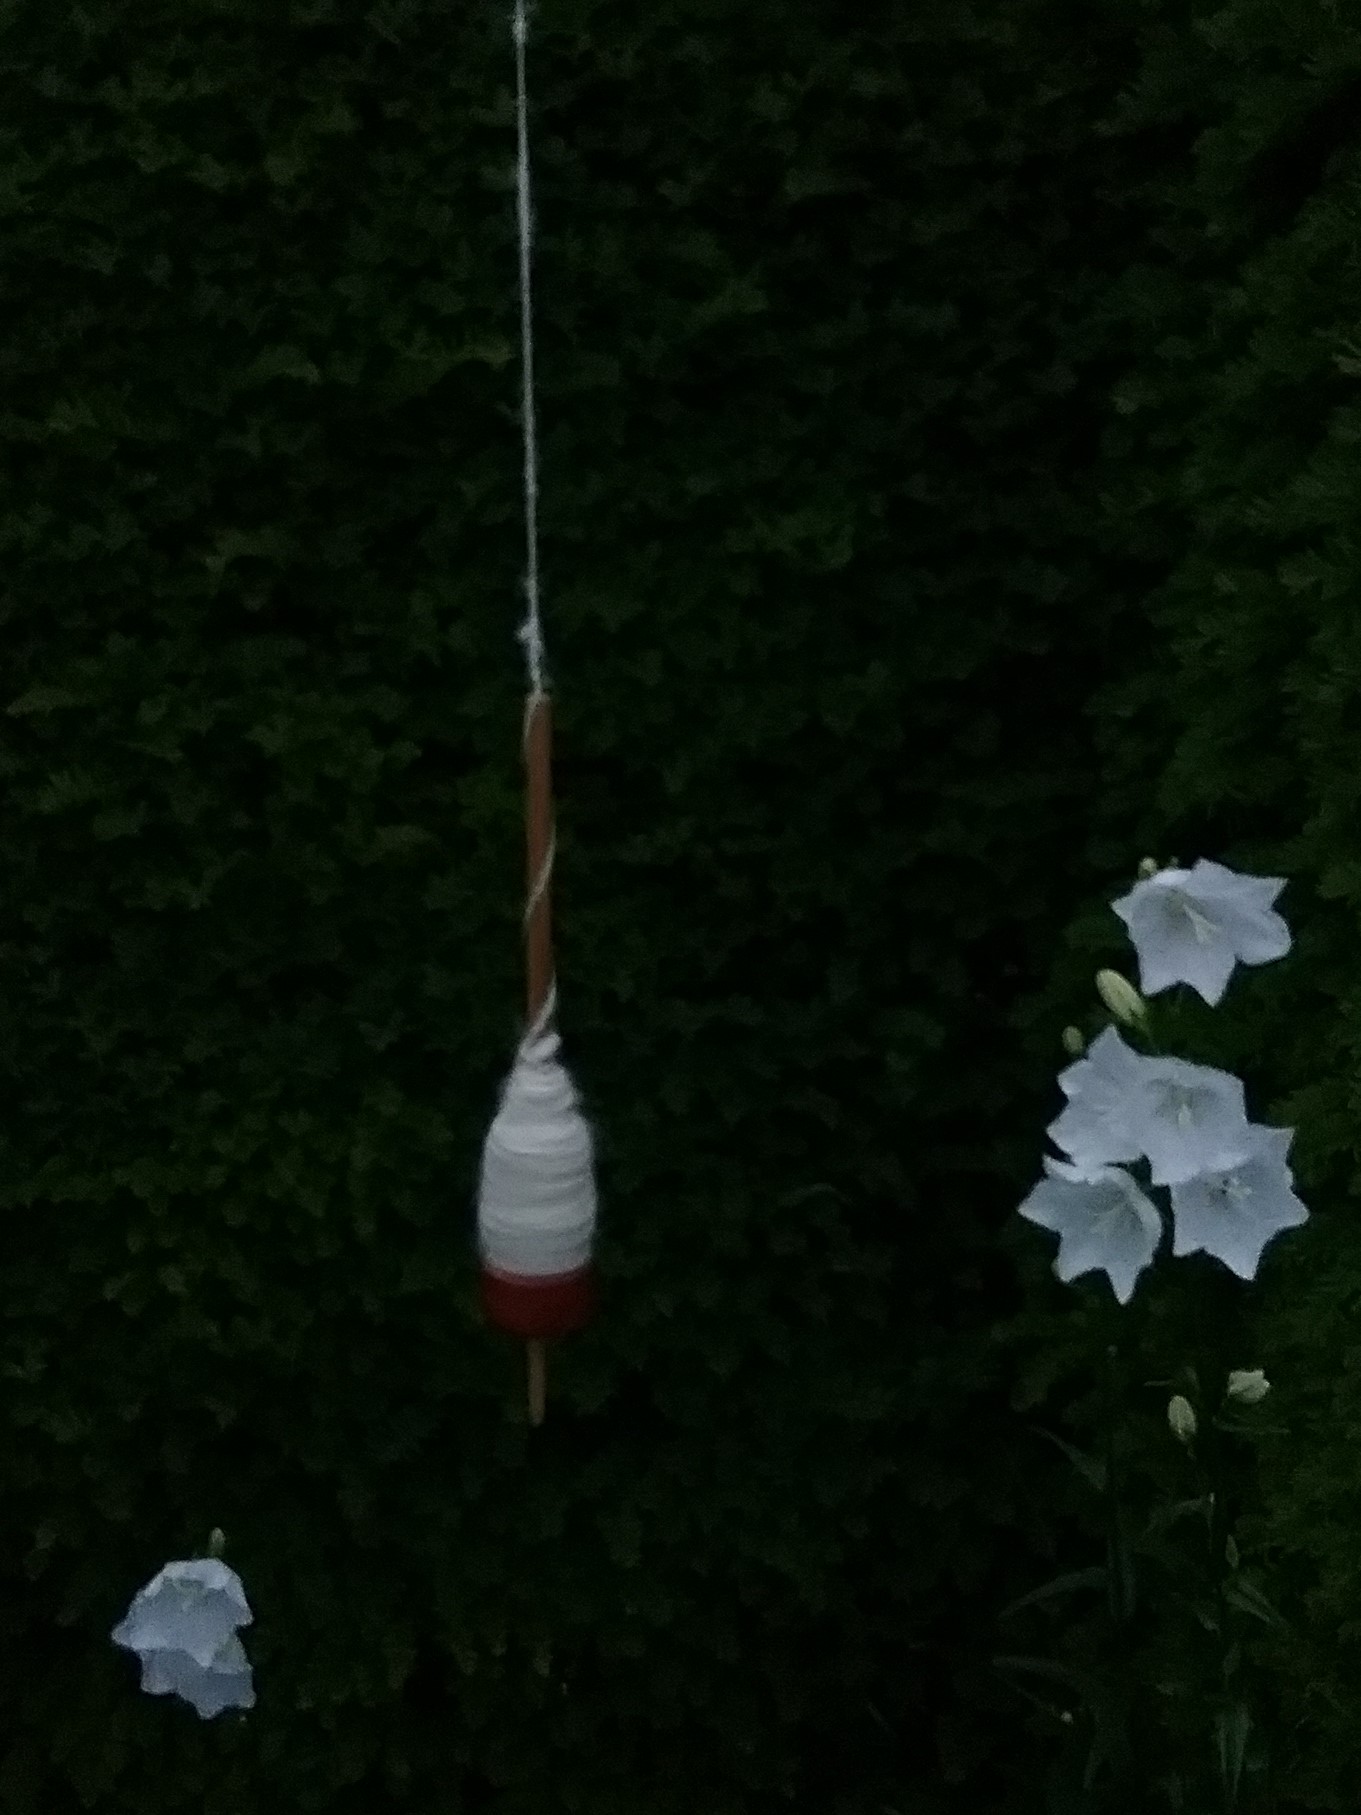
Day 1: Spinning Hill Radnor roving from my stashDay 2: Spindle spinning some alpaca fleeceDay 3: Core spinning a lovely blue batt from my stashDay 4: Carding some Clun Forest fleece into rolagsDay 5: Spinning some more alpaca at twilightDay 7: Filling up the basket with more Clun Forest rolagsDay 8: Combating plastic waste by spinning up those pesky non-recyclable sweet wrappers – blog post with tutorial to follow after tour de fleece.
For more information about my tour de fleece challenge my introductory blog post is here. I’m also posting my progress photos daily on my instagram.
If you are also joining in with Tour de Fleece (whether part of a group or going it alone like me!) I’d love to hear how you’re get on – feel free to share your progress/goals in the comments section.
This year I have decided to participate in Tour de Fleece. This is an annual spinning event where crafters spin on every day the cyclists of the Tour de France ride. This year the dates are 26 June 2021- 18 July 2021. Although there are official Tour De Fleece groups on social media (Facebook and Ravelry I believe), you don’t have to be signed up to them to join in the fun.
Although Tour de Fleece is about spinning; the idea is to set yourself a challenge and have fun, so I’ve decided to adapt it for myself to include any of the following activities:
Spinning
Carding/Combing
Fleece Washing
Weaving
Knitting
This is because most of my wool stash is raw fleece and I can’t spin it until it has been processed. I’ve also included knitting and weaving so I can hopefully finish some WIP’s. In order to keep a focus on spinning, I am hoping to fit in some experiments with plant fibres and spin up some of the roving in my stash that has been waiting for my bobbins to be free.
I aim to spend about 1 hour a day on Tour de Fleece, but I’m not going to be too strict about this.
To hold myself accountable I will be taking progress photos and will be posting these daily on my newly created instagram and also in a blog post at the end of each week.
If you are also joining in with Tour de Fleece (whether part of a group or going it alone like me!) I’d love to hear how you get on – feel free to share your progress/goals in the comments section.
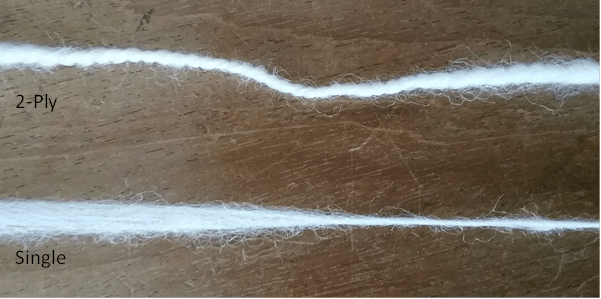
As the fleece had been carded into rolags I began by spinning woollen (long draw) as is convention. Due to the length of the fibres however, I found I had less control over how fast the twist was entering the drafting zone and found that spinning with a full long draw was allowing twist to get into the un-drafted fibres. I decided to spin using a short draw instead which gave me more control when spinning and seemed to show off the natural lustre of the wool much better.
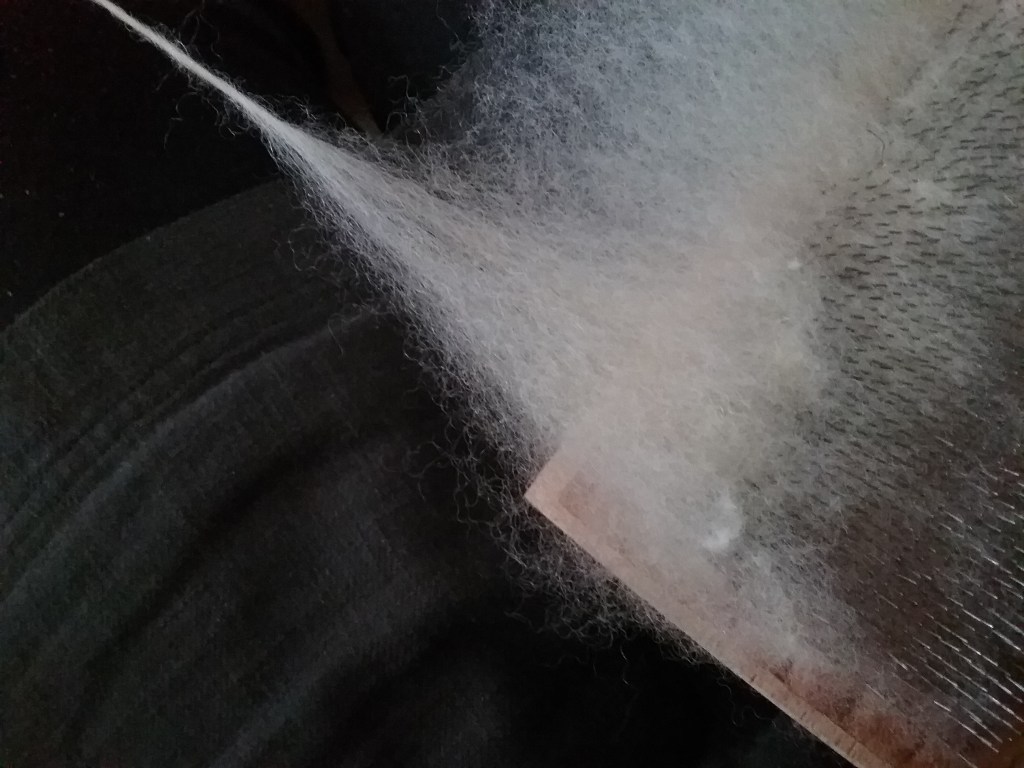
Romney fleece being drafted directly from the carder
At the moment I have no wool combs to compare the differences between the preparation types, but I had read about spinning directly from hand carders also facilitated worsted spinning. Spinning in this way means the fibres are aligned straight much like they would be on combs, so I thought I would give it a try. I carded the wool as usual, but left it on one carder without making a rolag. I then attached the fibre on the left hand side to my leader and started spinning, drafting the wool directly from the carder, gradually moving across the carder until reaching the right side, upon which I moved back again (in a similar way to how you would use a diz). This method produced a yarn with slightly less ‘halo’, so was probably quite similar to if the fleece had been combed. I have saved a small sample of fleece, so when I get round to DIYing some combs I will update this post with a proper comparison. Spinning directly from the carder felt quite strange to me, as I would normally use both hands for short draw, but with this method one hand had to hold the carder while my non dominant hand had to hold tension and draft at the same time. With more practice I’m sure this is something I would get used to.
Romney yarn with less ‘halo’ drafted directly from the carders
Plying
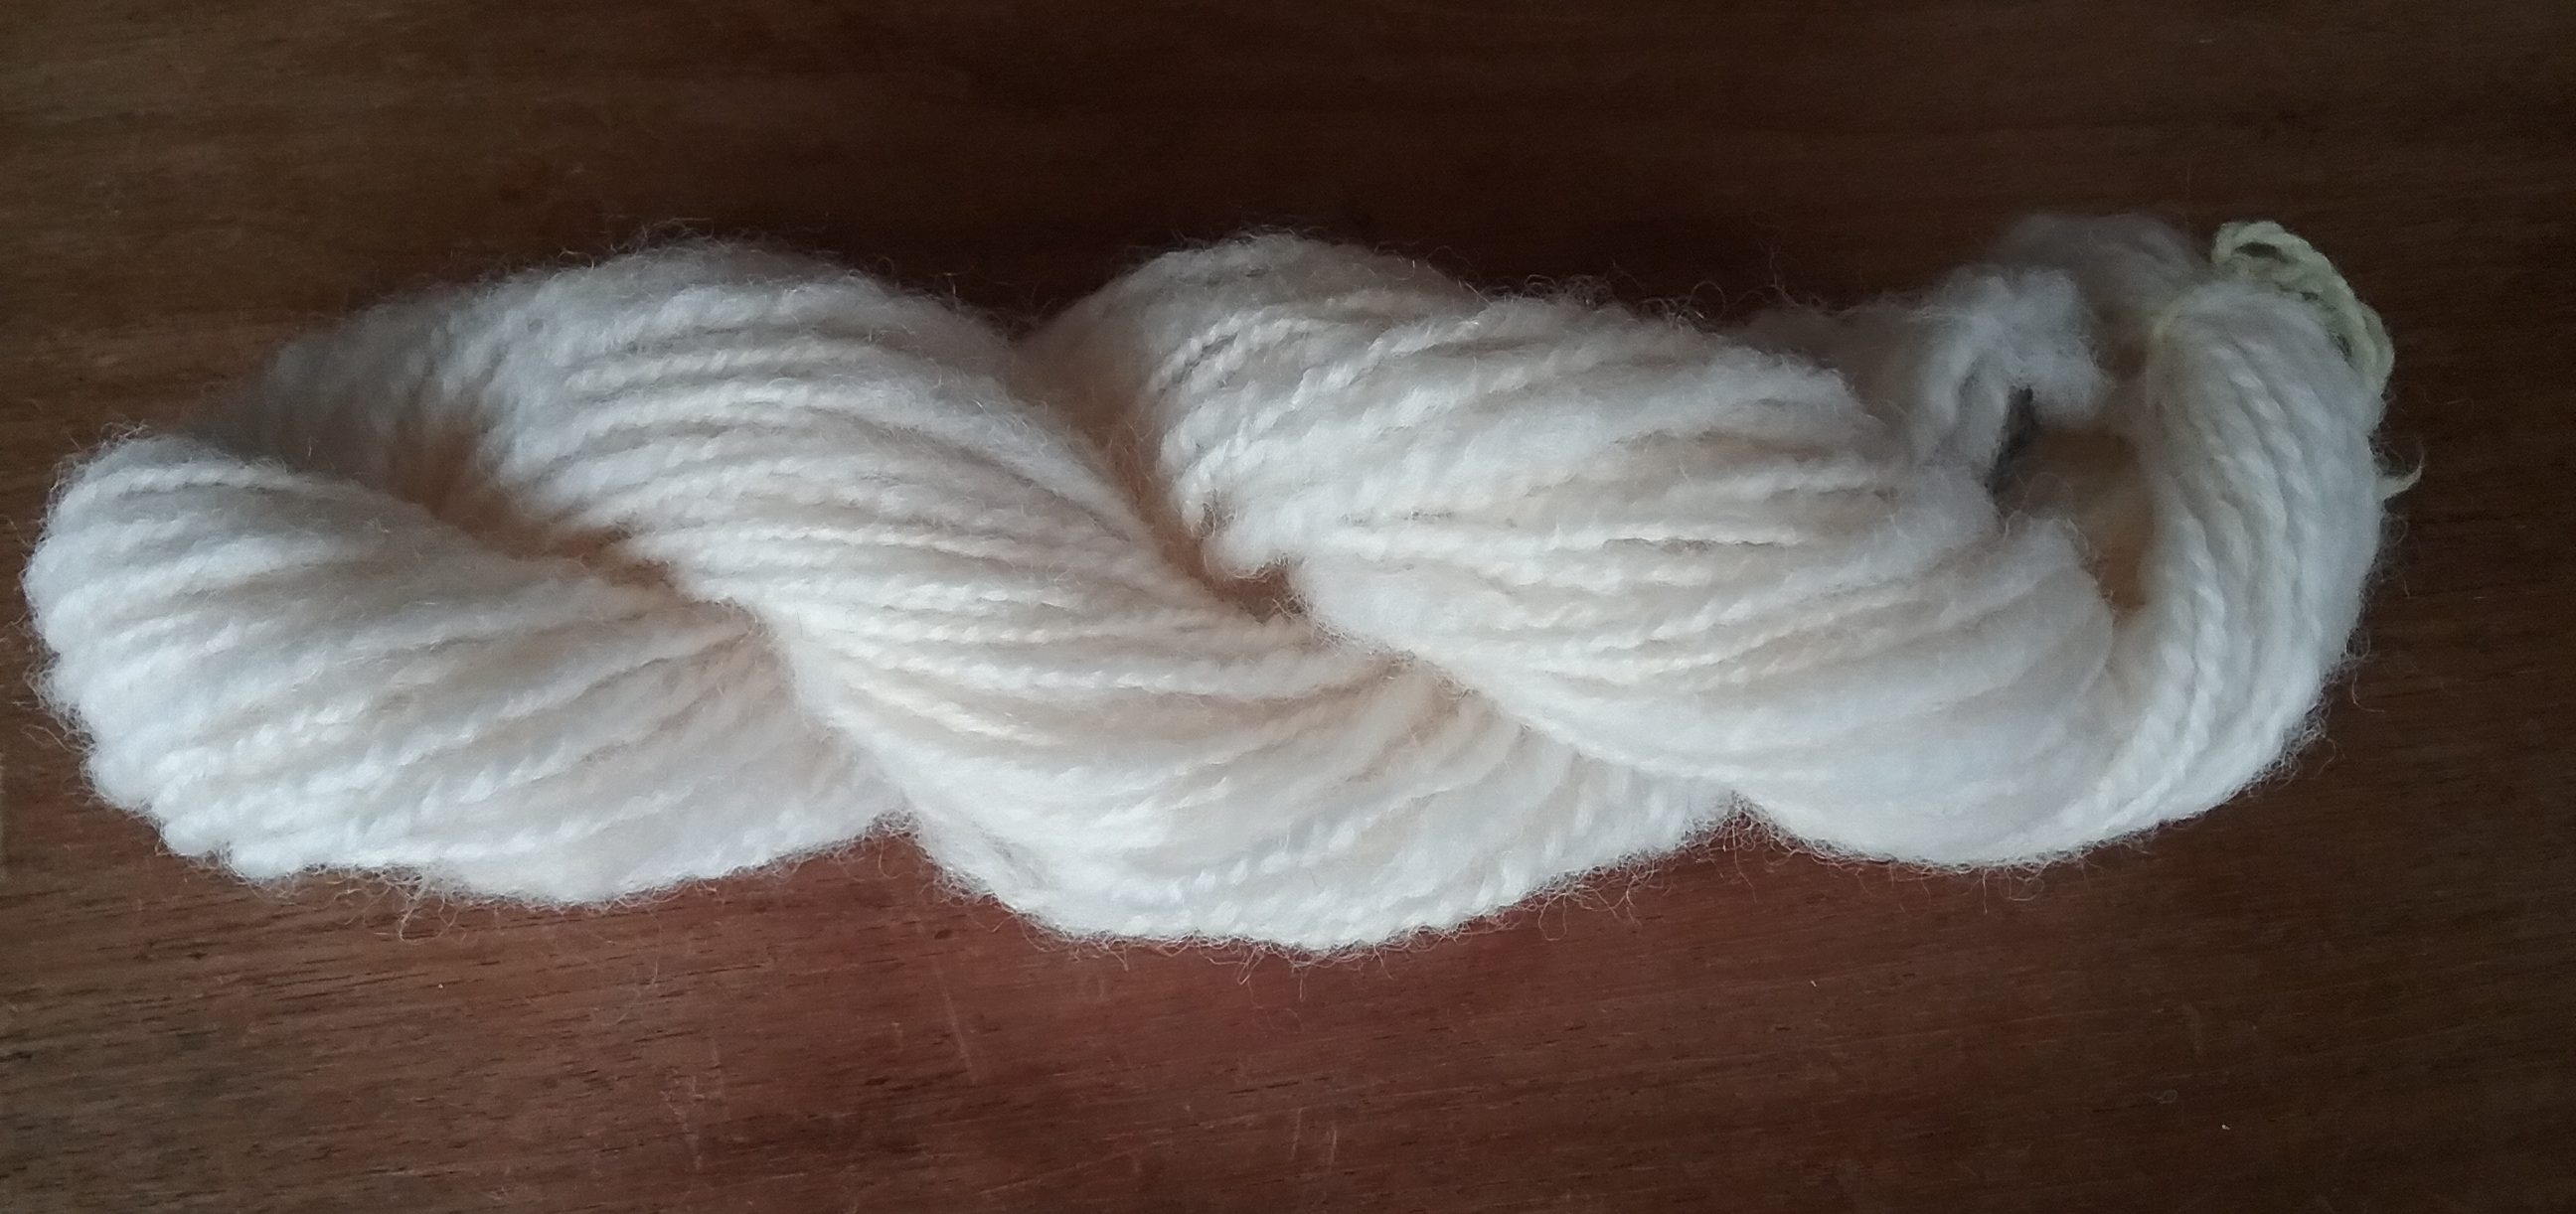
I believe the Romney singles are the thinnest I have so far spun, so although the lack of nepps/additional texture made for easy plying, it seemed to take quite a long time for the bobbin to fill with 2-ply. The wool plied quite neatly and seemed to naturally even out any thicker areas in the singles rather than accentuating them. The total length of plied yarn from 1kg of Romney fleece was approximately 1044m.
Setting the Twist
After plying I washed the wool in warm water with some pure soap just to set the twist. The yarn was quite stiff coming off the niddy noddy, but had much more drape after drying. Quite by accident I was also able to see the felting point of Romney fibre. During one wash I forgot to add some cold water to the bowl and after drying the fibres had started to felt together (thankfully I was able to separate them gently). I imagine with more agitation the fibres would have felted irreversibly.
Skein of Romney Wool
Comparing my spinning experience with my initial research the yarn does indeed have a very pearly lustre which should show up nicely in the final project/s. The woollen preparation method seems to have given the yarn a nice spring but the worsted spinning has given it more drape than the other fleeces I have worked with. My Romney yarn feels soft enough to wear next to the skin so I think my final project will probably be another accessory/garment with some sort of homage to the smuggling history of Romney Marsh. I also plan to cover spindle spinning with the small amount of Romney I have saved to comb, so I will update this post then.
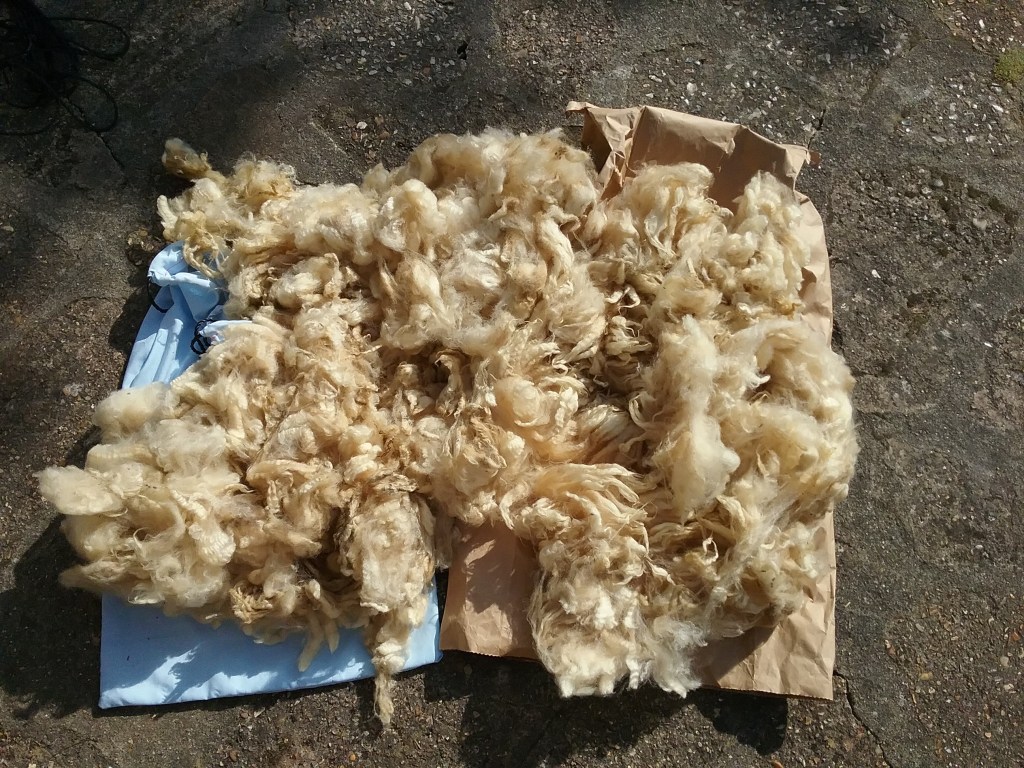
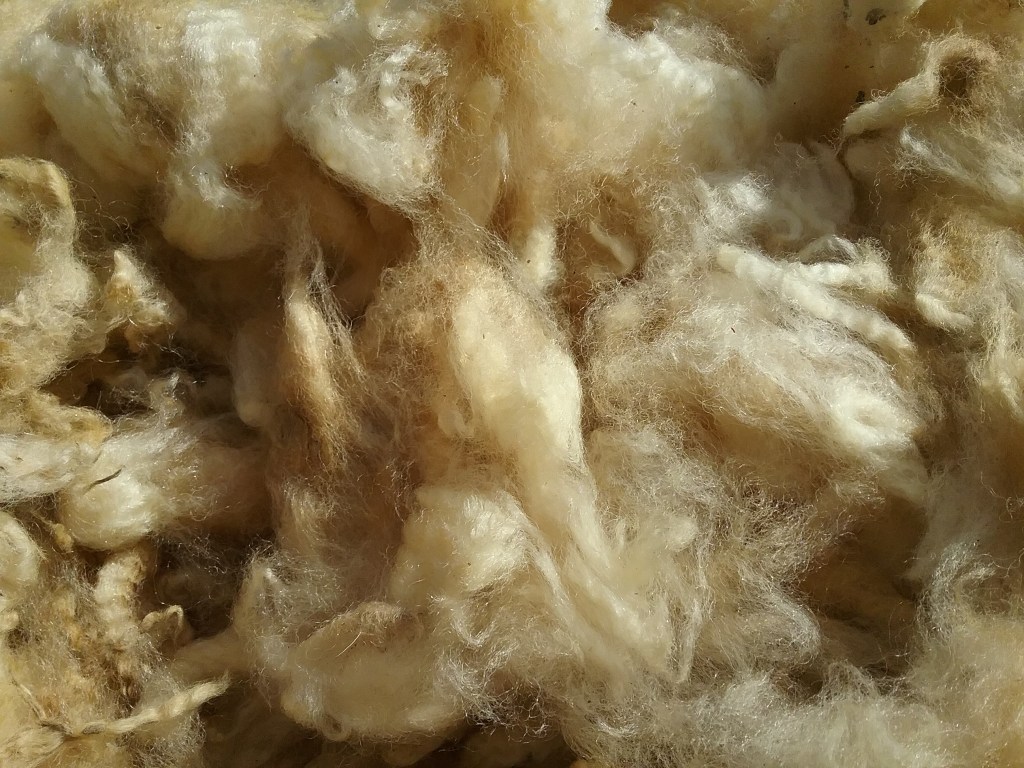
I purchased this fleece from Romney Marsh Wools during virtual Fibre East last year. Romney Marsh sell fleece in either 500g or 1kg amounts rather than as full fleeces and the fleece is pre-skirted with all dags etc. removed. This meant that all of the really dirty work was already done for me, as apart from a couple of bits of straw, there was very little other VM and I couldn’t see much kemp. I would definitely recommend purchasing fleece in this way if you want to have a go at processing raw fleece, but don’t want to get too messy and want to be sure of the quality.
Quick disclaimer – This is not an ad, links are provided for reference only.
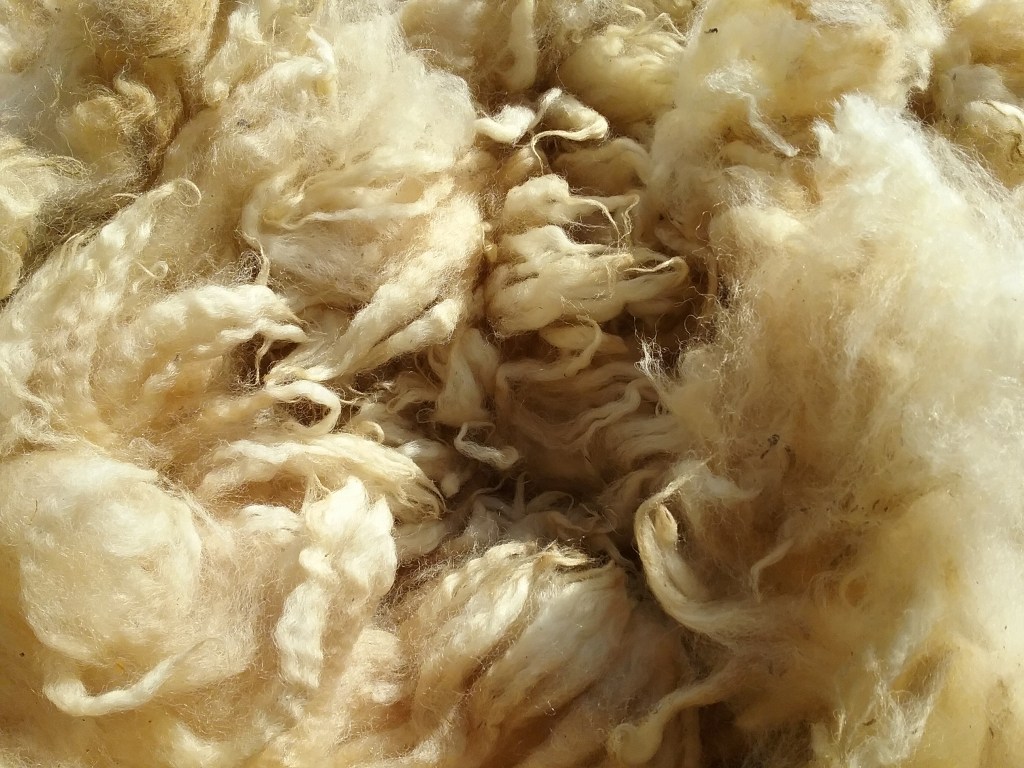
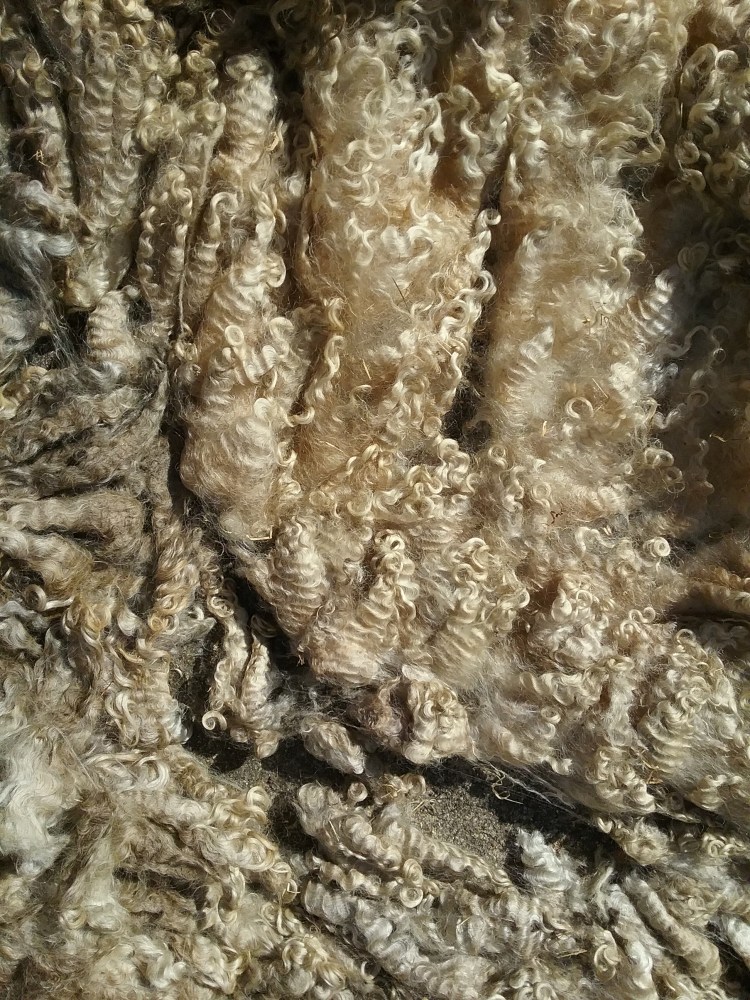
Close up of the crimp to the Romney Fleece
The fleece itself was incredibly soft and was greasier than I expected it to be from my research (see the yellowish tinge to the fleece in the above photos). The crimp was well defined and it had a very bouncy quality and a gorgeous lustre.
Washing
As has been my method most of last year, I decided to put it in the suint bath. Last autumn, I decided to optimise my suint method and found myself a large lidded bin to submerge fleeces in (this prevented the water from evaporating and also stopped insects falling in). The Romney fleece was the first to go into this new bath, so I left it in there for a week before rinsing it in clean rainwater and hanging it out to dry. The suint bath left it very soft and maintained its crimp and lustre. There was still a little grease in the fleece and I could have spun it as it was, but as I was going to be storing it indoors for a while before any further prep, I opted to give it a wash using some gentle soap to remove the rest of the grease.
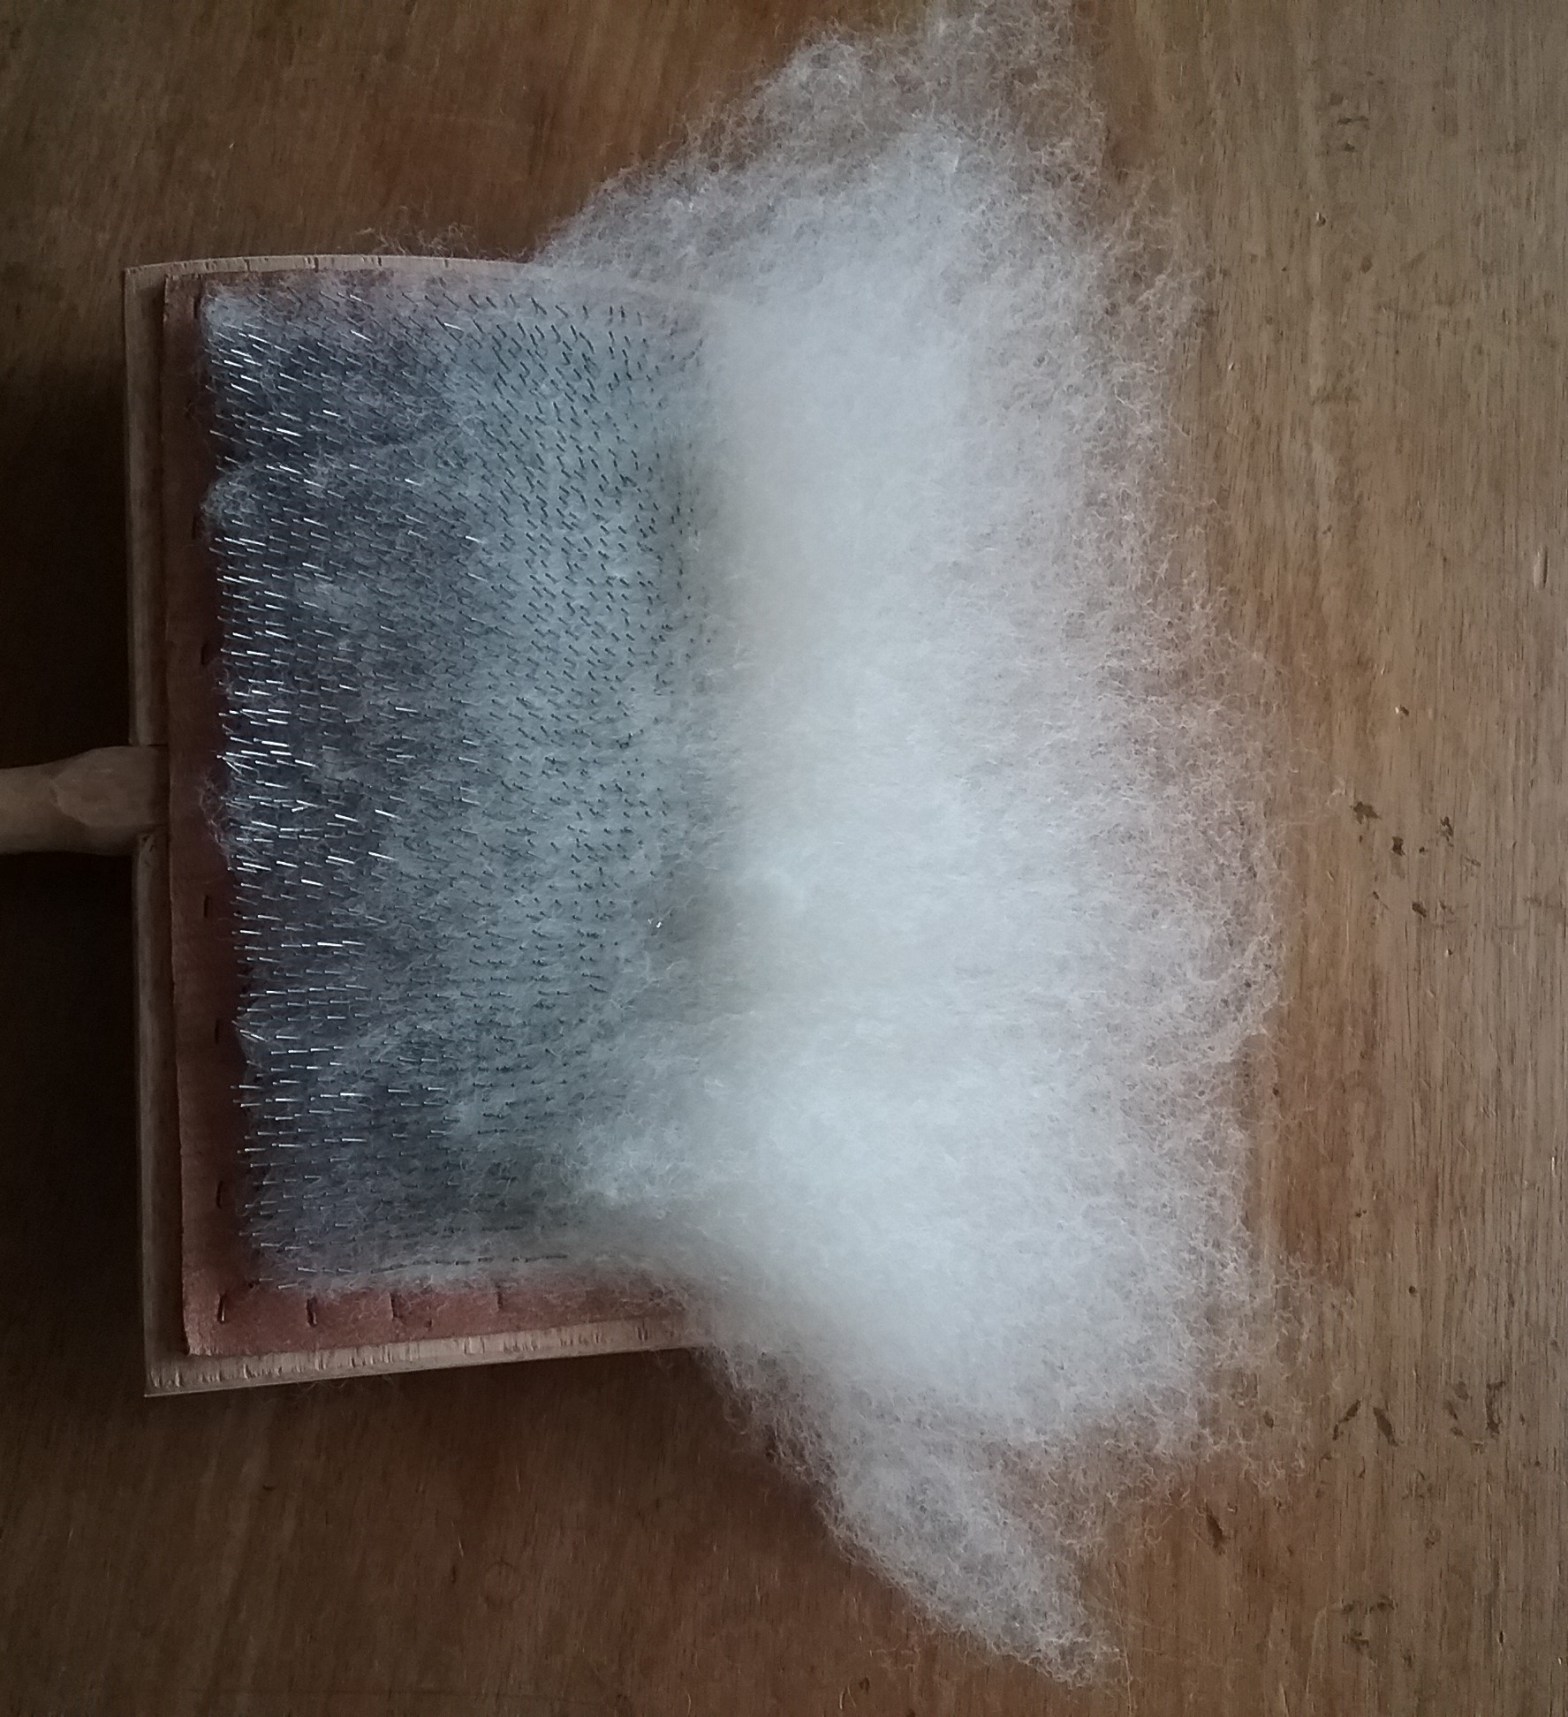
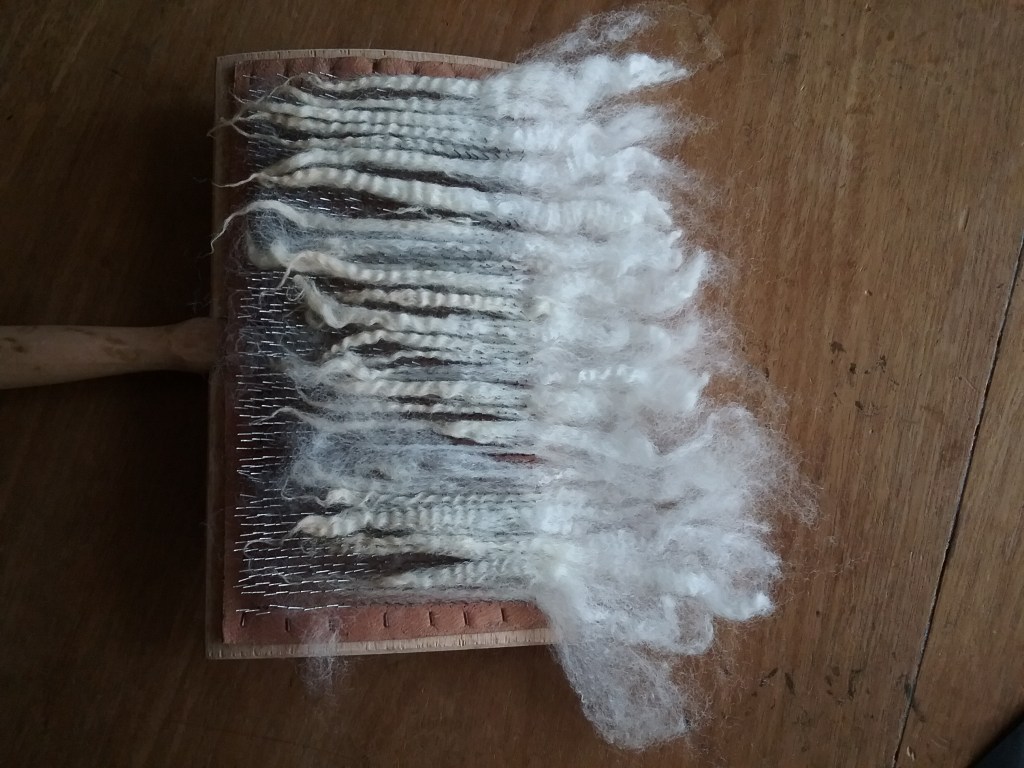
Romney locks spread on hand carders
Carding
As the fleece was clean and the locks separated easily, there was no need to put it through the wool picker before carding. The average staple length for my fleece was 18cm which is much longer than the other fleeces I have prepped. I only needed to make about 2-3 passes with the carders, however it was slightly harder to manage the wool, as it tended to fan out at the edges – see right. The rolags produced were very full and airy.
I imagine that combing wool of this length might be easier than carding it. I do have plans to DIY myself some wool combs in the future, so I will keep a small amount of this fleece back in order to eventually do a comparison of the two methods.
Alongside making rolags, I thought I would also try out another method I recently heard of, where the fibres are carded and then spun directly from the carder much like dizzing off a comb, but I will discuss this further in the spinning post.
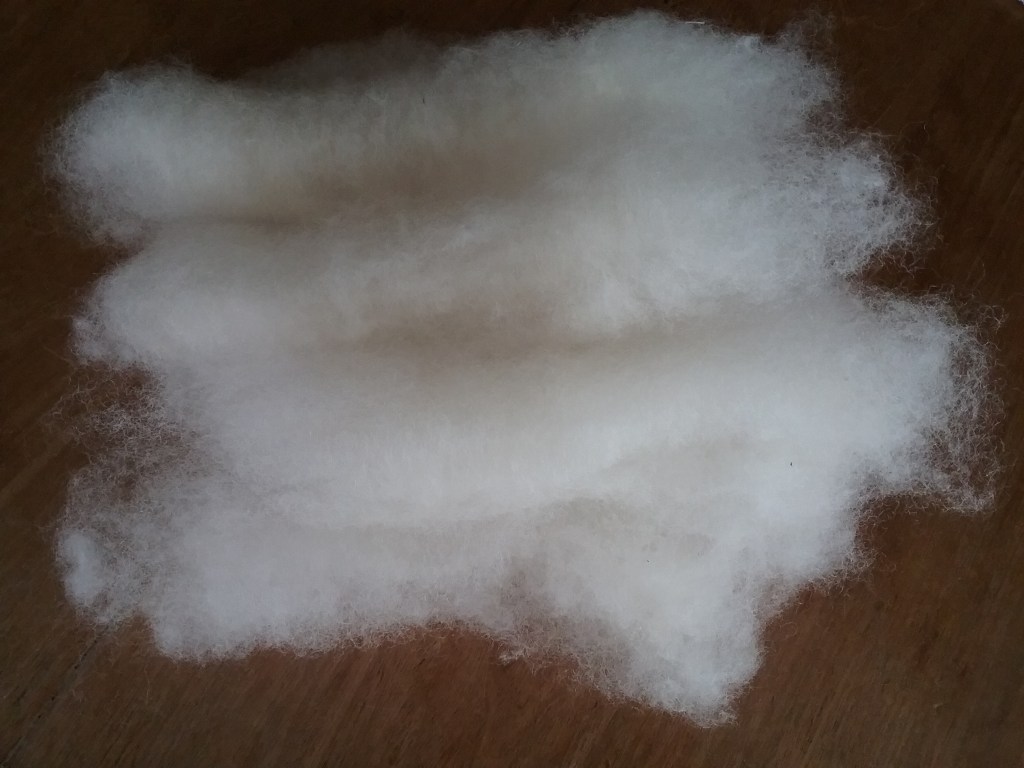
Carded Romney FleeceRomney Rolags
As always, let me know if you have any tips/advice in the comments below.
Romney Sheep were established on Romney Marsh, a wetland between Kent & East Sussex, in the 13th Century and their fleeces were highly desirable to the British wool trade at its peak. Romney sheep are quite a good example of natural selection in action; the first sheep to inhabit the marsh suffered from many health conditions caused by the wet, damp conditions, but over the centuries the sheep adapted, and became less susceptible to parasites and foot rot. To further improve wool quality, shepherds on the marsh began selectively breeding sheep until the Romney breed could produce high quality wool in unfavourable conditions. These characteristics were highly desirable to farmers and led to the breeds export over time.
In the Medieval era taxes were imposed on wool being exported and these exports were only permitted to take place from designated ports. During the 15th Century however, the domestic price and demand for Romney wool declined, leading to an increase in smuggling wool abroad for higher profit. Romney Marsh was considered the perfect place for smuggling, due to its close proximity to the English Channel and the vast numbers of sheep that lived there. Those smuggling wool on Romney Marsh earned themselves the nickname ‘owlers’ due to using owl calls to communicate with one another. Despite many years of government policies that aimed to prevent smuggling, Romney Marsh was notorious with ruthless gangs and even inspired a series of books Doctor Syn: A Smuggler Tale of Romney Marsh in 1915. Smuggling had become such a problem that in 1816 a Coast Blockade was set up to patrol the waters between Kent and Sussex.
Fleece Research
Romney sheep are classed by the British Wool Board as having a medium fleece with a 10-17cm staple length. Each fleece weighs around 3-5 kg. Romney wool is versatile; having both crimp and natural lustre so is highly desirable for use in textiles. According to my research, the fleece has a low grease content so can be spun ‘in the grease’ if desired. The medium staple length means the fleece can either be carded, combed or spun from the lock; and its durability means it can be used for anything from clothing to carpets – a good all-rounder.
I read with interest that some Romney sheep are carriers of ‘hairy’ genes, the first of which was isolated by Professor FW Dry of New Zealand in 1929. Sheep with these genes produced coarser wool and were selectively bred to produce wool for carpets. In New Zealand these sheep were called Drysdale, whilst in Australia there are three different carpet wool breeds derived from ‘hairy’ Romneys.
As the Romney fleece is an all-rounder and can be prepped in many ways, I’m curious to see how the fleece naturally behaves – will it lend itself to woollen, worsted or something in-between? Romney, although fine, is reported to be quite resistant to felting so hopefully there should be less chance of felting whilst washing. There is some debate as to whether Romney fleece is too coarse to be worn next to the skin, this appears to vary between fleeces, but the general consensus seems to be that it is more suited to outerwear.
Further Reading
The following sources have been used for reference
Hello everyone, it’s been a while since I put out a blog post. Over the past few months I have been steadily working through my wool stash and as usual I am working on several projects at once that are all at various stages of completion. I will be doing a full write up on each project when it is complete, but I thought I would share some progress pictures to give a more ‘real time’ insight into how a project comes together.
Ryeland
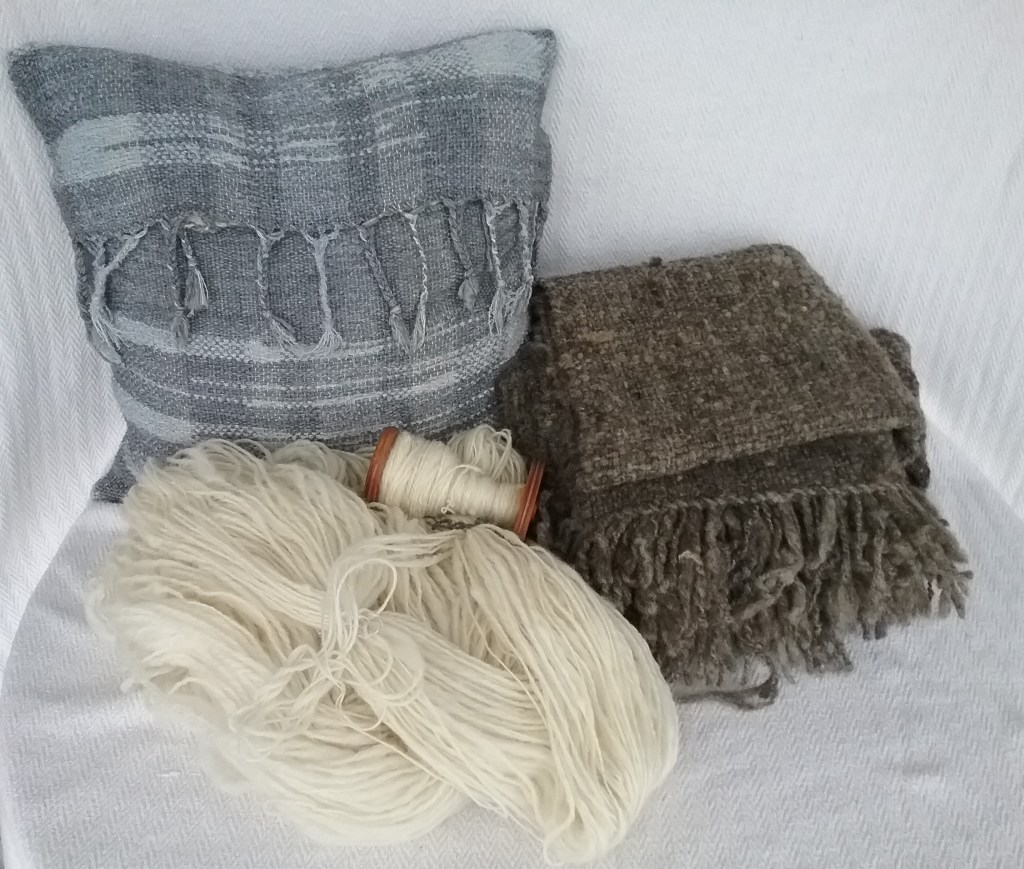
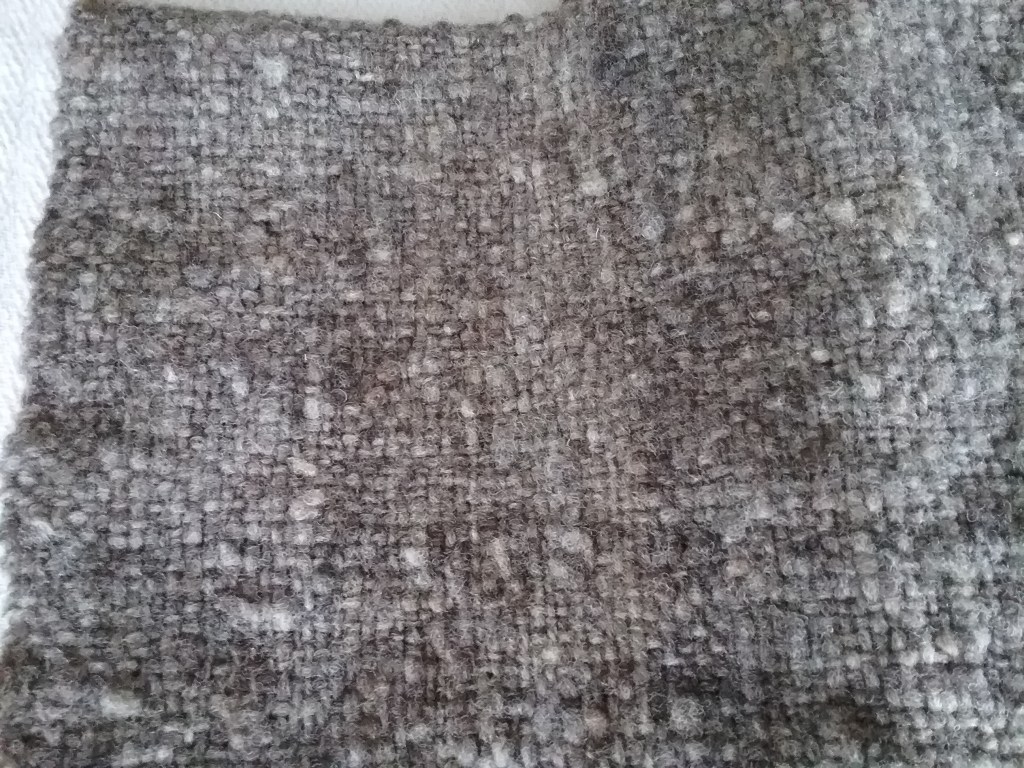
I still had a lot of Ryeland wool after knitting the gloves and cowl and wanted to turn this into a jumper. Although I do enjoy knitting, I’m not a very fast knitter and don’t have much patience when it comes to large projects, so I decided to weave it instead with the intention of using a basic jumper pattern from my Saori weaving book. I still have another length of fabric to weave before I can sew it together, but I was very happy with how the fabric turned out – it is incredibly soft and has a very natural look.
Folded Ryeland Fabric
Close up of woven Ryeland fabric
Romney
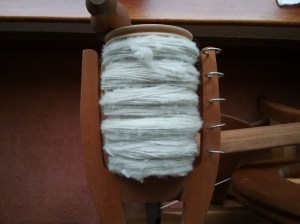
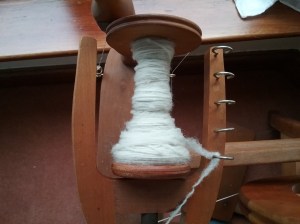
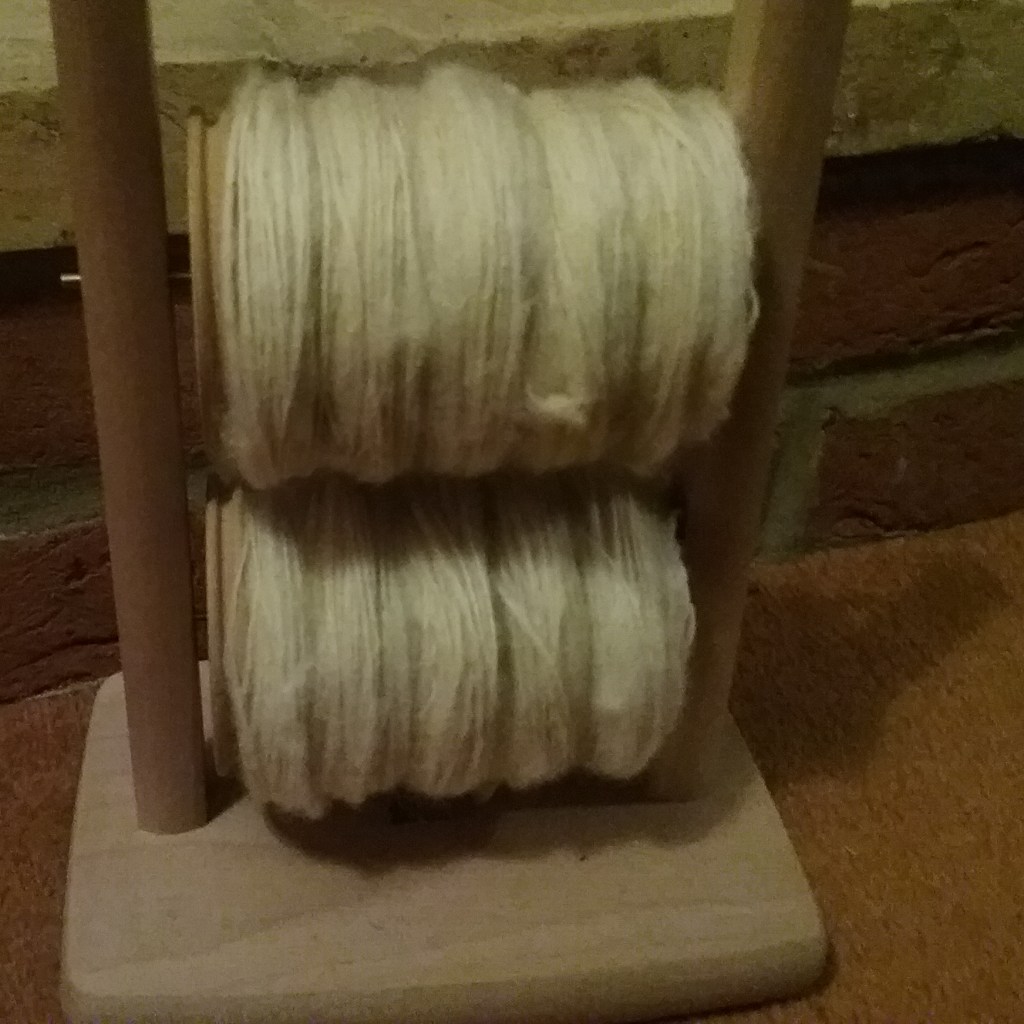
Last year I washed the Romney wool I purchased from Fibre East before storing it until I had the time to prep it. I have now begun the process of carding and spinning it (I will publish a proper fibre prep post soon). All my carding is done using hand carders which is slow (but quite relaxing) work and rather than carding a whole fleece in one go, I work by carding a bagful of rolags and then spinning them before returning to carding again.
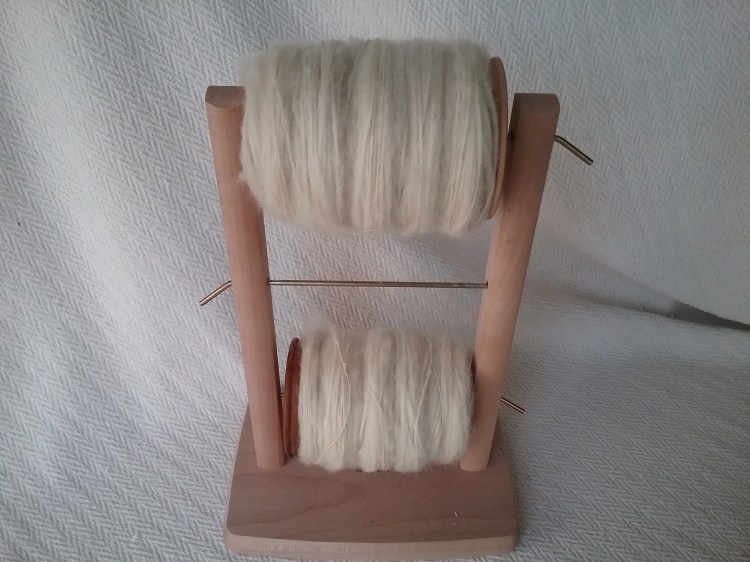
2 Bobbins of Romney singles ready to be plied
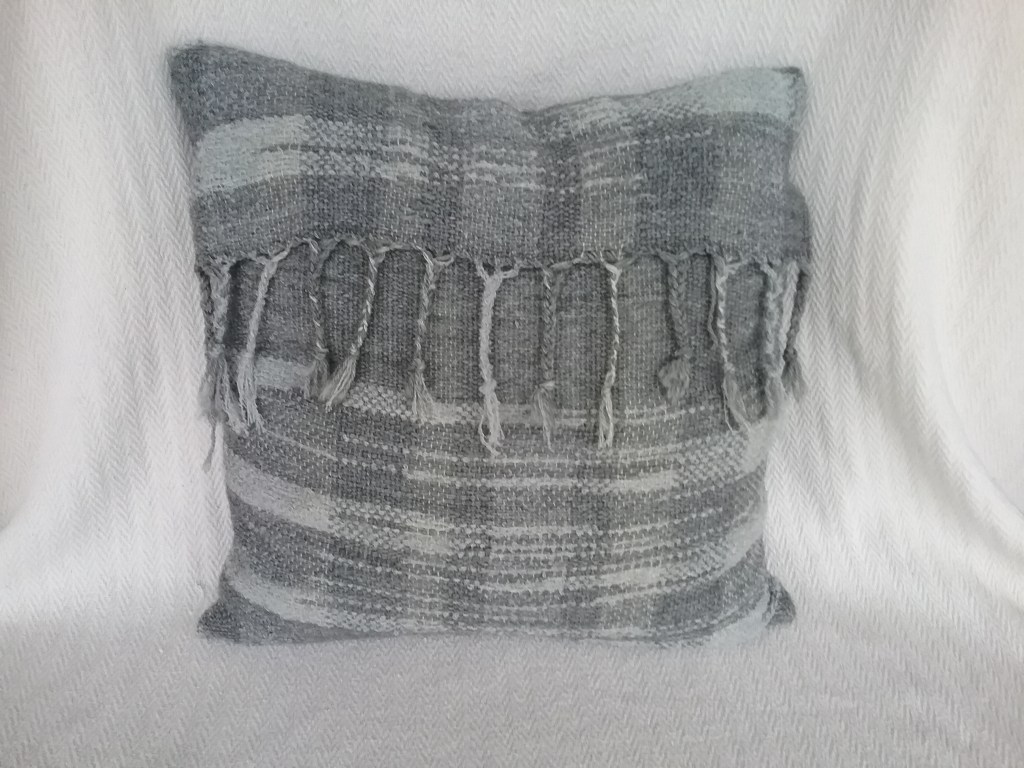
Woven Cushion Cover
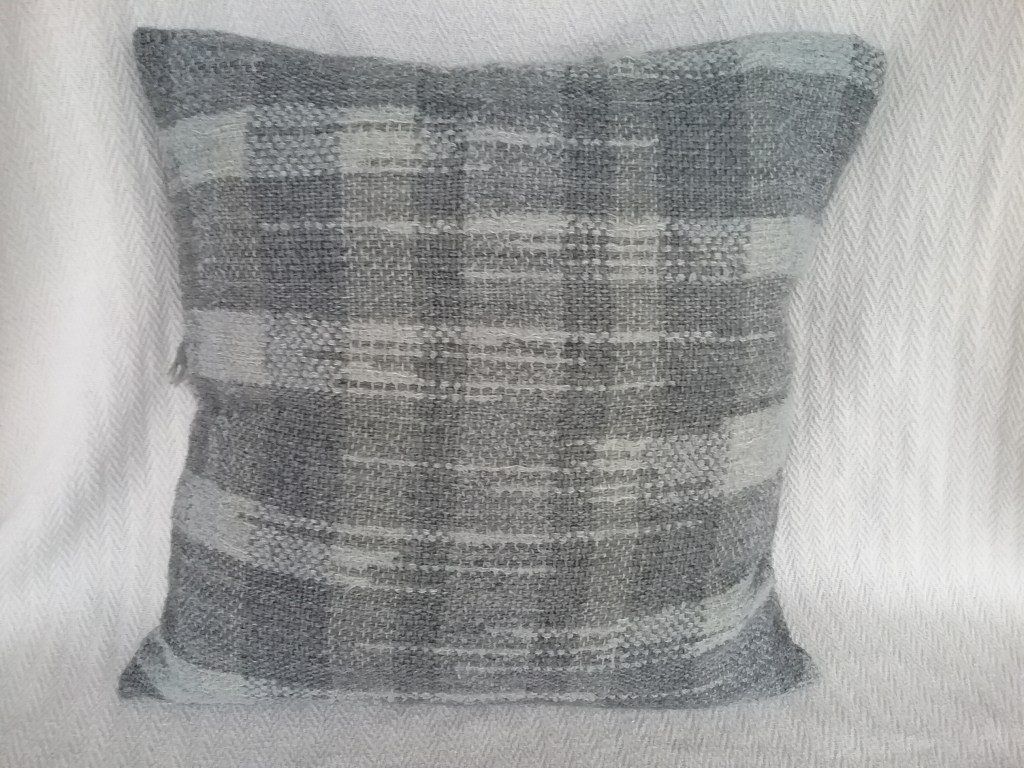
Back in October 2020 I shared photos of a sample of weaving I had made with the intent of turning it into a cushion cover, but I never took the time to sew it up. I have challenged myself this year to finish off any UFO’s (unfinished objects), so I wrangled it under the sewing machine and fashioned it into a cushion cover. It is constructed by folding the fabric twice right sides together and sewing along the selvedge’s leaving enough space at the opening fold to insert the cushion. I used a straight stitch with a short stitch length as I sew on a vintage hand crank machine (I don’t like electric machines) and the seams are very secure. I had intended to cut off and hem the braided ends, as it was just the way I had kept the warp ends from tangling during washing, but I decided they looked quite nice, so left them be.
Front view
Back view
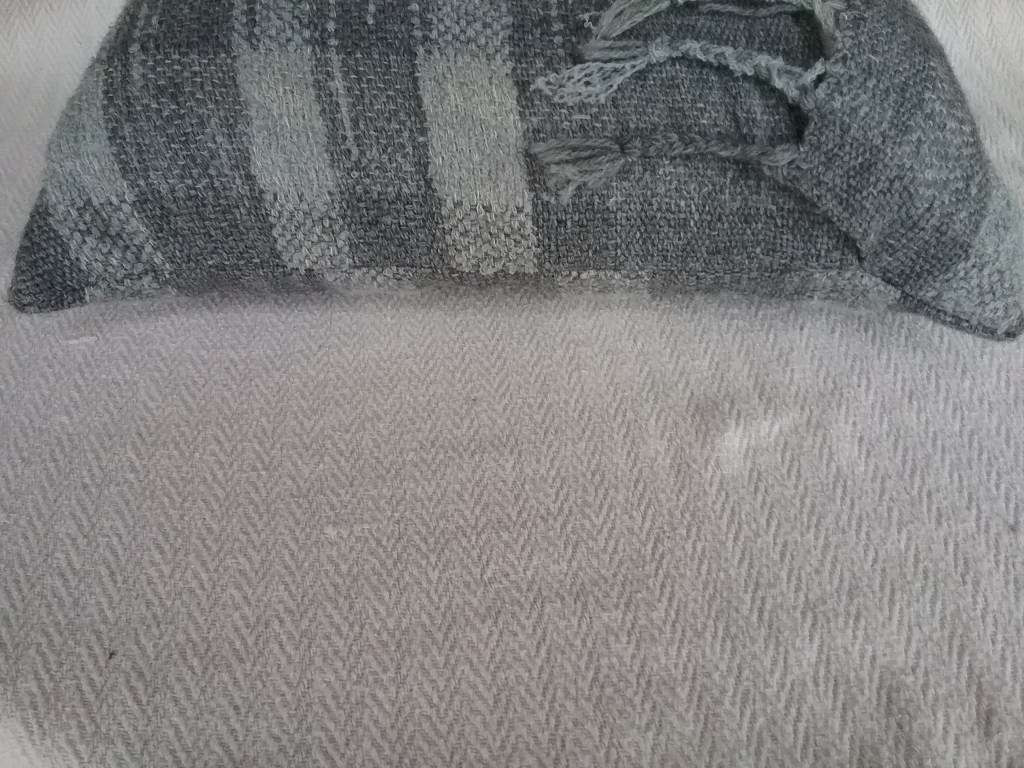
Side view
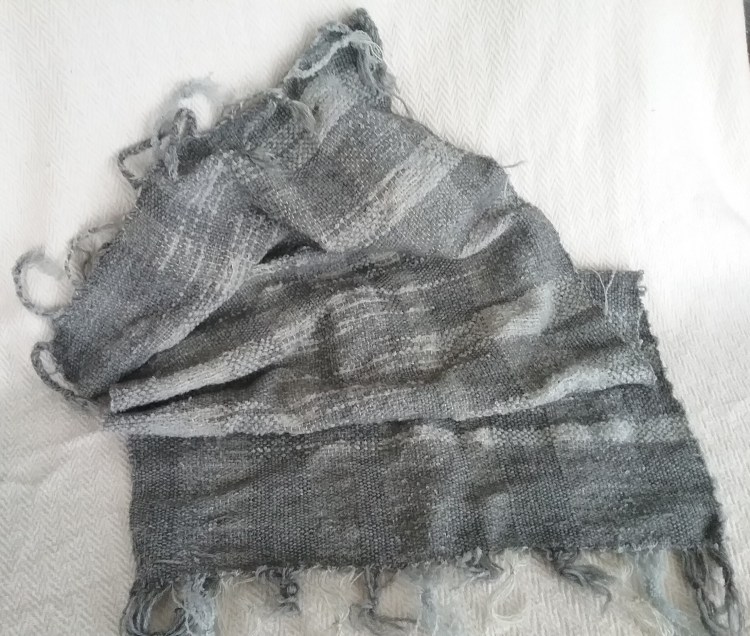
Fabric before sewing
That concludes my little project update post – I am also working on calculating a warp length for my Dorset Horn wool and am of course writing up more blog posts (coming soon!).Let me know in the comments if you have any UFO’s – I definitely do!
I would like to thank all my wonderful readers and followers for making my first year of blogging so enjoyable. The past couple of months have been very busy with little time to play with wool, but I hope to start working through my stash in the coming weeks.
I wish you all a relaxing festive season and here’s to another year of crafting & blogging!
Disclaimer: I am not affiliated with any of the publishers, authors etc. in any books mentioned in this post. All books mentioned are my personal copies which have been purchased either new or secondhand. This list is not exhaustive, so if a book isn’t listed here it doesn’t mean it’s bad – I just haven’t discovered it yet.
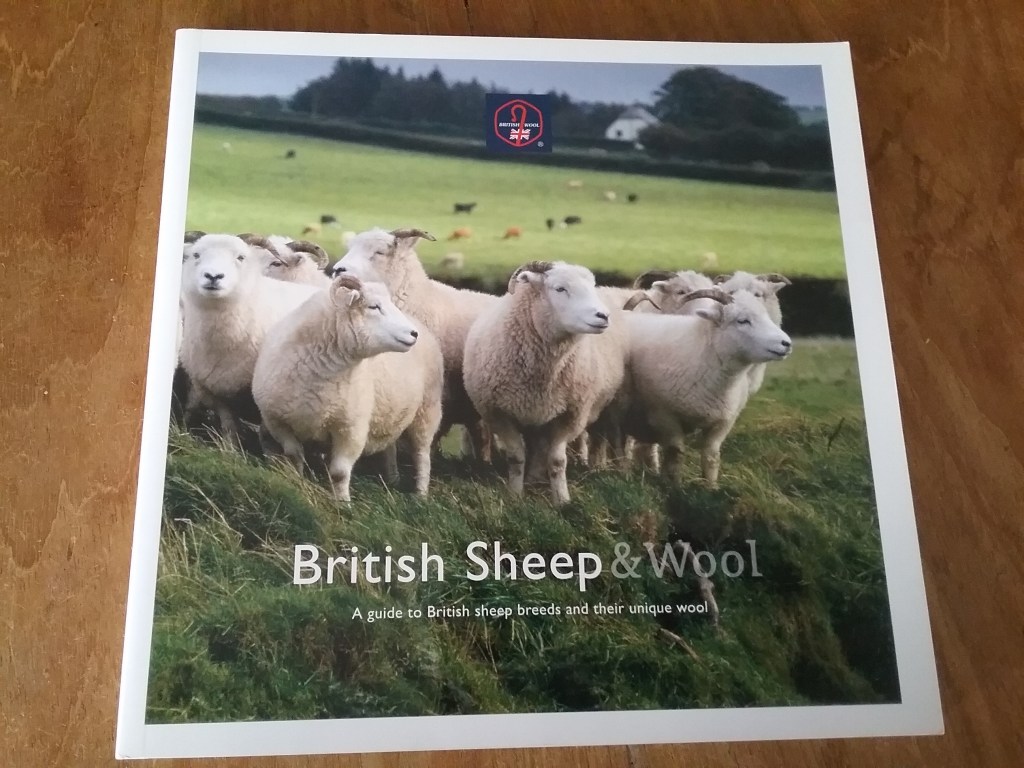
British Sheep & Wool
Author/s: British Wool Board
ISBN: 9780904969108
This book focuses on British sheep breeds and their fleece. It has snapshot information for each breed including their history, wool characteristics, uses and facts/figures. The book is more strongly focused on the breeds and their characteristics than working with their wool, so contains little information on fibre prep etc.
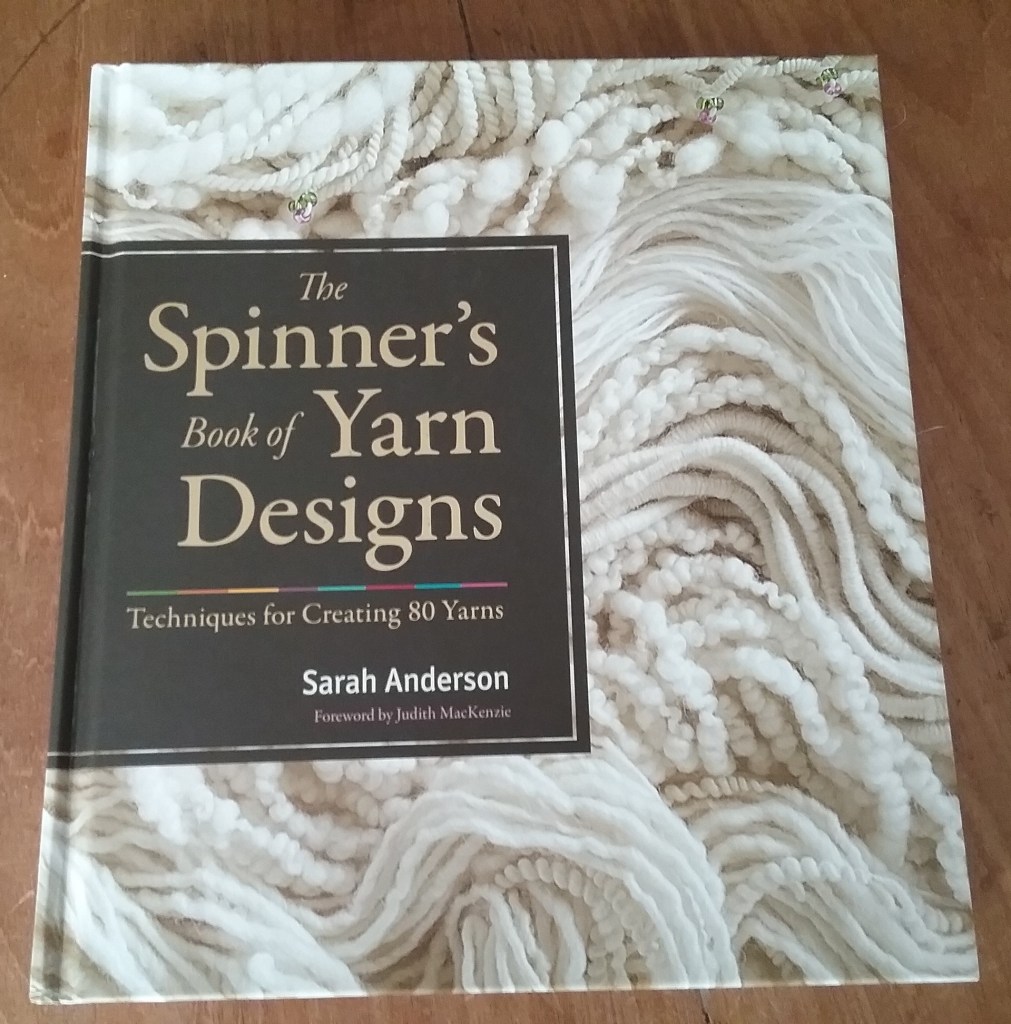
The Spinners Book of Yarn Designs
Author/s: Sarah Anderson
ISBN: 9781603427388
This book is quite art yarn centred, although it does have a section on spinning basics and fibre prep. The bulk of the book teaches you how to spin custom art yarns and also how to work with them; in knitting for example. It also comes with abbreviated reference cards in the back that can be kept by the wheel during spinning.
Spinning Wheels, Spinners & Spinning
Author/s: Patricia Baines
ISBN: 0713408227
The good thing about fibre books is that they rarely date, as the process has been virtually the same throughout history. I purchased this book from a charity shop about two years ago, it was first published in the 1970’s, but contains so much useful information. Although lacking in colourful photographs, it contains an overwhelming amount of information on the history of spinning around the world, spinning wheels through the ages, wheel mechanics and the preparation of all types of fibres.
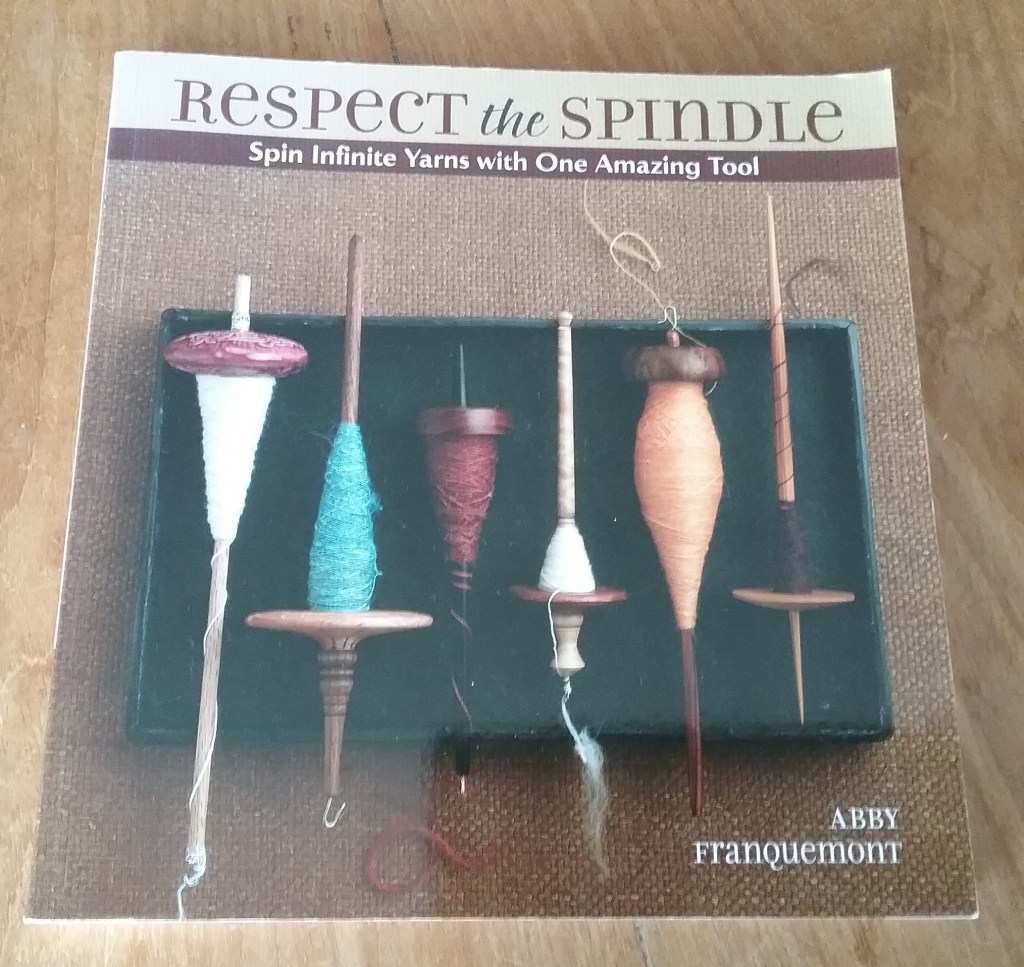
Respect the Spindle
Author/s: Abby Franquemont
ISBN: 9781596681552
This is probably the ultimate spindle spinning book. Often spinning books tend to focus more on spinning wheels than on spindles. This book however, covers the history of spindles, including their cultural significance and relevancy today. It contains basic tutorials, alongside more advanced spindle work and also provides information on selecting the best type of spindle for spinning certain fibres. It also has a chapter on the science of the spindle and ways to optimise the process of spindle spinning.
If you are looking to purchase a fibre book, then please do consider supporting an independent bookshop or craft store. I’ve recently heard of a website called Bookshop (I’m not affiliated – this isn’t an ad) that lets you order books online, but supports the indie bookshop of your choice.
I would love to know if there are any fibre books that should be on my reading list, please leave me any sugestions in the comments below. For Fibre Library Part 1 click here
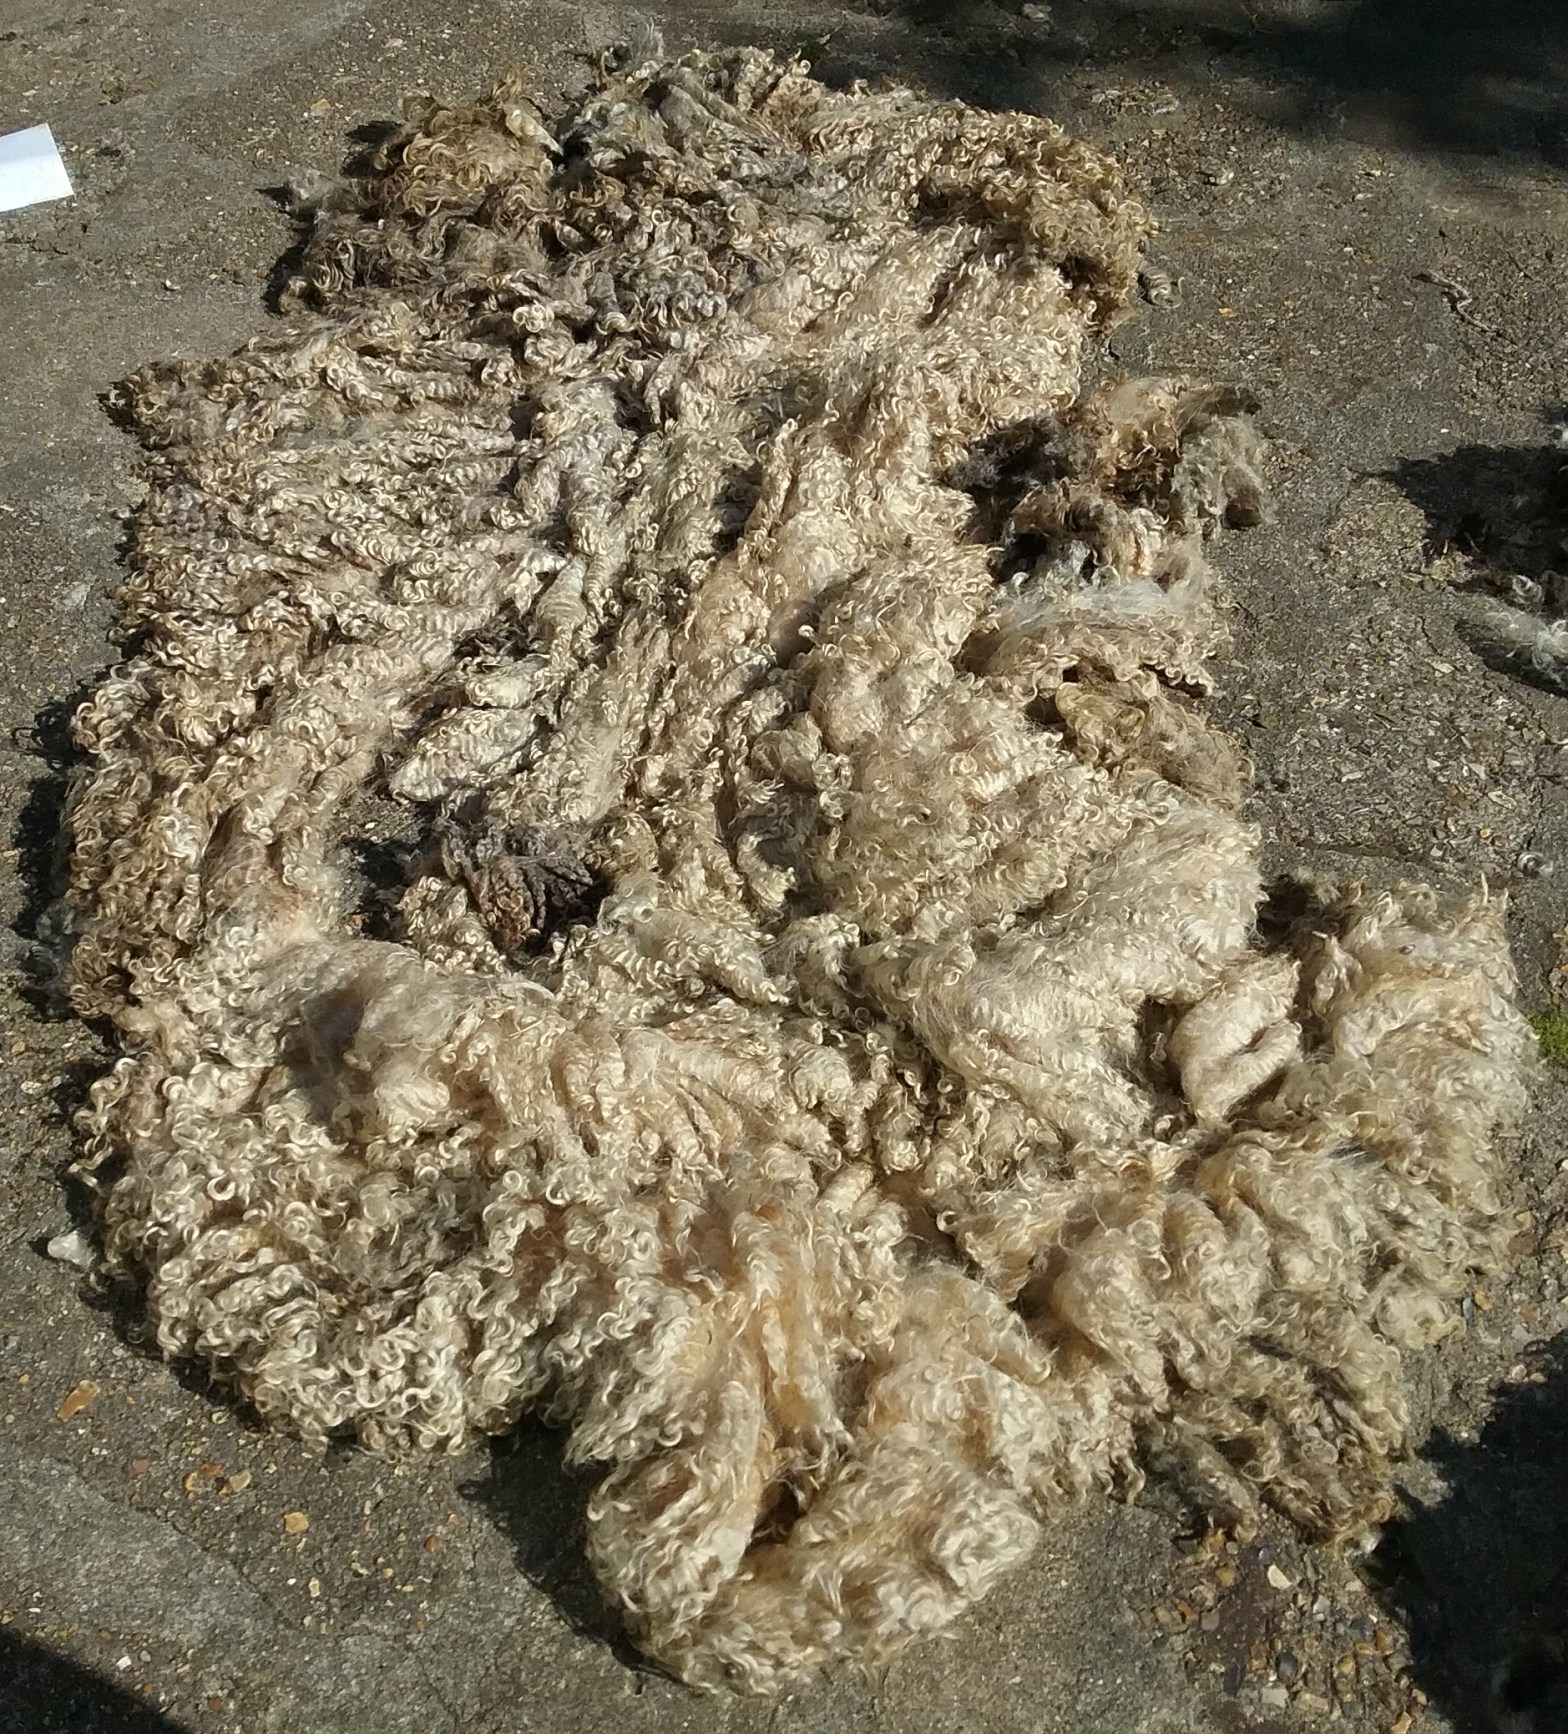
I was surprised by the weight of this fleece when it arrived (some Longwool fleeces can weigh up to 8kg) and by how much there was of it (it isn’t fully spread out in the photo). The fleece was, as my research suggested very greasy, but overall it was reasonably clean without much VM. As expected, there were some dirty sections around the rear, but these were very easy to separate and compost as the fleece is arranged in individual locks. The colours in the fleece were beautiful – areas of grey blended with the white. I had wondered if the grey areas were kemp hairs, however they are the same length as the rest of the fleece and don’t feel any coarser, so as far as I can tell, it is just the natural colouring of the sheep.
Washing
I’ve been doing lots of experiments with suint fermentation over the summer and have been optimising my process a little. One of the changes I made was to sew some sacks from old cotton sheets to put fleeces in before submerging them in the suint bath (this saves me from scooping around in the suint bath trying to fish out all the small pieces of fleece). I had read that historically, fleeces would often be put into sacks and left in streams or rivers to clean, so thought it might work in a suint bath too.
I put the whole Lincoln fleece into a sack and left it in the suint bath for just over a week. When I went to remove the fleece, I realised that in hindsight I should have split it in half to wash, as wool absorbs lots of water, so it was a two person job to lift it out of the suint bath, hold the sack while it drained and then put it into some rinse rainwater. After rinsing I put it out to dry so the suint smell would go, but as the locks were close together and it was a large fleece, it took several days to fully dry (thankfully there was still some sunshine).
Close up of Lincoln Longwool fleece before washing
Close up of Lincoln Longwool fleece before washing
The suint bath brought out the white colour of the fleece and definitely made a difference to the amount of grease left, but it was still too greasy for me to store indoors until I have time to spin it up, so I decided to do another wash using washing powder. Heading into winter, good drying days are limited, so I’m working my way through, washing a bowlful of fleece at a time in good weather. So far it’s taken 2-3 washes with the washing powder and 1 rinse for the grease to come out of each bowlful of fleece. The advantage of using a suint bath first is that it does seem to ‘loosen’ up the lanolin so that it comes off even the greasiest fleeces with fewer washes and somehow it stops the washing powder from stiffening the end of the locks.
The final step in preparing a long stapled fleece would usually be combing. However, I plan to spin this fleece from the lock as it comes, so I don’t need to comb after I finish washing. My final ‘prep step’ will be gently teasing apart the locks with my hands and picking out any bits of VM I missed during skirting.
As always, let me know if you have any tips/advice in the comments below.