A Little About: Jacob

A Flock of Jacob Sheep
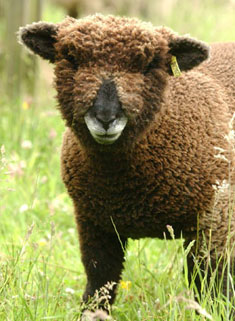
Photo Credit to Lesley Partridge

History

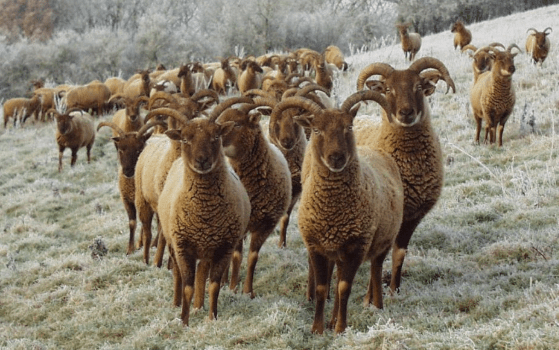
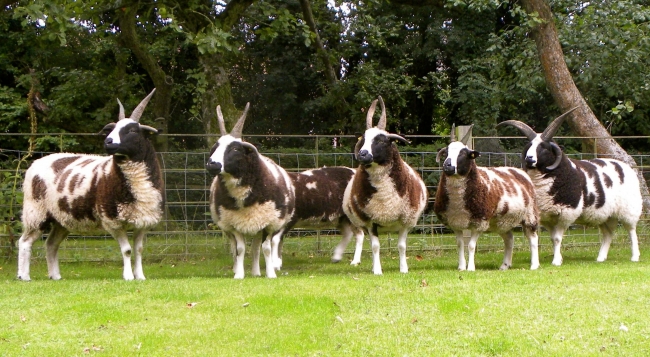
Jacob sheep are believed to have originated in the Middle East during Biblical times and take their name from Jacob the shepherd in the Old Testament. Since then, it is said the breed travelled from the Middle East through Africa and finally to Europe before being imported into Britain during the 17th and 18th centuries. Their unique colouring and horns made them popular with the English gentry who kept them as ornamental sheep to graze their parklands. Jacob sheep were classed as a rare breed after WW1 when the number of flocks declined, but the work of the breed society and selective breeding to increase meat production of the Jacob has led to a significant increase in their popularity and number.

Fleece Research

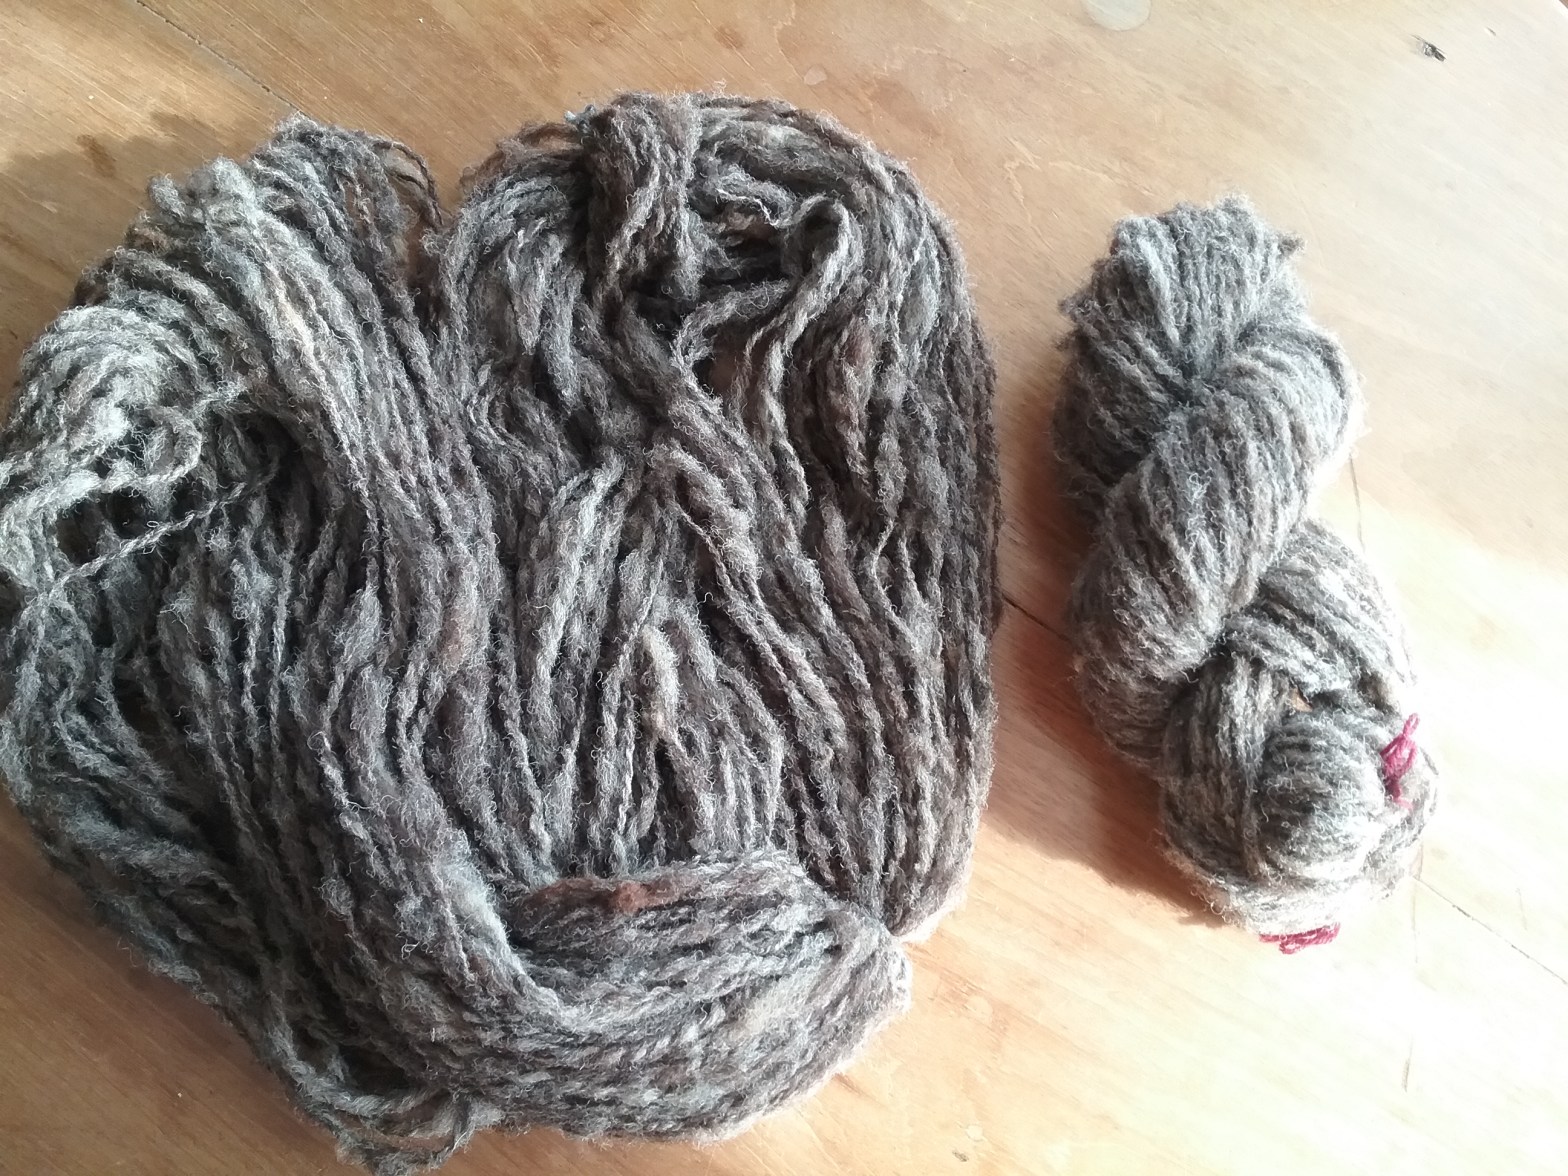
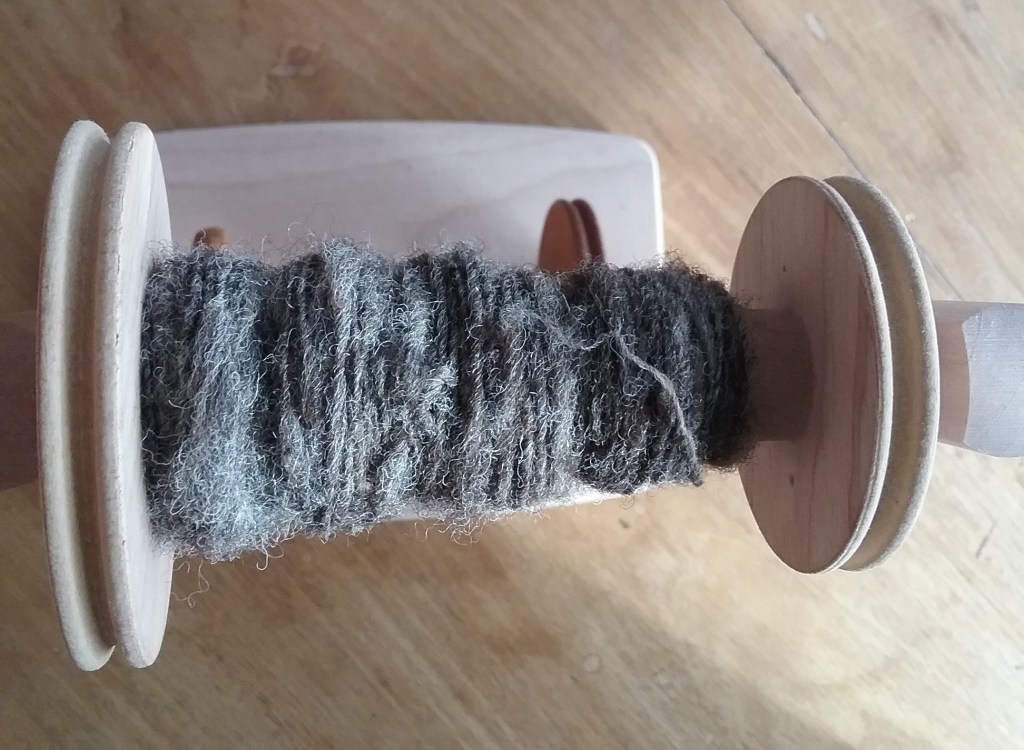
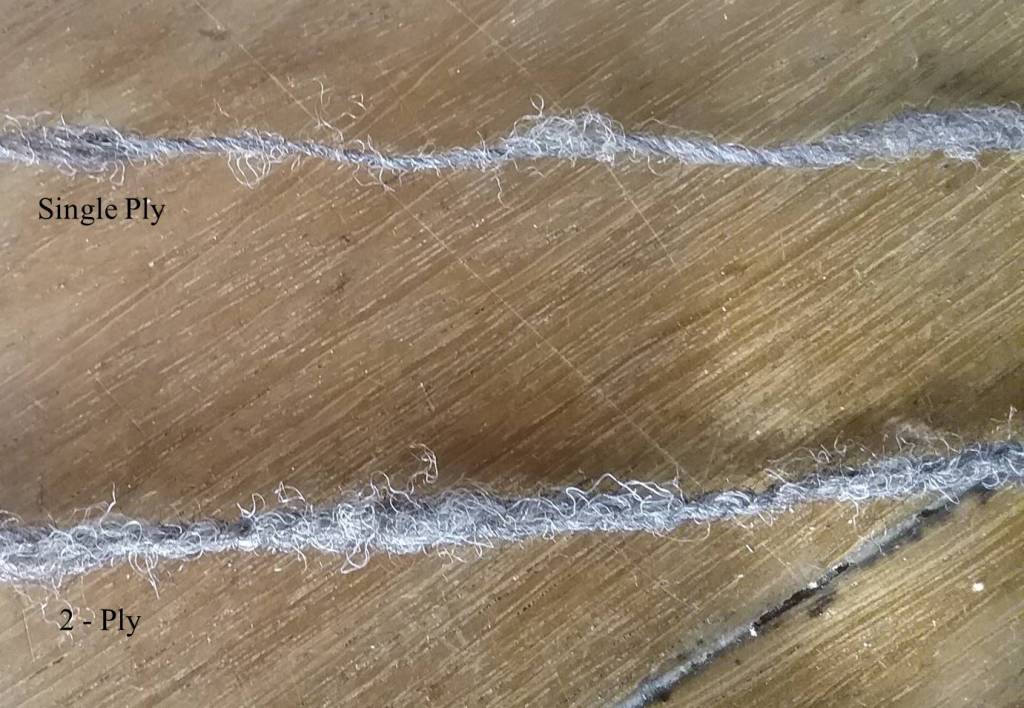
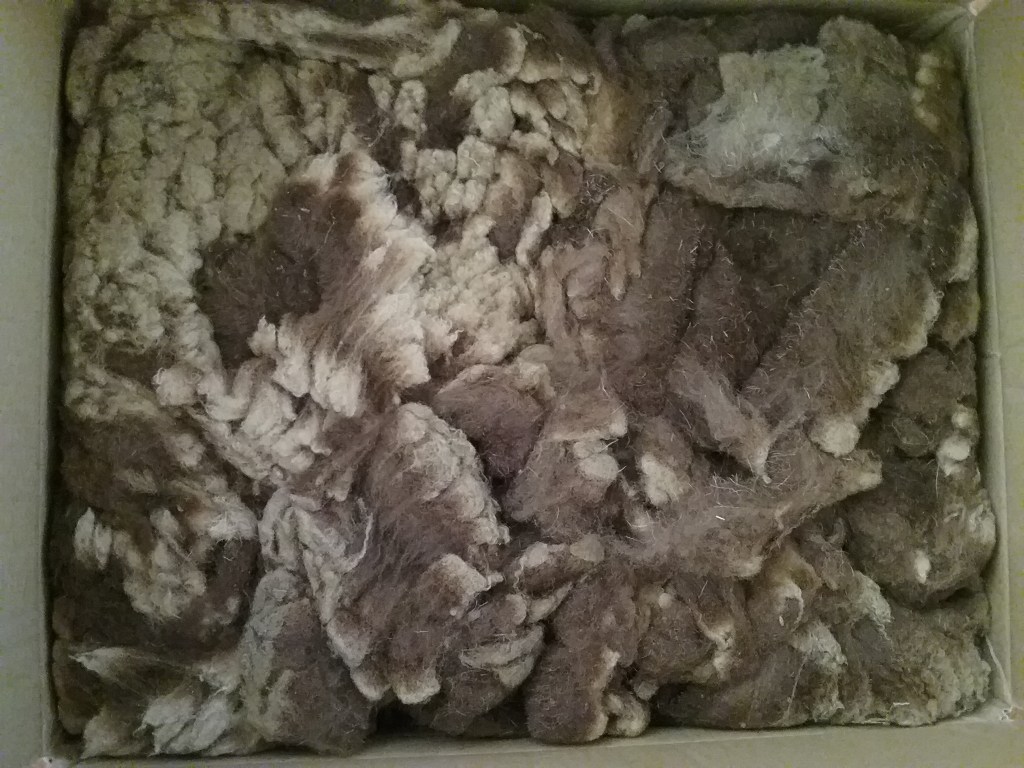
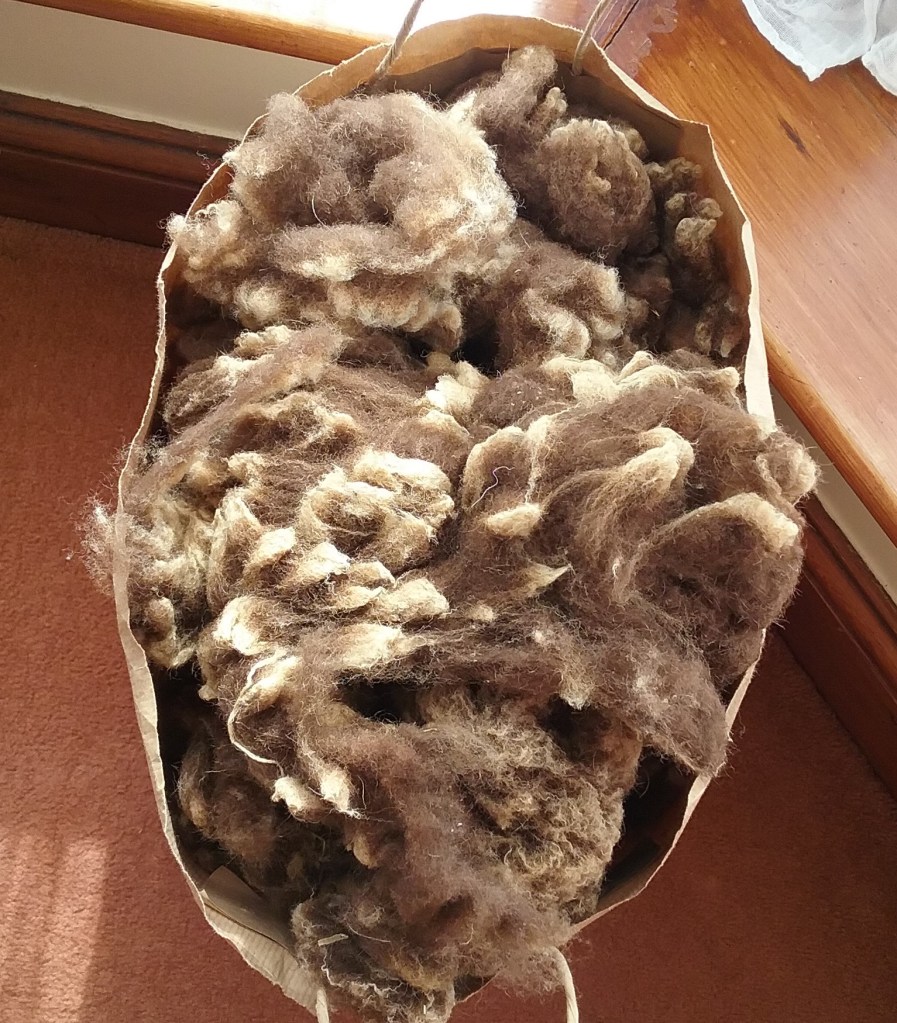
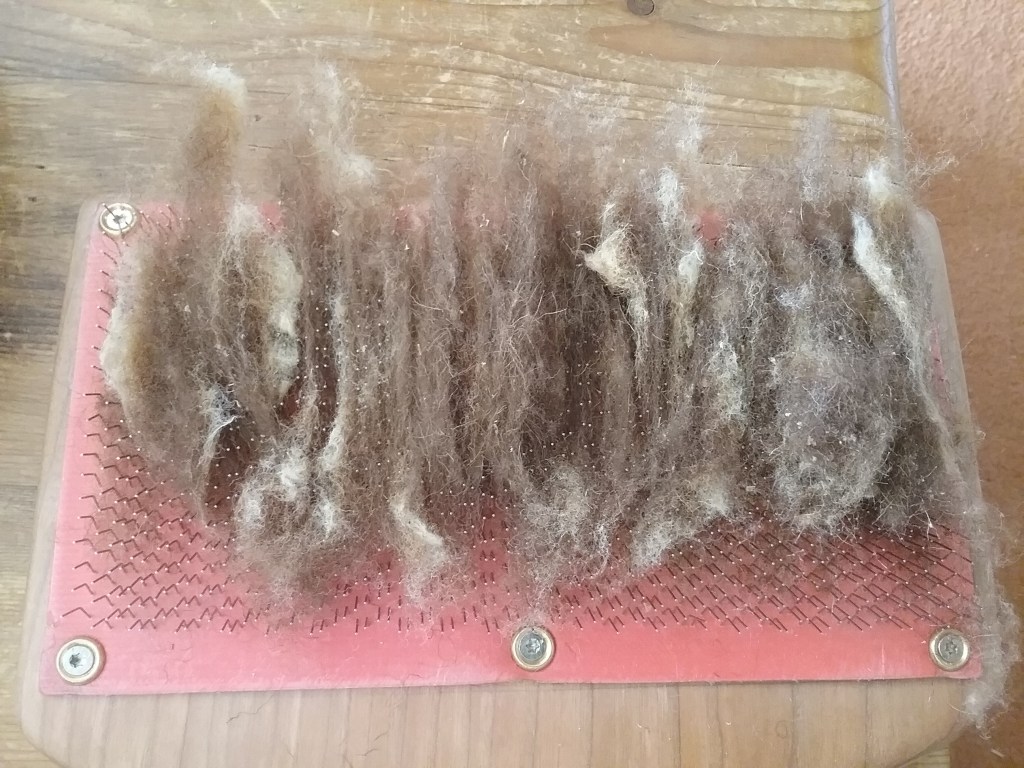
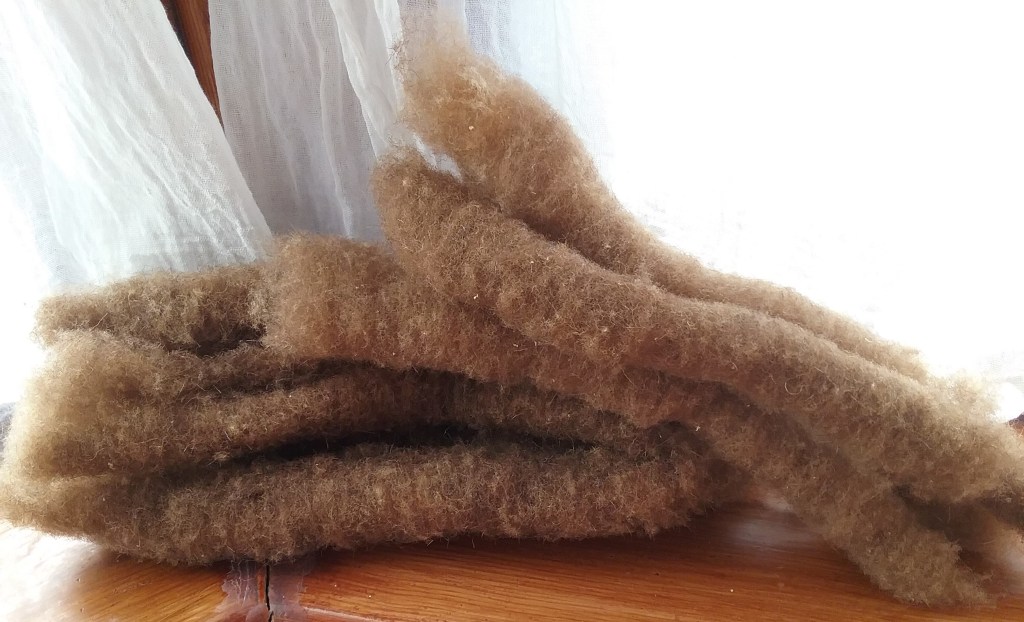
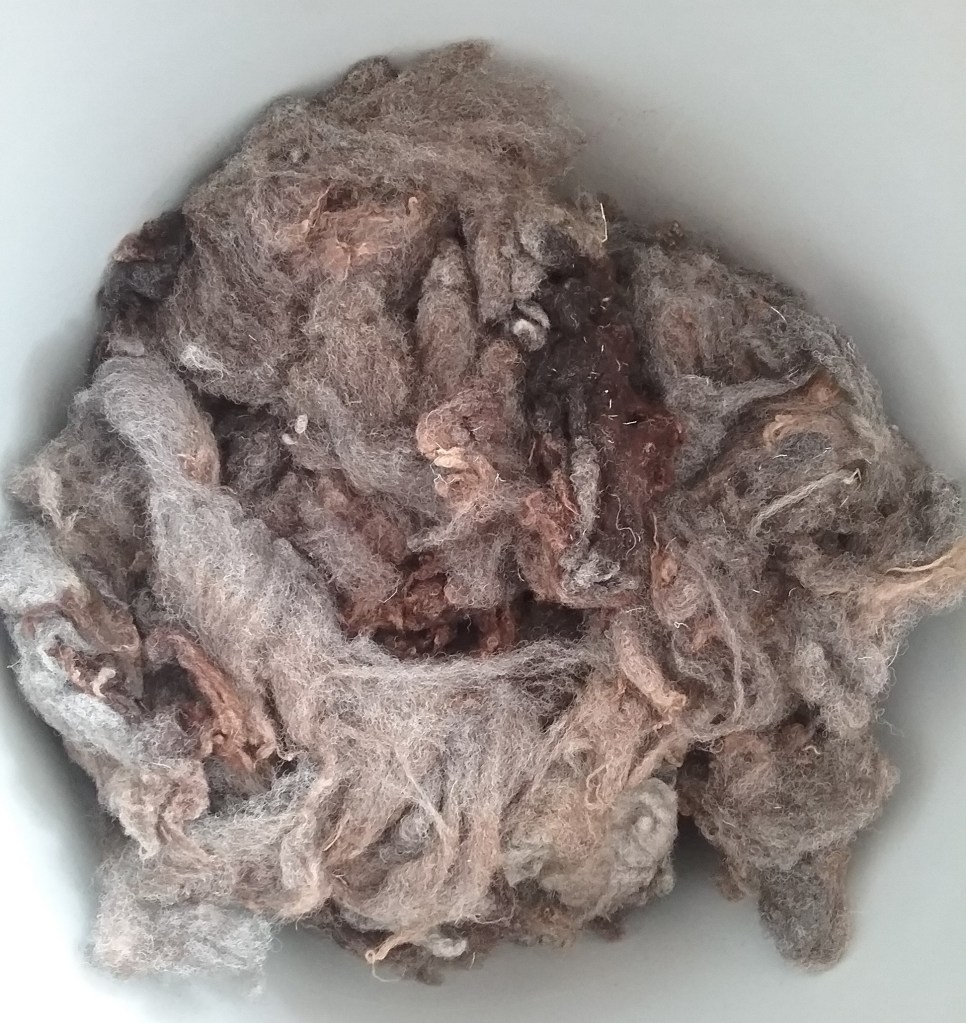
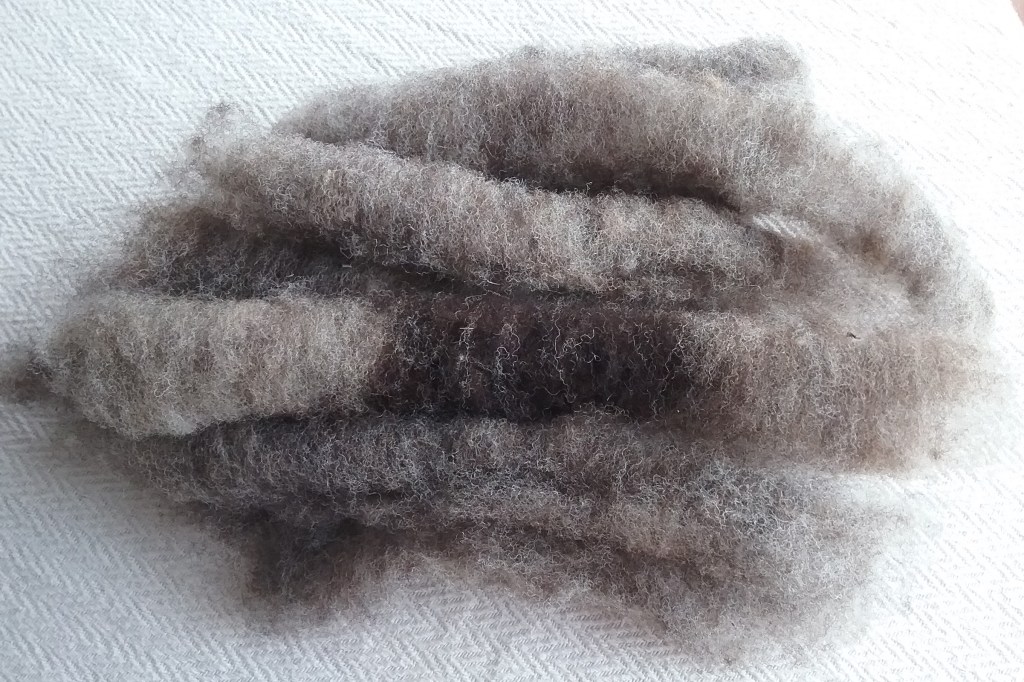
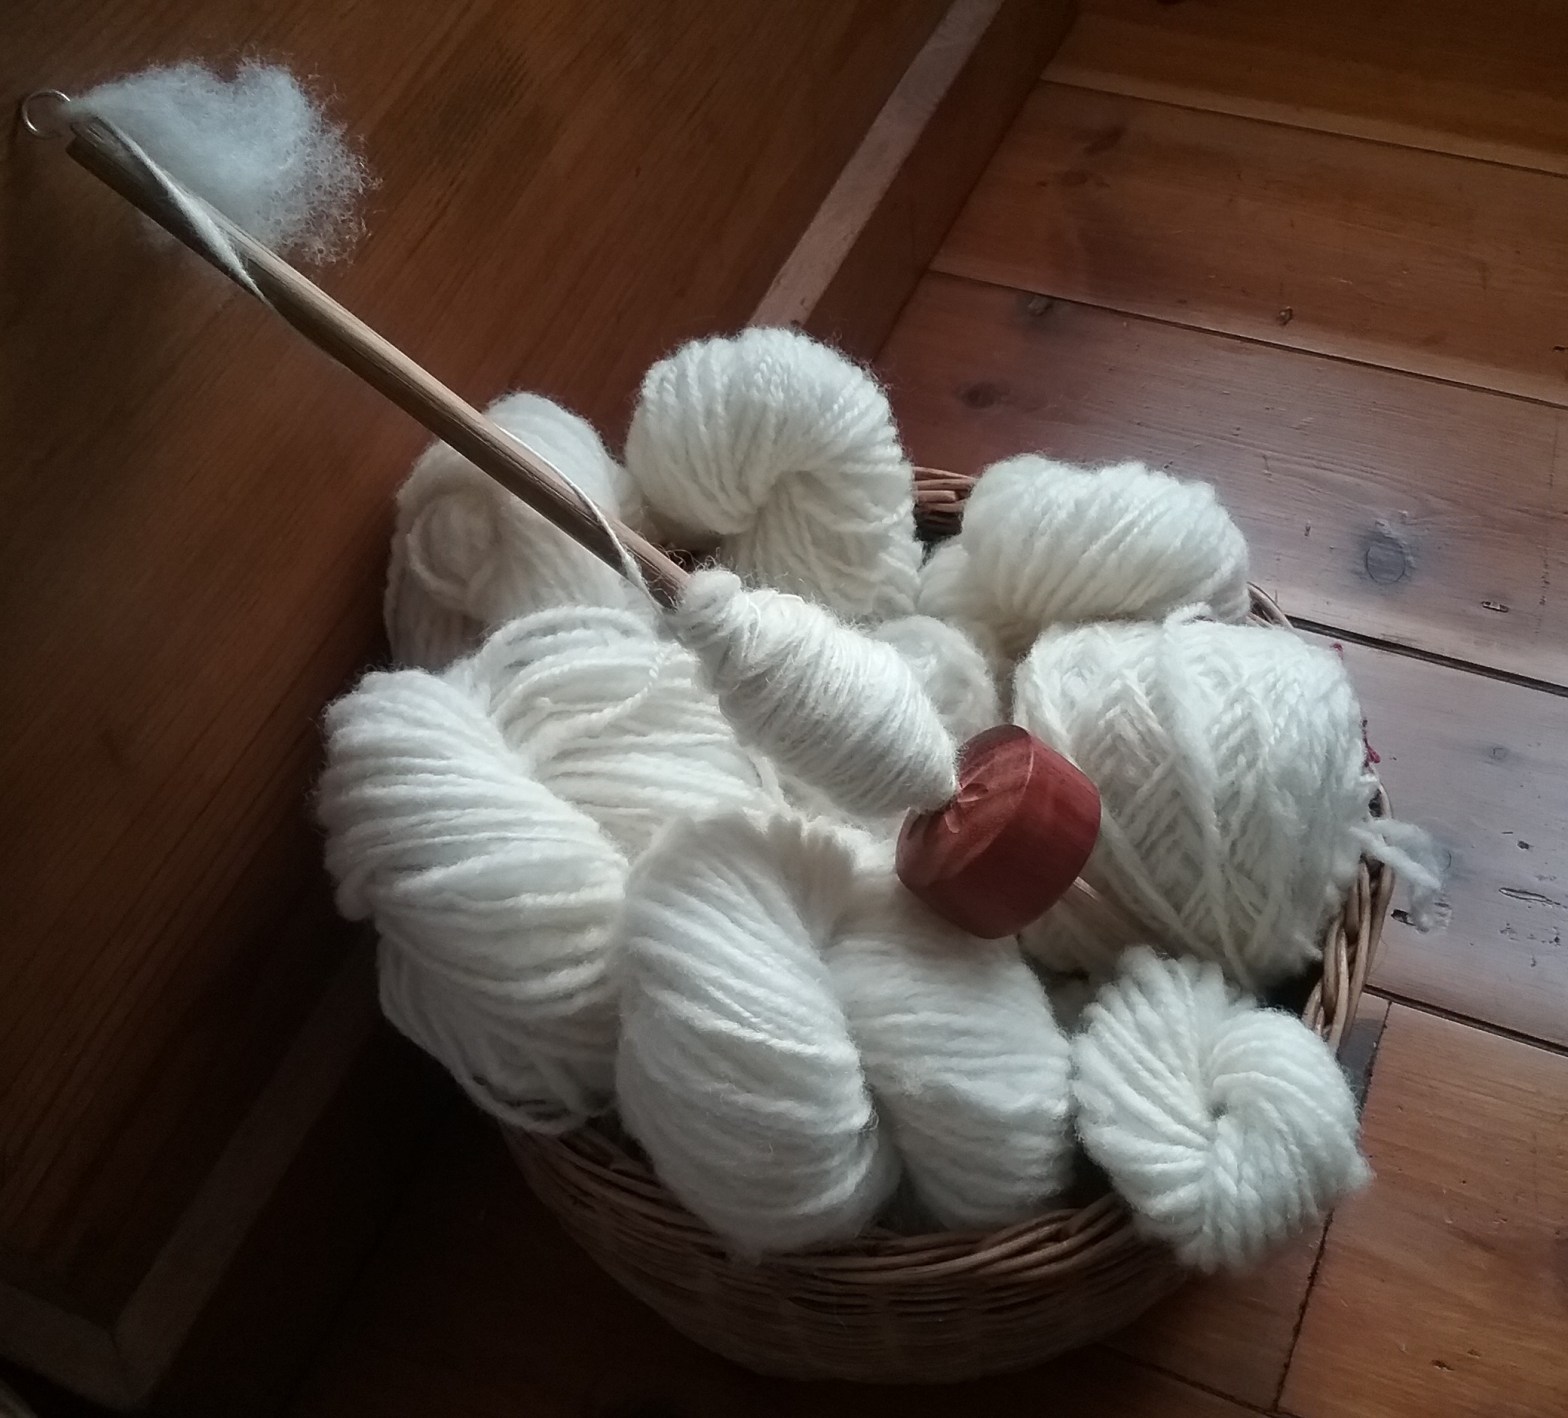
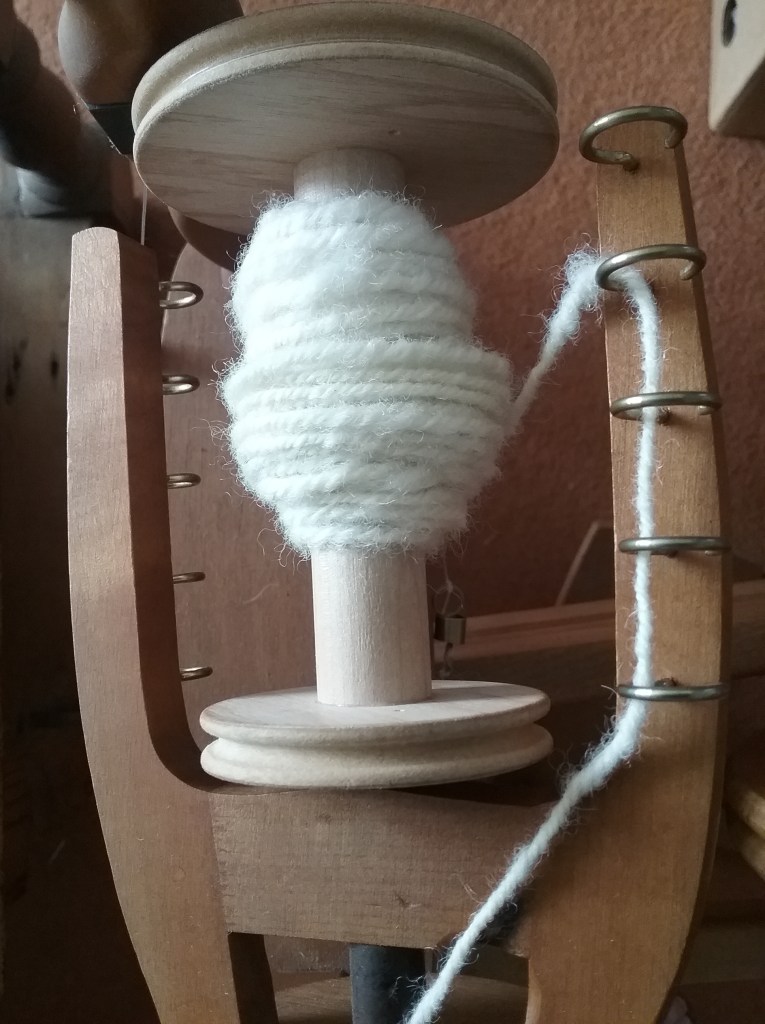
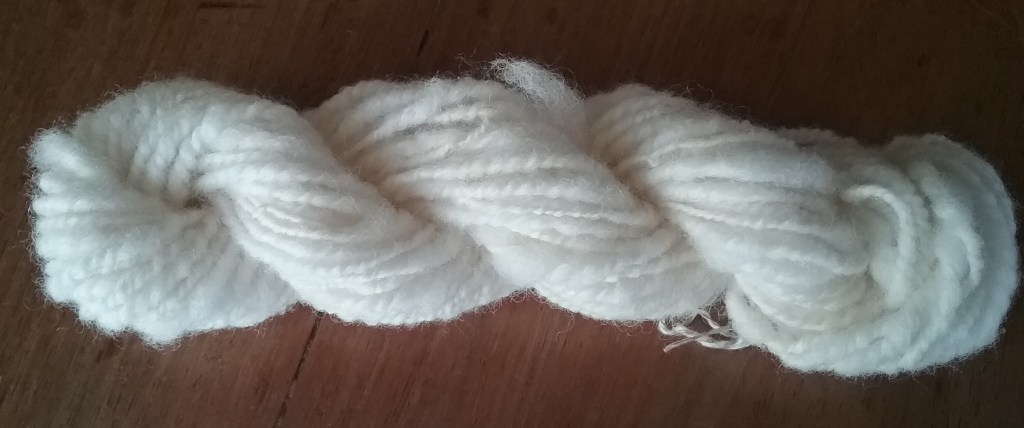
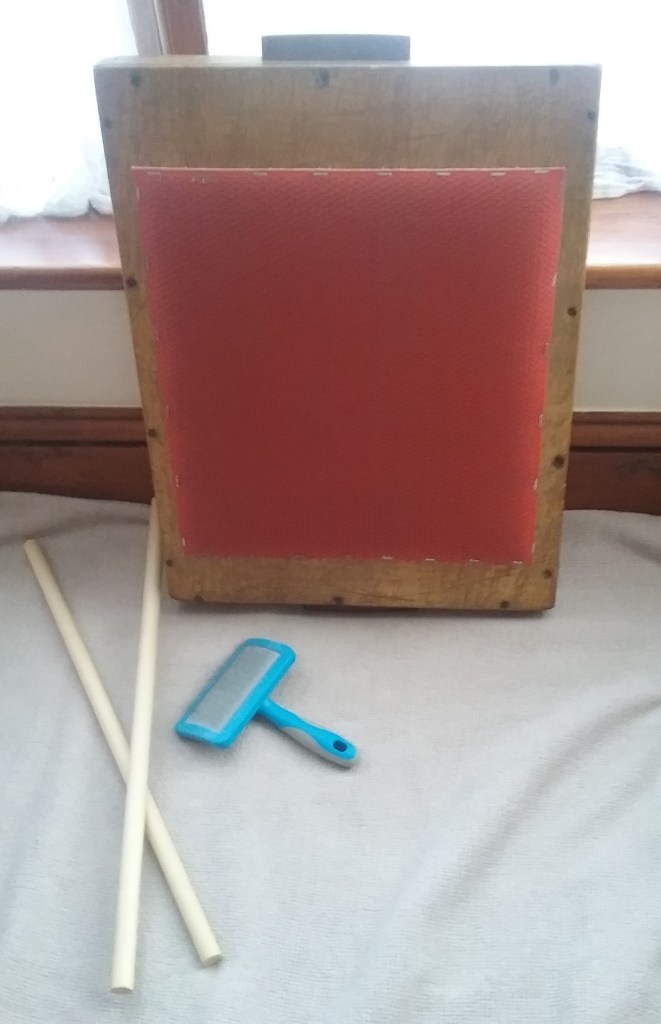
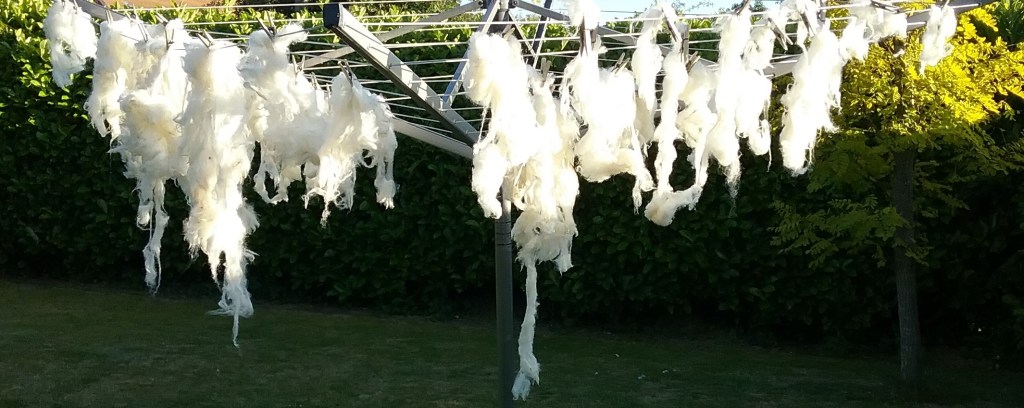
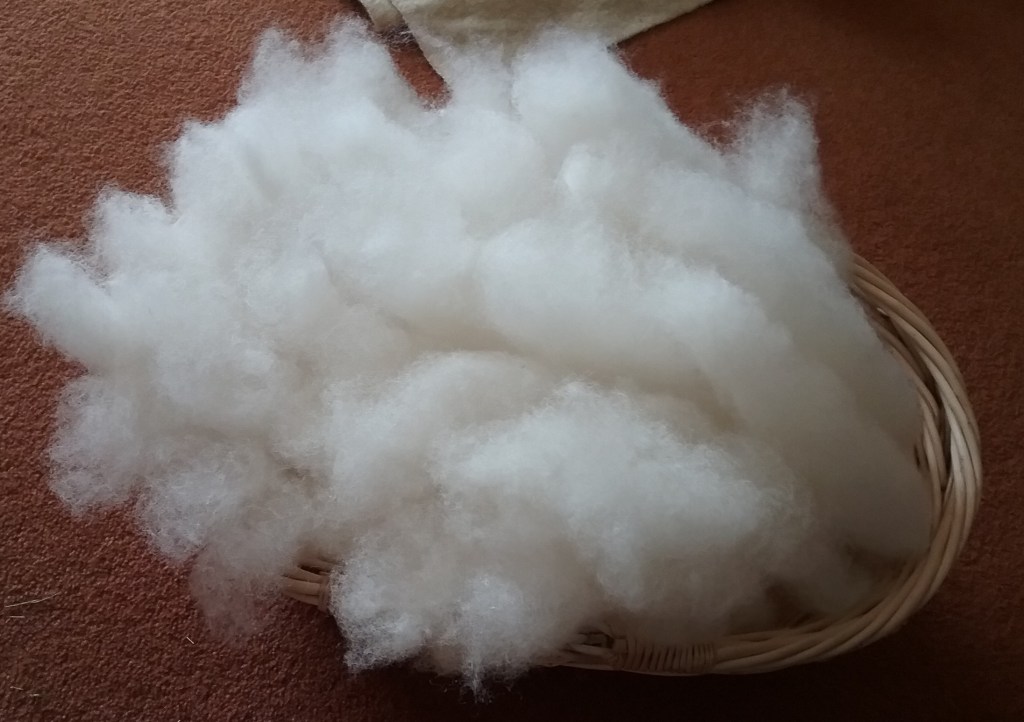
The wool from Jacob sheep presents a diverse set of uses to crafters. The colours in one fleece range from browns to whites and blacks with varying staple lengths in the same fleece. The variation in fibres means that one fleece can undergo different preparation methods and while shorter fibres can be carded, longer fibres may take well to combing. There are also multiple colour options when it comes to spinning, from blending shades to spinning each colour as it comes. My trusty wool books provided very little information on the tendency of Jacob fleece to felt, but last year I attended a local wool fair, where I met a crafter using Jacob fleece to make woven rugs who informed me that it was quite resilient.

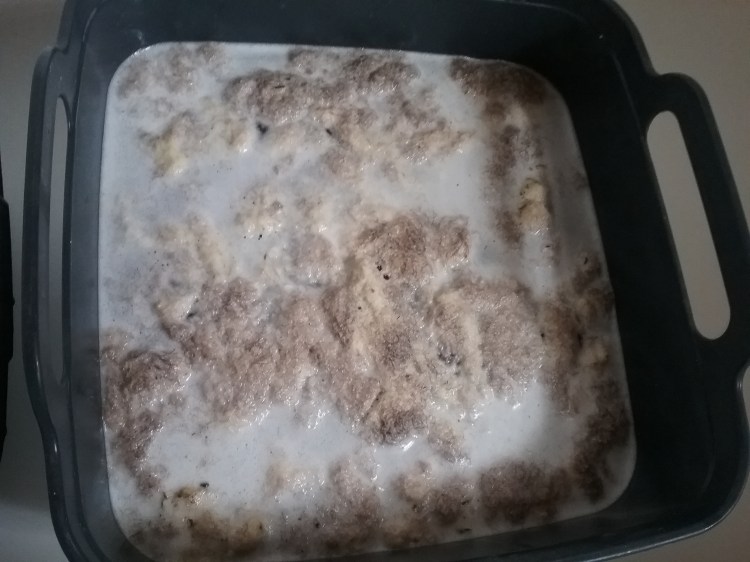
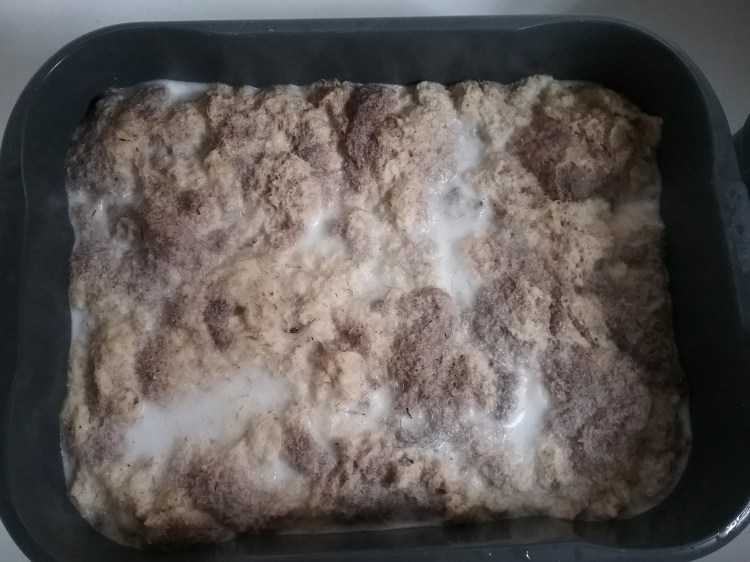
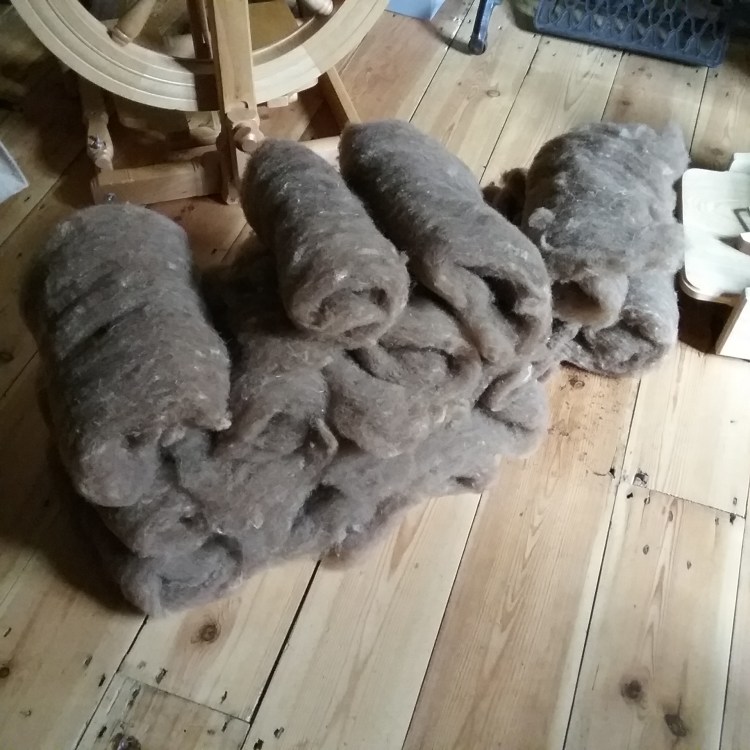
Commercially, Jacob fleeces are used to make anything from carpets to clothing so I am excited about the creative possibilities this fleece could present me with. So far the fleeces I have worked with have been short stapled, so the opportunity to improve my worstead spinning is exciting. The fibre preparation is slightly more daunting, as I don’t own wool combs so the longer staples could be harder to card, however any kemp should be easy to identify and separate with ease from the fleece.

Further Reading

The following sources have been used for reference

  • Breed Society Website – site.jacobsheepsociety.com
  • British Sheep & Wool by the British Wool Marketing Board – ISBN 9780904969108
  • The Field Guide to Fleece by Deborah Robson & Carol Ekarius – ISBN 9781612121789

Harry Potter Themed Baubles

Whilst I’m still in the process of spinning my Ryeland fleece, I thought I would share a quick knitting pattern I bodged together last November to make Christmas presents for some friends (although they can be displayed at any time of the year). Whilst thinking of a way to combine Harry Potter, fibre and Christmas, I was inspired by the knitted house scarves and these baubles were the result. They are quick and easy to make and are a great way of using up ends of wool.

You will need:

  • A pair of knitting needles UK Size 6 (US 8, Metric 5mm)
  • 4 x paper mache baubles with a 7cm diameter (I purchased mine from Hobbycraft)
  • A darning needle
  • Wool about standard DK weight in the following colours:
    • Red & Gold
    • Green & Silver
    • Black & Yellow
    • Blue & Bronze

I used up leftover bits of wool for this project, so unfortunately I don’t know the exact length it uses, but as the back isn’t visible I was able to neatly join several pieces of yarn without any lumps showing through.

I first attempted this pattern on Double Pointed Needles (DPN’s) so that there wouldn’t be a seam, but as the only DPN’s I own are made of vintage plastic and the pattern starts off quite tightly I managed to break one (oops!) so I decided to keep it simple. I found the seam wasn’t particularly noticeable, but for a cleaner finish, this pattern could easily be adapted for DPN’s.

The Pattern

With UK Size 6 Knitting needles cast on 5 sts

  • Row 1: Knit front and back in every stitch
  • Row 2: Purl
  • Row 3: Knit in front and back in every stitch
  • Row 4: Purl
  • Row 5: *Knit 2, Knit in front & back of next stitch* Repeat to end of row
  • Row 6: Purl
  • Rows 7-10: Repeat rows 5&6 twice more
  • Rows 11-20: Stocking stitch starting with a knit row
  • Row 21: *Knit 2, Knit 2 together* Repeat to end of row
  • Row 22: Purl
  • Row 23: *Knit 2, Knit 2 together* Repeat to end of row
  • Row 24: Purl
  • Row 25: Knit 2 together to end
  • Row 26: Purl
  • Row 27: Knit 2 together to end
  • Row 28: Purl

Cast off leaving a tail for sewing.

My colour pattern was as follows, but you can easily use other combinations to change the size of the stripes:

  • Rows 1-6: Colour 1
  • Rows 7-11: Colour 2
  • Rows 12-16: Colour 1
  • Rows 17-21: Colour 2
  • Rows 22-28: Colour 1

Making up the baubles

Once you have cast off, thread your tail of yarn onto a darning needle. Insert the needle through the opposite end of your cast off row and pull so the two ends meet to form a closed circle – this makes the bottom of the bauble. Then with the right side facing out towards you, begin to sew the two edges together using mattress stitch until you get about 1/3 of the way up. At this point you need to put your mache bauble into the cover and then continue to mattress stitch the seam. At the top of the bauble sew the two cast on ends together to complete the seam, making sure the hanging loop is threaded through the middle. Finally weave in your end neatly to the back of the work.

Since I was giving them as gifts, I decorated a cardboard gift box to display them in and tied it up with string.

Let me know if you have a go at making them in the comments below or feel free to send your pictures to me on Pinterest – I’d love to see them!

Happy Crafting!

Spinning: Ryeland

Spinning Singles

My initial approach to Ryeland was to draft short draw (worstead) until I had got a feel for the fibre and my tension was right, then I could experiment from there. Starting this way however proved challenging since Ryeland fibre is short and worstead spinning is primarily used with mid-longer staple fleeces, so once I had sorted my tension out, I quickly moved onto supported long draw which was much easier. My wheel has a Scotch tension and I found that I needed it to be quite tight to spin the Ryeland singles, with a reasonably strong uptake onto the bobbin (although not so strong that it snaps). I found drafting long draw easiest when the uptake on the bobbin felt like someone was holding the other end securely as I drafted back on the rolag.

With regards to any odd bits of VM and Kemp that were left in the fibre after carding, I found they did fall out during spinning as long as I kept my singles quite thin. Having said that, I believe all wool, like the sheep it comes from has a personality and a way it wants to be used, so although my singles were on the thinner side, I left in any soft neps and locks that had stayed together to add a bit of soft playful texture as I felt this fitted the look of the Ryeland sheep.

I am also hopeful that the other half of the fleece will contain less VM, as I lost track of which bit of the fleece was which after washing, so I think I have started with the rear and side areas which are more likely to have bits in.

Plying

Surprisingly the Ryeland singles weren’t particularly energised, so kinks in the wool weren’t really a problem. I went for a 2-ply as I only have 3 bobbins at the moment, and anything else requires lots of centre pull ball wrapping! Plying was therefore straightforward and very quick. I’ll update this post when I’ve done an experiment with chain (navajo) plying at a later date to see what the result is. I also decided to measure the stretch in my plied yarn to help decide what my final project would be. When I measured it there was a difference of 4cm in length between ‘relaxed’ and stretched yarn.

Setting the Twist

Initially I was quite disappointed with how the Ryeland looked when I wound it onto the niddy noddy. It wasn’t fluffy or soft and it seemed a bit stiff (when I took it off the niddy noddy it retained the shape at the ends), so I wasn’t sure what had gone wrong as it seemed so different from my research. I washed it once with washing powder to remove any remaining lanolin and rinsed it before hanging it out to dry. Normally yarn would twist up a little during drying and you need to hang something to weight it down (I normally make do with a chain of pegs), but since the Ryeland didn’t twist, I left it alone.

When it dried, the wool fluffed up as I had expected it to originally, so it seems the singles just needed to be washed to fall into place, similar to when knitting is fulled. The resulting yarn is soft and very squishy, but has a surprising worstead style drape despite it’s woolen qualities, which I’m excited to make use of in the final project.

Ryeland just off the niddy noddy on the left, much fluffier Ryeland skeined after washing on the right

I found the Ryeland was reasonably easy to work with, but had I started my fibre journey with this fleece, I would have probably struggled spinning it since the fibres are quite short. The colours in it are gorgeous and I’ve loved being able to experiment with blending techniques on the carders. I will play around with some on the drop spindle at a later date and update this post with the results as I think it may be harder on the spindle. My project in mind for this fleece is some sort of knitted cowl, so I can attempt something simple as a first project on a circular needle.

Happy Crafting!

Fibre Prep: Castlemilk Moorit

The Fleece

The fleece as it arrived was very clean, it had very little VM in it (I found about 3-5 obvious long pieces of grass), had no soiled sections and minimal kemp as far as I could see. Like all fleeces I spread it out on a tarpaulin, but I didn’t worry about skirting it further since any other tiny bits of VM would fall out during washing or carding later on. Although short stapled, the fleece didn’t feel particularly greasy to the touch, but I have found that short stapled fleeces tend to hold onto a surprising amount of dust, most of which comes out when the fibres are loosened during washing.

The Raw Castlemilk Moorit Fleece

Washing

Since Castlemilk Moorit is not commonly used by handspinners, I could find very little on it’s tendency to felt, so testing was particularly important in this case. I decided to try out my usual washing powder and hot water approach first, since most spinning books/pamphlets suggest it, as long as agitation is kept to a minimum. I was very careful not to be heavy handed with my sample, so just lightly pressed it into the water until it submerged. I have found that washing up bowls with drains in the bottom are invaluble for washing smaller quantities of fleece as it minimises the amount of times you have to touch it (and they are brilliant for catching tiny bits of fleece that otherwise try and escape down the plughole!).

The sample held up well to some more forceful handling when I squeezed the water out of it, so I probably didn’t need to have worried about handling it as much. I split the rest of the fleece into sections and washed them over the course of a week soaking them twice in washing powder for about 20 minutes each time and then rinsing them through once.

Drying

I had a little more difficulty drying the Castlemilk Moorit as the weather turned cold and after I spread one section out on the washing line, I brought it back indoors just as wet as when I put it out. Last year I discovered someone using a hydrophonic plant drying rack to dry fleece outside (reasonably cheap on eBay or Amazon) and I purchased one with the intention of using it this spring to dry lots of fleece. I found however, that I could use it indoors as well. My solution was to hang the rack from my showerhead and fill it with fleece so all the drips went into the shower tray. Since the dehumidifier had done wonders at finishing the drying of the Ryeland, I put it in the shower room and by the morning the fleece was dry.

Bag of Dried Castlemilk Moorit Fleece

Carding

When I began to card the Castlemilk Moorit and started to apply the fleece to the carders it became more obvious that there was actually a coarser second coat I hadn’t noticed before. As Castlemilk Moorit has a very short staple (I measured 5cm) these fibres blend in very well and are hard to separate since they are of similar length. Although hand carding was easy I wasn’t happy with the rolags produced, so put the fleece to the side for a couple of years.

This portion of the post has been updated as I spent part of Tour de Fleece 2025 using my drum carder to card the rest of this fleece. I was much happier with the fleece in batts – the short staples were holding together much more easily and the coarser fibres weren’t quite as ingrained into the fibre, so would be more likely to fall out during spinning. Something that became apparent when drum carding was the sheer amount of fine dust that was in this fleece, so much so that the rest of the carding was done outside.

I initially thought I would use this fleece to make something to wear next to the skin as the fibre is incredibly fluffy – I’ve done my best to separate out areas of the fleece with more/less coarse fibres, so they kept separate while spinning and the batt’s didn’t feel particularly scratchy, but whether I go for the project I had planned or think of something else will depend on what a knitted swatch feels like.


As always, let me know if you have any tips/advice in the comments below.

Happy Crafting!

Further Reading about Castlemilk Moorit

  • Breed Society Website – castlemilkmooritsociety.co.uk

A Little About: Castlemilk Moorit

A Flock of Castlemilk Moorit Sheep
Photo Via castlemilkmooritsociety.co.uk

History

A relatively new breed of sheep, Castlemilk Moorit have their origins in 20th Century Scotland. The breed are a cross between Manx Loaghtan, Moorit Shetland and wild Mouflon and were developed by Sir John Buchanan-Jardine with the purpose of beautifying his Scottish Castlemilk estate. These sheep are classed as ‘at risk’ by the RBST, since shortly after Sir John’s death in 1970, the majority of the flock were culled. A few sheep survived and the RBST and Castlemilk Moorit Society are working hard to secure the future of the breed.

Fleece Research

Moorit is derived from old Norse and means reddish brown, exactly the colour this fleece is. They have gorgeous strong natural browns, often with sunbleached ends giving varying shades. I am keen to explore this fleece since it reportedly has little to no kemp – a bonus for fibre prep and making a finished product since it shouldn’t be too itchy. It has quite a short staple length, so perfect for trying out some more woollen spinning and hopefully I will be able to make a finished project that I can wear next to the skin. I’m also curious to explore this fleece since I believe I may have unknowingly worked with it before when a lovely work colleague brought me some bits of mystery fleece caught on a neighbouring fence, but did not know which breed it was from. Since doing my research, I think it may well be Castlemilk Moorit.

Further Reading

The following sources have been used for reference

Fibre Prep: Ryeland

The Fleece

Fleeces with fine short staple lengths tend to be greasier than those with a longer staple. Ryeland is one of these fleeces, so with my experience from washing the Dorset Horn, I needed to do some experimenting to find which method of washing would be most effective. At first glance the Ryeland didn’t seem to have much kemp, however since the fleece has shades of grey, brown and black it was harder to distinguish it. The fleece contained quite a lot of small VM and was surprisingly dusty, which made skirting more time consuming and I finally decided that most of the small bits would probably fall out during washing. There were several dirty areas around the rear area which went straight into the compost as I considered them unsalvageable, but otherwise the fleece was reasonably clean.

Washing

Since the Ryeland was greasier than the Dorset Horn and had similar reluctance to felt I decided to use the washing powder rather than a delicate soap. Before committing to wash the whole fleece, I tried washing a small sample twice through with washing powder and then giving one rinse until the water ran clear (I recommend testing a sample for any fleece). After drying, it still had a some grease in it, but the sample ran smoothly through my carders and since I would wash it after spinning, I chose to leave this grease in, in the interests of using less water and washing powder and the rest of the fleece was washed in this way.

Ryeland Fleece After Washing

Like the Dorset Horn, I found I was able to handle the fleece quite roughly without high risk of felting (although I would be cautious of applying this to all fine, short fibres). I did find however, that this fleece did not dry quickly, which presented a problem since it was late Autumn at the time, so I had to eventually move it indoors. After letting the worst of it drip dry outside, I spread it over a clothes airer, put a tray underneath to catch any drips and with a dehumidifier in the room overnight it began to dry.

Carding

I had assumed that washing would have removed the dust from the fleece, however I was surprised by how much dust and tiny bits of VM were still there. This meant that I had to tease open each lock individually and pick out as many bits as possible before applying it to the carders. This proved very time consuming and due to the amount of dust, I had to card outside when possible to avoid making a mess. The rolags produced from the Ryeland, are however very soft and light, so are definitely worth the hard work, however tedious!


It’s difficult to quantify how long the fibre prep for this fleece has taken me as drying took much longer due to the weather and I haven’t had as much time to devote to it. I have also been carding a bag full of rolags and then spinning them before repeating the process to make it less tedious and repetative, but the results are definitely worth it!

Let me know if you have any tips/advice in the comments below.

Happy Crafting!

Further Reading about Ryeland:

A Little About: Ryeland

A Coloured Ryeland Sheep
Photo Via http://www.ryelandfbs.com

History

Ryelands are some of Britain’s oldest sheep dating back to the Middle Ages. They are believed to have been developed by Monks in Leominster from the Spanish Merino, a breed with which their fleece once rivaled. Ryeland wool was of such high quality it became the standard for wool to be assessed against and in the 14th century was shipped to Europe for a high price. It’s popularity increased in Elizabethan times when it is rumored that Queen Elizabeth I was given a pair of Ryeland stockings and would henceforth wear no other wool. It is also believed that the Wool Sack in the House of Lords was originally stuffed with Ryeland fleece.

Although once a highly popular breed, by the 1970’s with the decline of the wool industry, it was listed by the RBST as being rare. Since then there has been an increase in popularity of the Ryeland as a hobby sheep, and today they are no longer on the RBST’s danger list.

Fleece Research

Keen to use my spun wool to make something for me to wear, the soft fleece of these teddy bear like sheep sounded like the perfect option. Ryelands can be either white or coloured, with the coloured fleece varying from light browns to greys and blacks. The fibre is a good length to card and with it’s crimp would lend itself to woolen spinning, perfect for making something warm and cosy. Finally, unlike other very fine fibres, my research stated it was reluctant to felt – going as far to say some fleeces could be lightly machine washed, so there was less chance of accidentally felting my fleece during the washing process.

Further Reading

The following sources have been used for reference

  • Breed Society Website – http://www.ryelandfbs.com/
  • British Sheep & Wool by the British Wool Marketing Board – ISBN 9780904969108
  • The Field Guide to Fleece by Deborah Robson & Carol Ekarius – ISBN 9781612121789

Spinning: Dorset Horn

Spinning Singles

After I had produced my rolags I began the process of spinning. When I started the Dorset Horn spin, I had not spent much time with my wheel and had only spun fibres that were commercially carded, so I wasn’t sure how my rolags would behave. With my limited experience on the wheel, I started off by spinning the rolags using a short draw, anticipating that this would give the finished yarn more of a worsted drape than a woolen spring. I found this fibre held together well, and as I gradually got a feel for it, I began to use a long draw which felt very natural with the Dorset horn, so I continued spinning in this way. Periodically I would come across a stray kemp hair, but since they were dark it was very easy to remove them (and many fell out when I used long draw).

I saved a few rolags to try spinning with my drop spindle and was found it very easy to spin. My go to drop spindle method for new fibre is the ‘park and draft’, but I found that the Dorset Horn had a way of almost spinning itself and it was so easy to draught out that I actually began to spin continuously on the spindle without ‘parking’ it.

Navajo Plying/Chain Plying on the Wheel

Plying

Creating a 2-ply on my wheel was quick and easy, although I had to make sure any kinks were out of the singles as I plied them, since the fibre was so elastic and quite energised (however this could be related to my tensioning of the wheel). Even before washing this created a bouncy woolen 2-ply.

I then experimented with creating a 3-ply by chain plying (or navajo plying) on the wheel using the single spun on my drop spindle. The resulting yarn was soft, but less airy than the 2-ply, which gave it more of a worstead drape with less spring.

Setting the Twist

I had assumed that the earlier skeins I had spun short draw would not come out quite as woollen after washing, but to my surprise there was no difference in the finished product. All skeins were soft, squishy and have a surprising crispness about them that you can hear when you squish it. The wool has a subtle lustre and is very bouncy even after plying. On average my one fleece of dorset horn produced around 950m of 2ply (20 skeins) – however I have not yet measured the length of each skein, so this figure may vary considerably to my estimate.

I found this fleece very easy to work with and very adaptable, so would definitely reccommend Dorset Horn for a beginner (it’s definitely made my go to list!). It’s soft and woolen enough to be turned into clothing, however as it’s not prepped commercially, there are areas in the yarn where shorter fibres etc. could cause itchyness to those with sensitive skin. I’m unsure at the moment what to turn it into – though it’s tempting me to make it into a squishy jumper or a blanket!

Happy Crafting!

Making a DIY Blending Board: Part 1

Despite loving the natural tones of wool, I also enjoy playing around with colour. There are lots of options to blend colours for spinning, felting or weaving:

  • Spinning different rolags end to end or drafting two colours together
  • Blending on hand carders
  • Using a blending board
  • Using a drum carder

All these methods have their pros and cons depending on what effect you want to create. Hand carders are cheaper, but only produce one rolag at a time. Drum carders can produce textured batts that are lovely to spin from, but are very expensive. Blending boards can create both rolags, roving and mini batts, but are also quite pricey. Being on a tight budget I decided I would have a go at DIYing a blending board for less than half the price of a new one with some added extras.

The basics you will need:

  • 30x30cm Carding cloth (I purchased mine here)
  • A wire slicker dog brush
  • A wooden tray or chopping board larger than 30x30cm
  • A staple gun or screws
  • A round dowel or a pair of long chunky knitting needles

Disclaimer-Please consider your safety and use common sense when working with the above equipment.

Basic Building:

For my board, I salvaged an old wooden tray that belonged to my great grandmother and was sitting on the firewood pile. It was quite scratched and in need of some TLC, so I sanded it down and finished it with some oil. You could also use an old wooden chopping board.

When my carding cloth arrived, I laid it out on the back of the tray and centered it. Using the staple gun, I then put a staple in the top two corners and worked my way along the top edge. Making sure to stretch the cloth out flat I then stapled the bottom corners, before continuing to staple the other edges. It’s advisable not to use glue to adhere the carding cloth as it hinders the flexibility of the backing cloth and makes the teeth go rigid. If you don’t have a staple gun then you could perhaps use screws instead.

I purchased my dowel in one length, so I cut it in half so it was just wider than my tray as you need to be able to get a firm hold of the dowels when creating your rolags. If you have a pair of long chunky knitting needles lying around then you can use these instead of dowel.

At this point the blending board was perfectly useable and I (and my friends!) became impatient to play around with some acid dyed fleece I’d bought from a small business owner at a local craft fair (I’m not keen on acid dyes, however I haven’t had time to try natural dyeing and do believe in supporting small businesses). I do have some other customisations I want to make to it which I will post in a part 2 at a later date.

If you’ve never used a blending board before then I recommend Ashford’s ‘how to‘ video, however I use my DIY board a little differently, so will make a post about how I use it soon.

Happy Crafting!

Fibre Prep: Dorset Horn

The Fleece

The Dorset Horn was the first raw fleece I had ever worked with, so I needed to do some experimenting with preparation methods that would work best for me and were within my budget (whilst also being as eco-friendly as possible). My first job was to spread the fleece out on a tarpaulin and skirt it (see my policies section for my skirting ethos). The fleece was very clean with minimal kemp/VM and didn’t feel particularly greasy to the touch. The entirety of the fleece felt soft so in the absence of any particularly coarse areas, the whole fleece was washed.

Washing

Although my research described Dorset Horn as reluctant to felt, I was very cautious – I didn’t want to spoil it. I divided the fleece in two and gently placed half into the bath with hot water from the tap and some liquid soap designed for wool & delicate’s and I left it to soak for about an hour. After this I drained the bath and repeated the process again on the same half of fleece, after which I rinsed it until the water ran clear and it didn’t feel soapy on my hands, doing my best not to agitate it. I then pegged it out on the washing line to dry.

Once dry however, it still felt greasy and after running a small sample through my hand carders it was going to be hard work for them (and my arms!). I tried a different tactic for the other half of the fleece. Like before, I ran the bath with hot water but instead of using liquid soap I dissolved some washing powder into the water before placing the fleece in and instantly the water went brown, so it seemed the washing powder was a better emulsifier for the lanolin than the liquid soap. I repeated this process once more for the second half of the fleece, rinsed it and put it out to dry. When this wool dried I couldn’t feel much lanolin at all, so I re-washed the first half of the fleece once using the washing powder, which removed a substantial amount of the grease.

This process took me about 3 days and as with washing any raw fleece, produced a very organic smell (I found that the liquid soap produced a stronger smell than the washing powder, despite it removing less grease). By the second half of the fleece I was squeezing the water out during rinsing, so discovered that I could be much rougher handling raw fleece than I originally anticipated.

Carding

My fibre prep equipment consists of a pair of handmade 72ppi hand carders kindly given to me as a gift. Dorset Horn is quite an elastic fibre with moderate crimp and with a staple from this fleece measured at 3.5″ was easy to separate out and apply to the carders. There was minimal VM/kemp left in the fleece after skirting and washing, but most of what was left fell out during carding. With the fleece now grease free, carding was light work and produced very light, fluffy and bouncy rolags ready to spin.


Overall this process was easier than I expected, but it was more time consuming. Let me know if you have any tips/advice in the comments below.

Happy Crafting!

Further Reading about Dorset Horn: