Wovember 2023: A Golden Fleece

Wovember 2023

Happy Wovember! This month is all about celebrating wool; previously I’ve discussed the importance of wool, correct product labelling, shared some of my fibre book recommendations and sources of woolly information. Wool is an incredible material, both due to its rich history, but also the role it can play in reducing environmental harm. It has been clothing humans for thousands of years and is embedded in our culture. This year I’m travelling back in time to explore the lasting impact wool has through some magical/mythological stories and imagery. Why was wool referenced so much? Was there truth in these tales? This month I’ll be exploring wool’s influence on these legends here on the blog and taking part in the daily photo prompt on Instagram.

Jason & The Argonauts

As with many myths and legends, there are various interpretations of the story, but most sources tell the following tale. King Aeëtes of Colchis placed the fleece of a golden ram that saved the children of Athamas from Zeus on a sacred tree guarded by a serpent that never slept.

Across the Black Sea, Jason, son of Aison, rightful king of Iolkos returns to claim his throne from Pelias, his father’s half-brother. Reluctant to cede his crown, Pelias sets Jason an impossible task; he will give Jason the throne if he brings him the golden fleece of Colchis. Along with a team of Argonauts, Jason faces perilous waters and journeys across the Black Sea to Colchis. Upon the Argonauts arrival, King Aeëtes sets Jason two further tasks in return for the fleece; he must harness two fire breathing bulls to a plough and defeat the warriors grown from the teeth of a dragon. With the help of the King’s daughter, a sorceress named Medea who provides him with the means to succeed in return for his hand in marriage, Jason accomplishes the tasks. King Aeëtes still refuses to part with the fleece, so Medea drugs the guarding serpent while Jason steals the fleece before they both escape on the Argo.

Gold Extraction in Early Georgian States

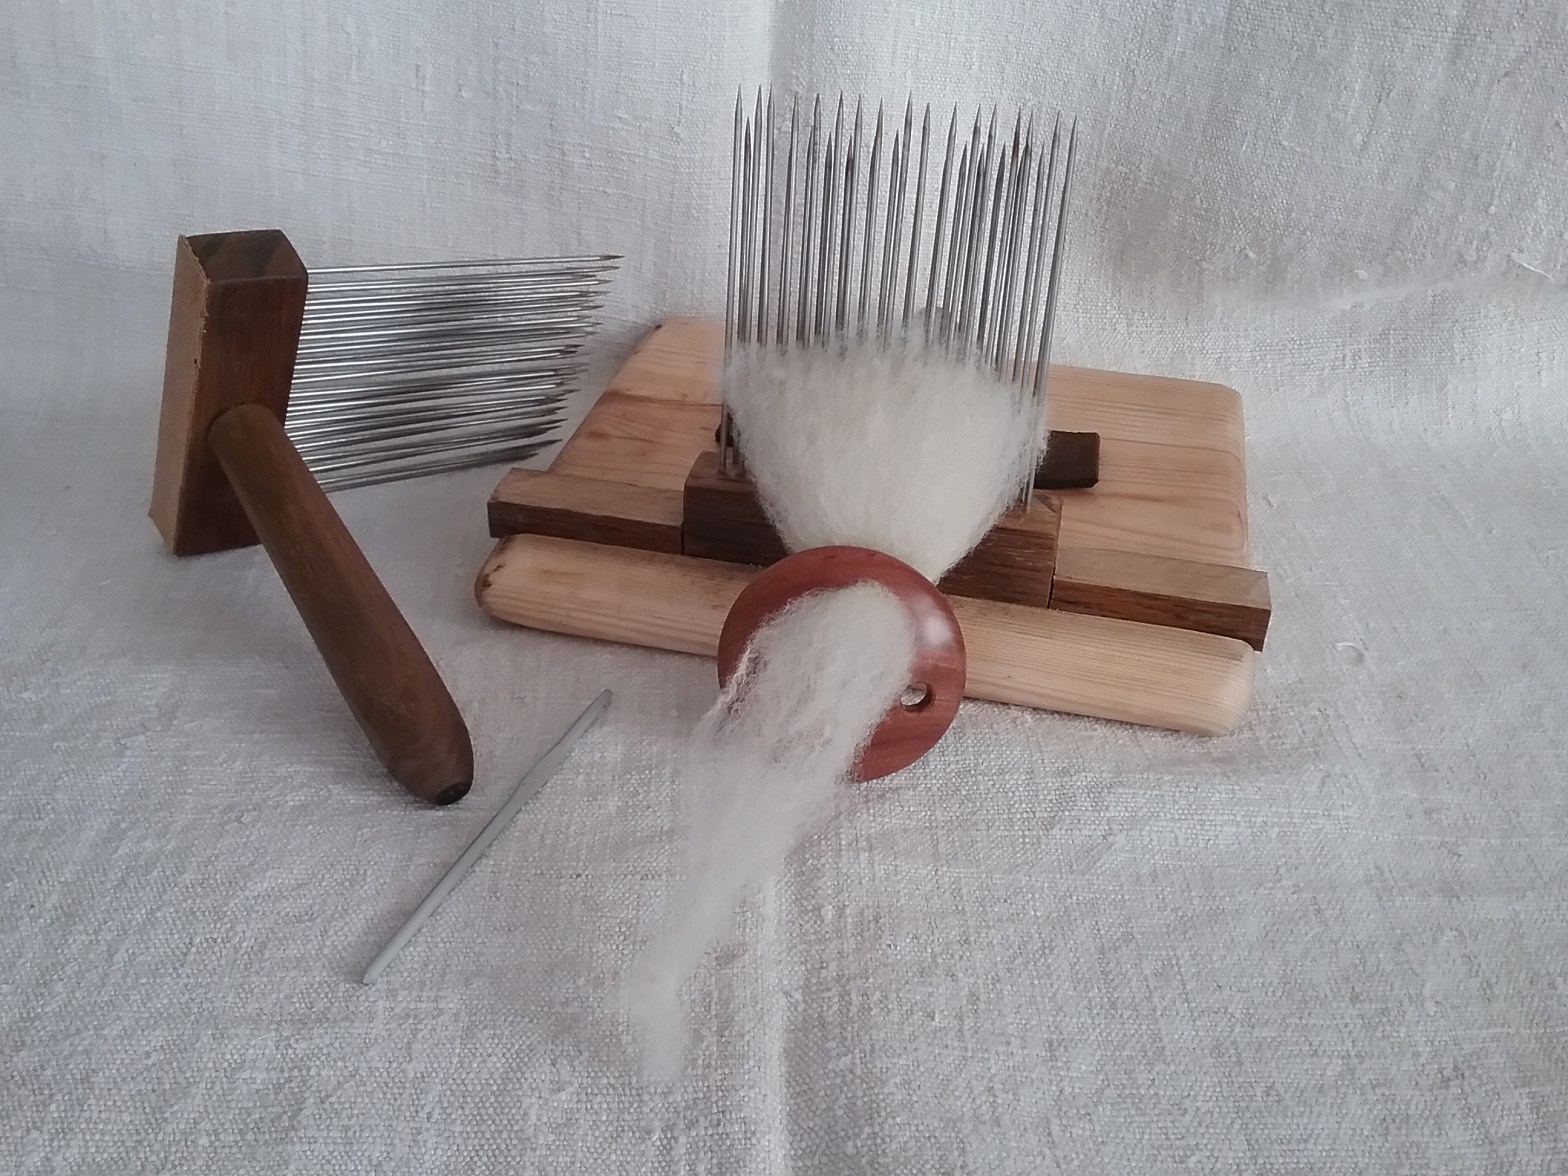
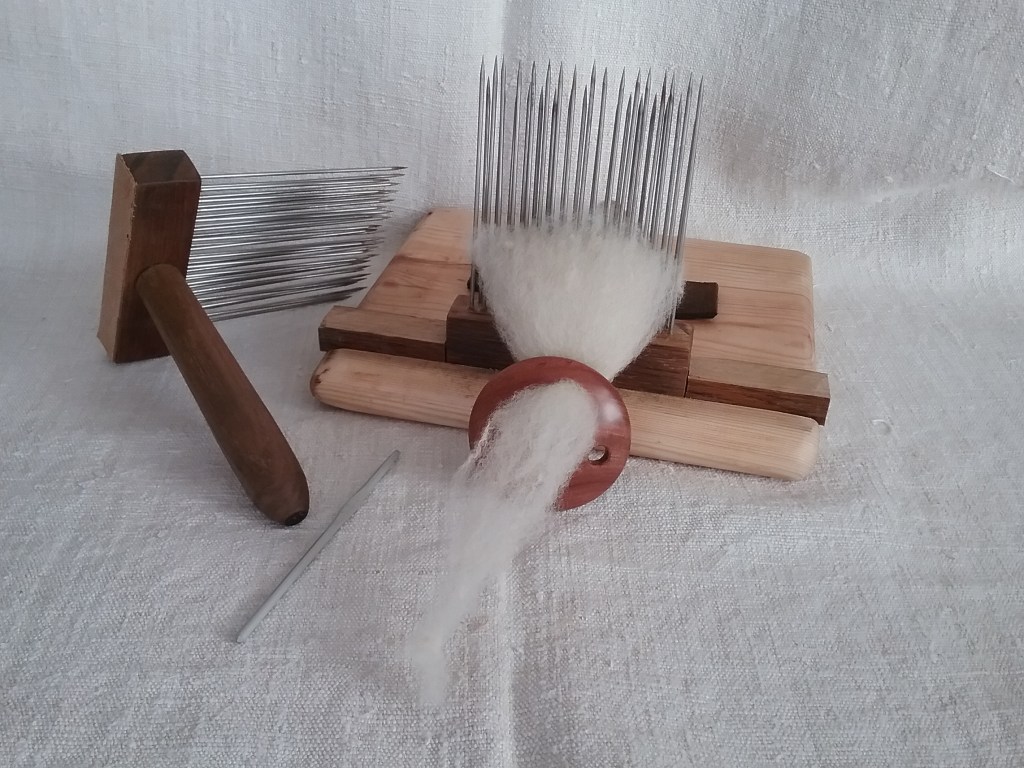
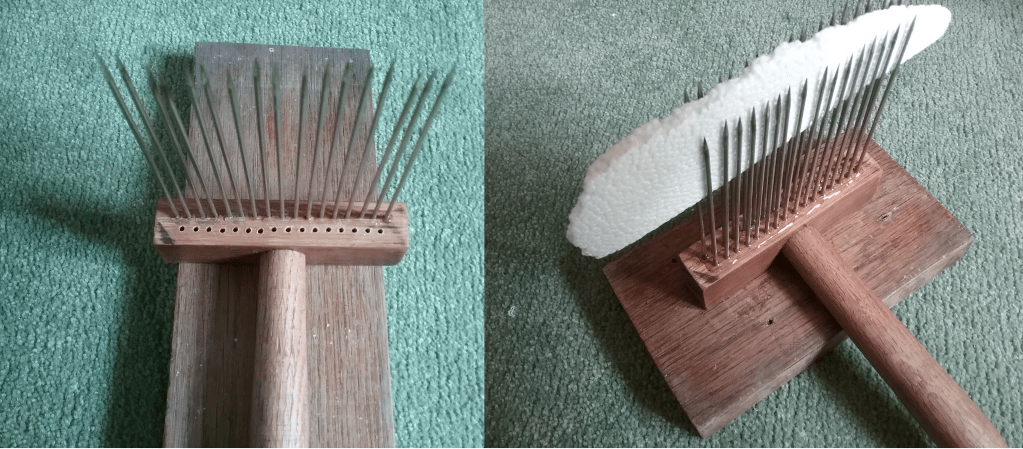
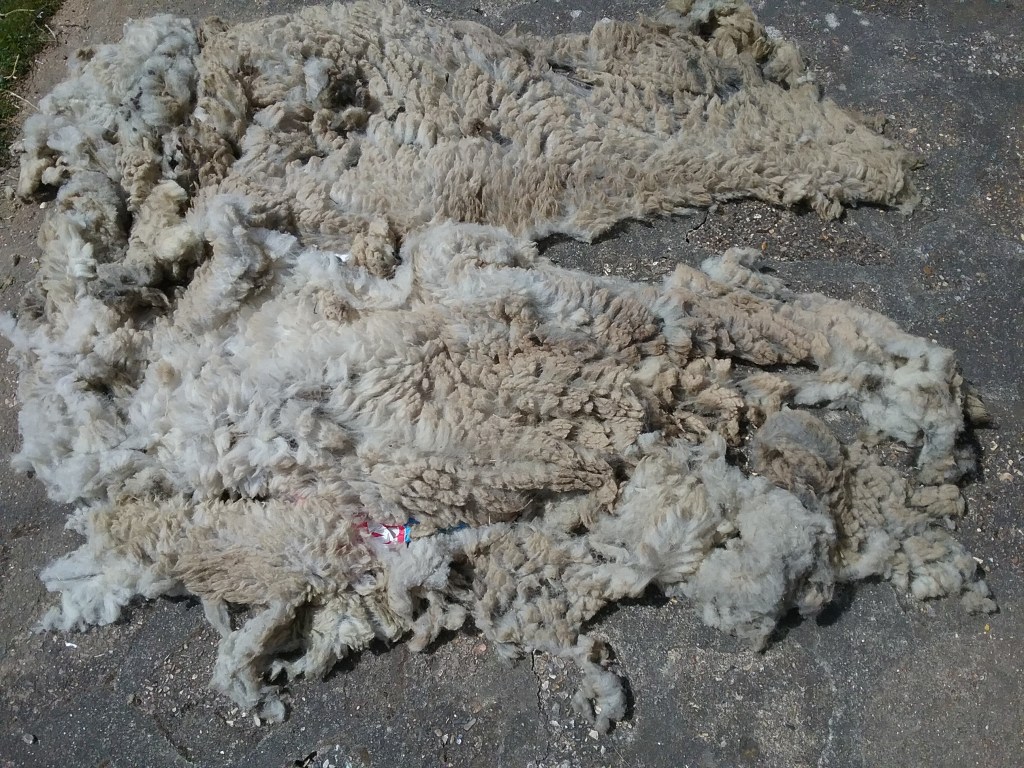
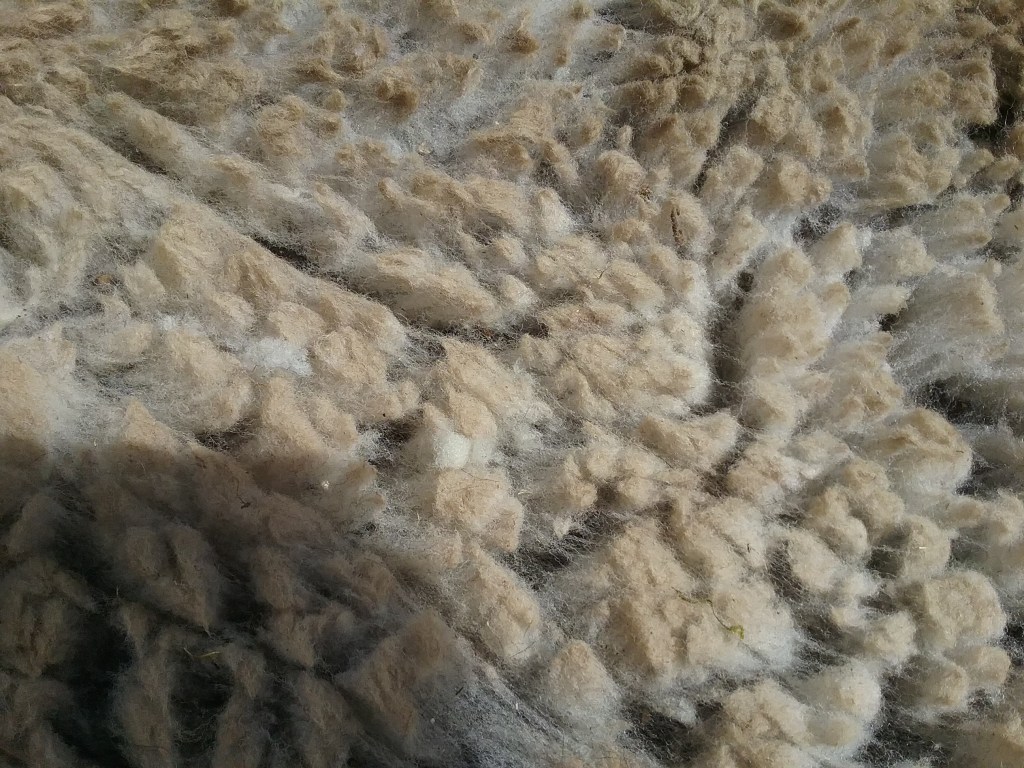
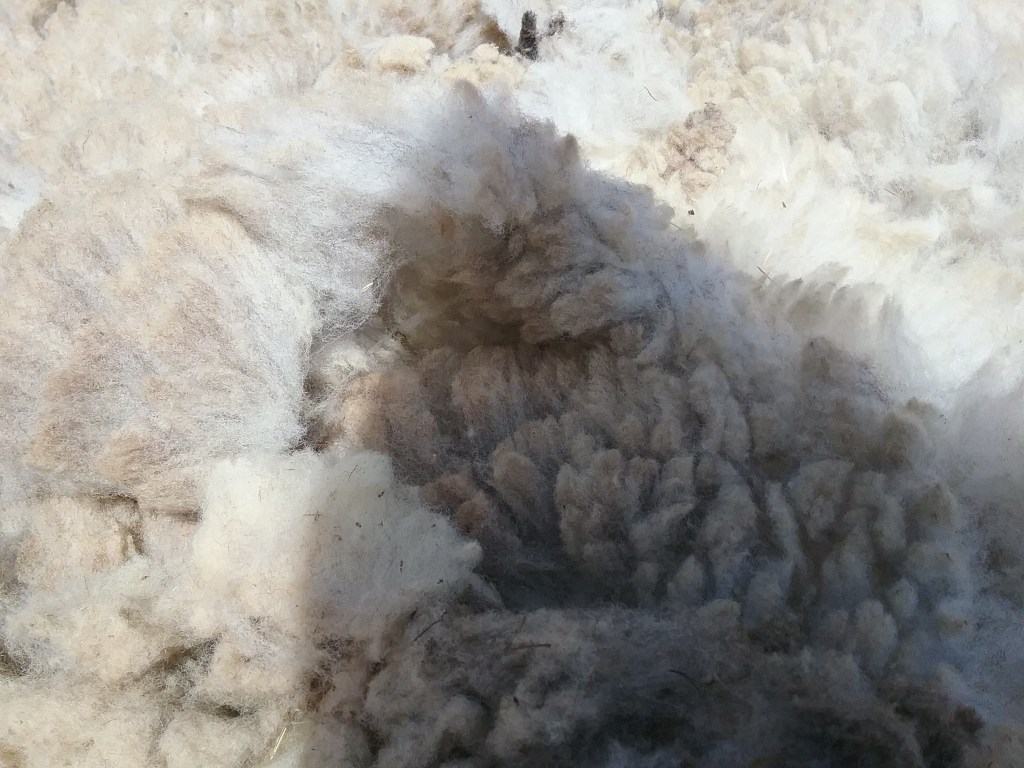
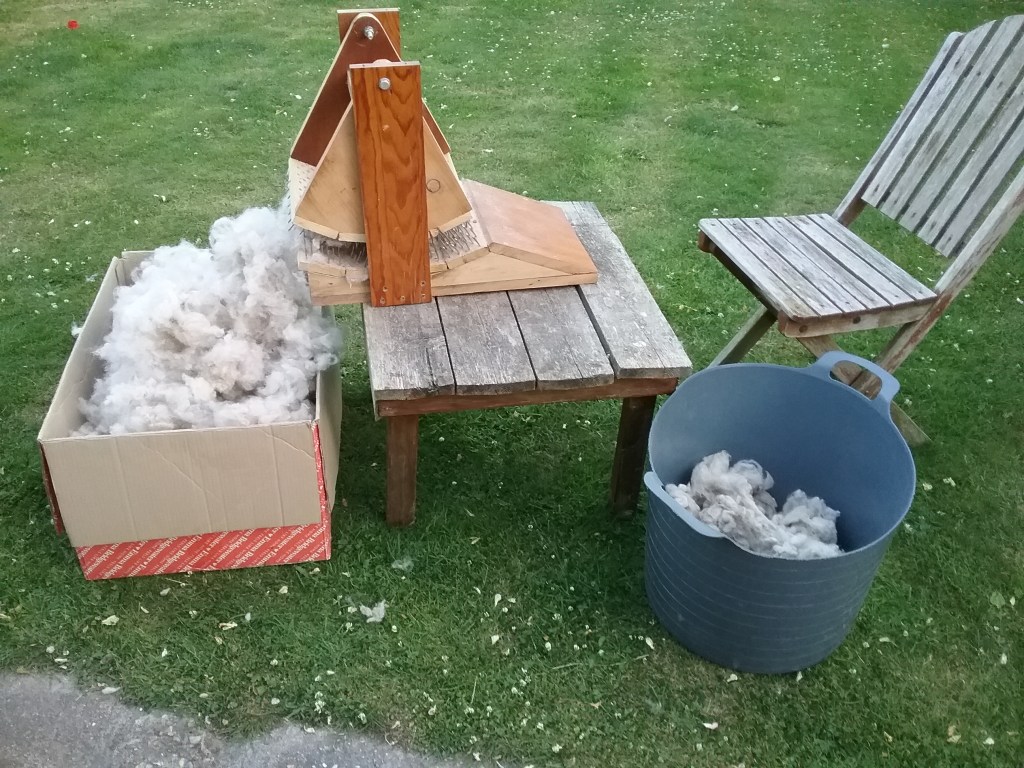
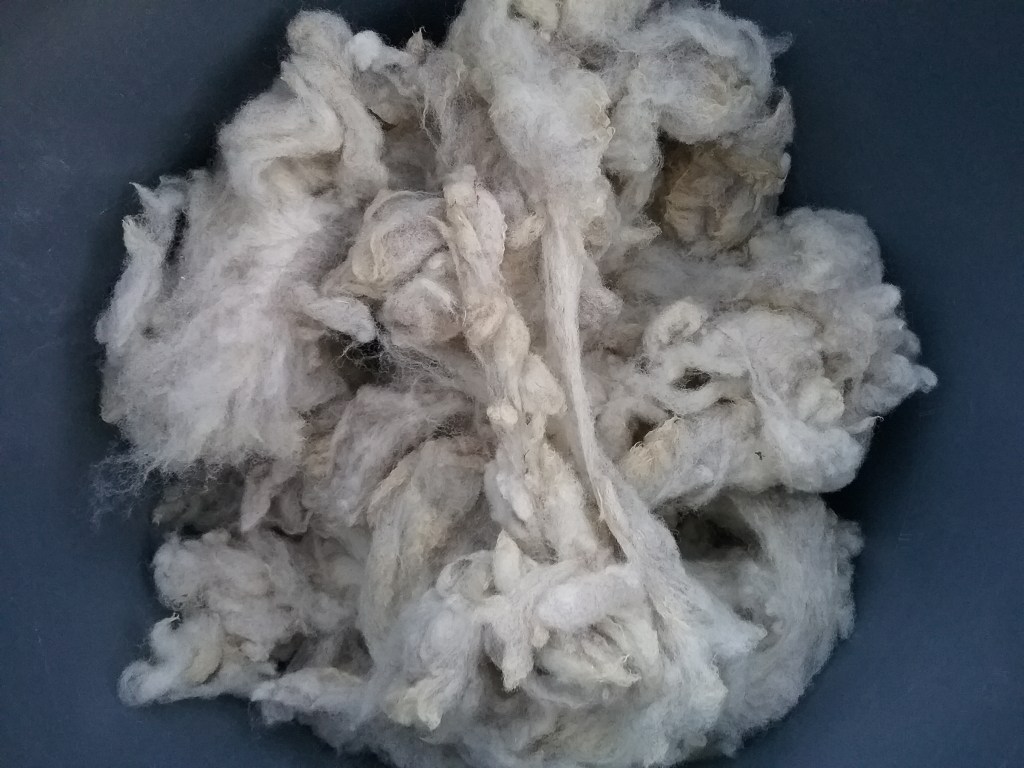
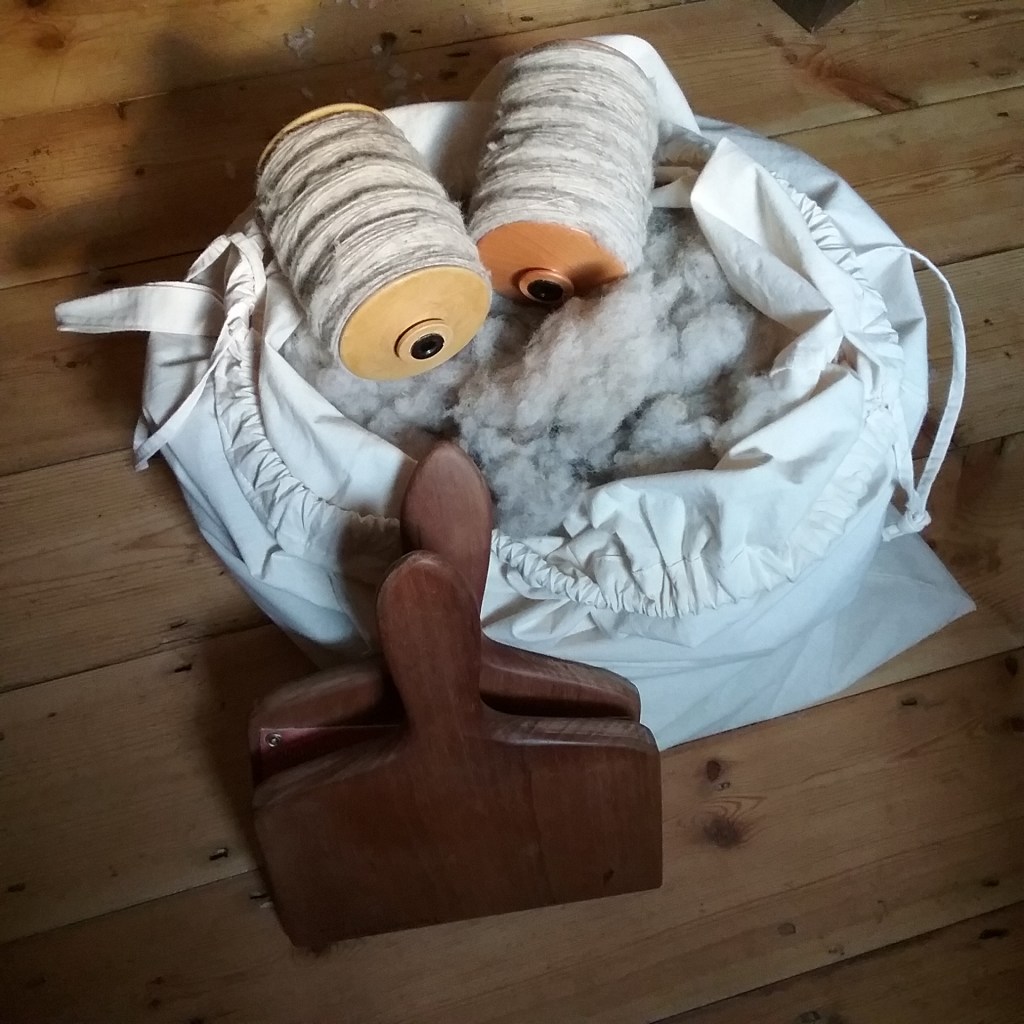
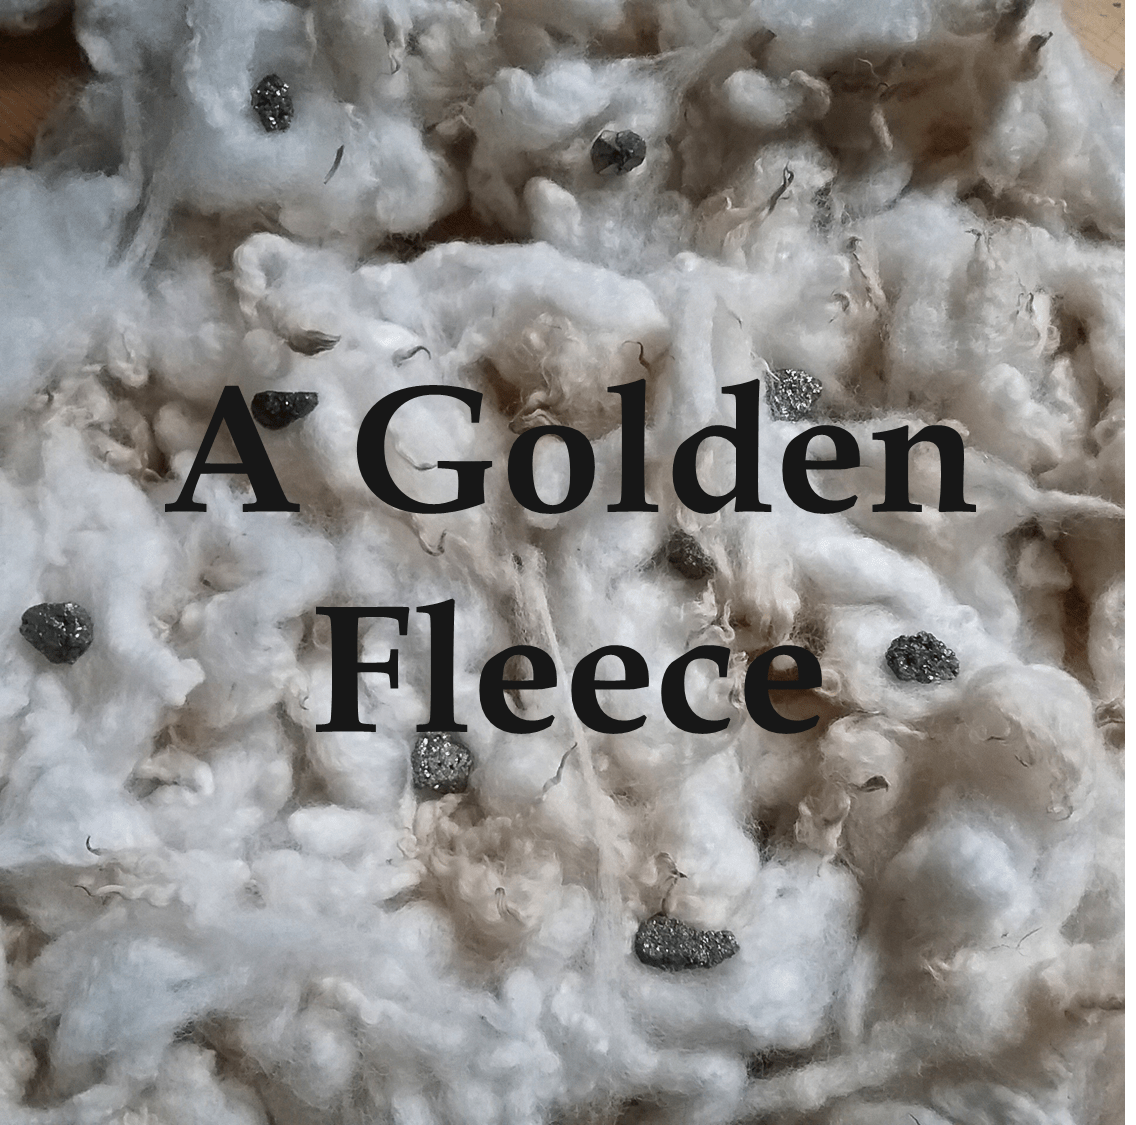
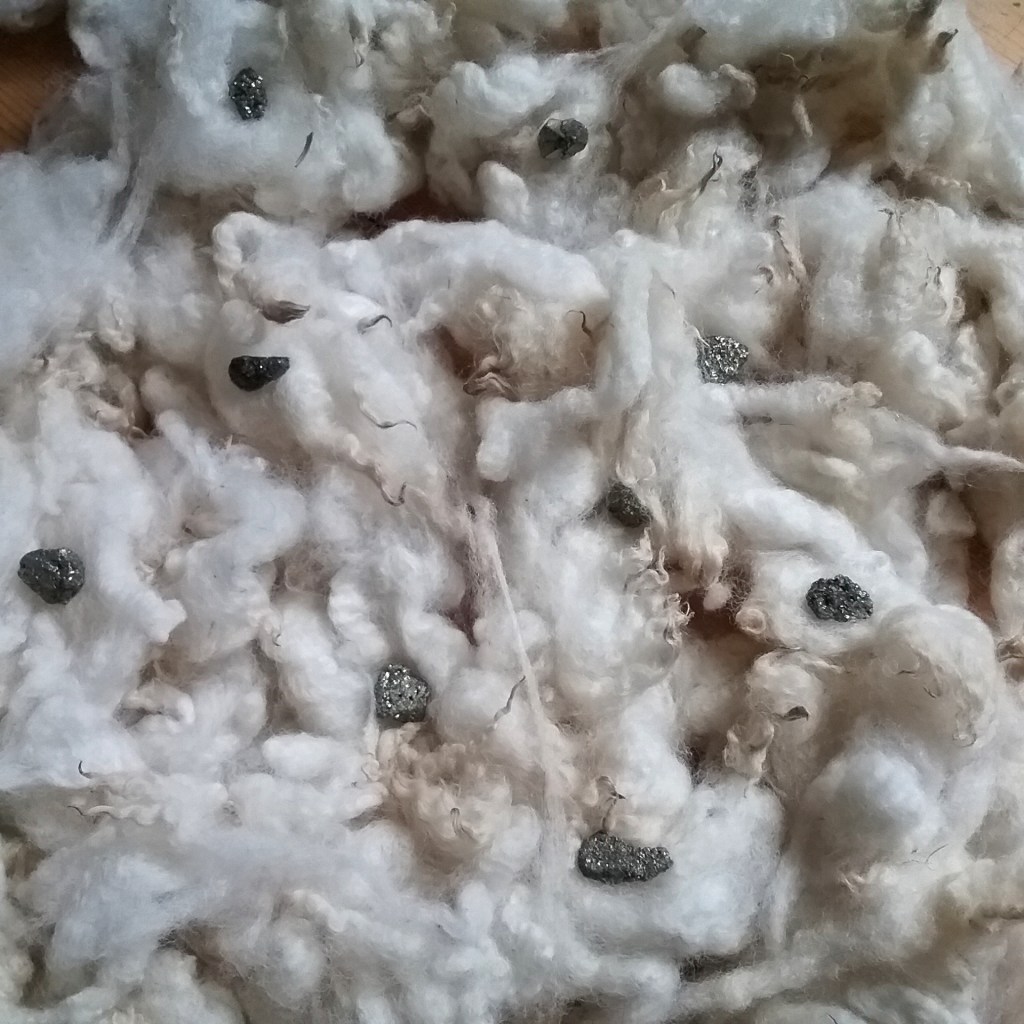
Myths are full of fantastical objects and there are many different interpretations regarding the significance of the golden fleece. Historically textiles were expensive and generated significant capital for those who worked with them (the English economy was significantly supported by the wool trade), so metaphorically, the fleece could simply represent great wealth. There is however a much more literal suggestion involving a method of extracting gold from rivers. The Svaneti region in modern day Georgia has high river gold deposits and is thought to be the site of the ancient kingdom of Colchis1. Ancient tribes in this area would strategically place a sheepskin or fleece in the river to trap the gold grains making a ‘golden fleece’ which was then washed, and the grains sifted from the wash water. The practice of gold panning is quite a tourist attraction in Svaneti nowadays, although the equipment is slightly different2. The practice of using a sheepskin as a sieve was not constrained to the Black Sea region; many bronze age artifacts in the UK and Ireland thought to be made from alluvial gold sieved through sheepskin3.

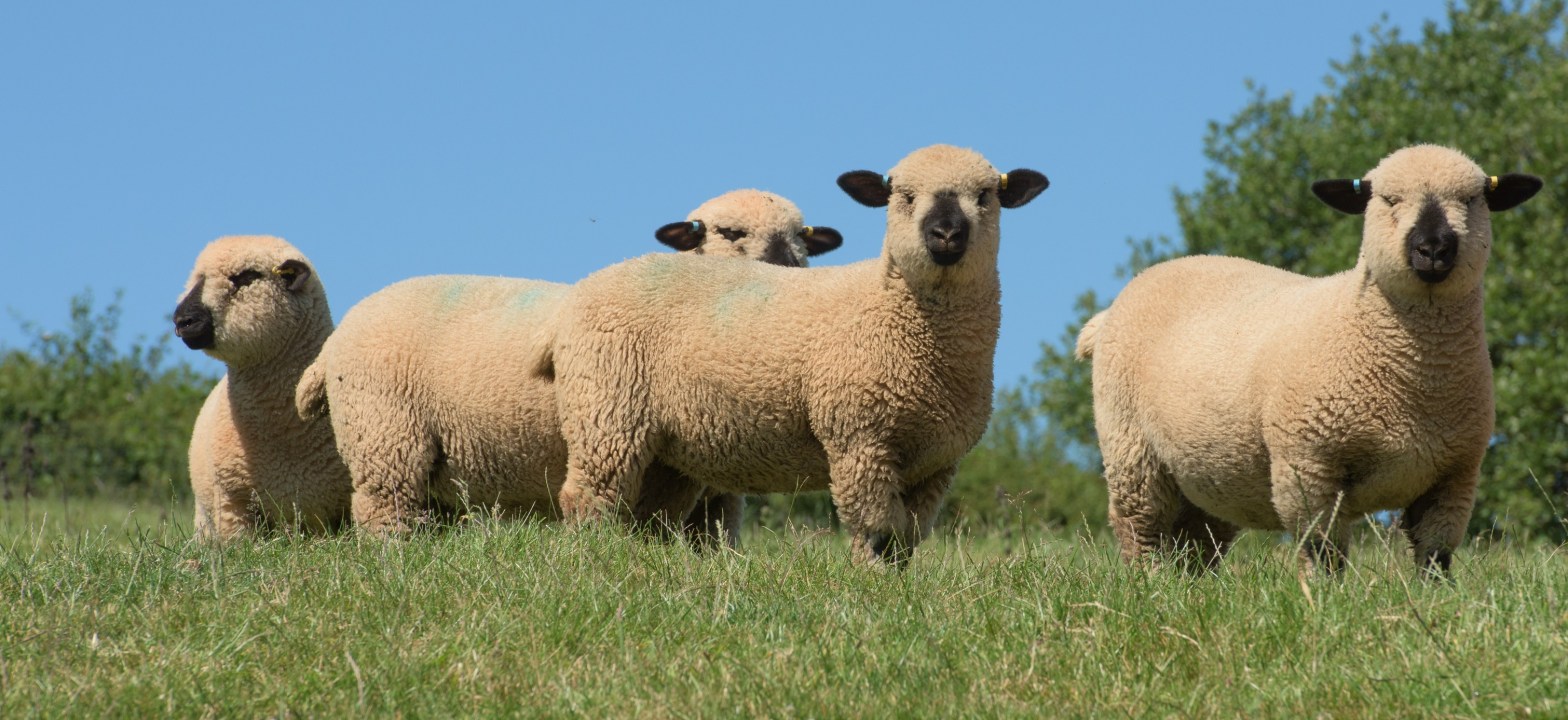
It seems therefore that the story of the golden fleece may not be as fictional as it first sounds. The riches of Colchis were well documented at the time by Pliny the Elder and Homer, so could the Argonauts have in fact made the journey not to steal from a serpent, but to learn the methods of Colchian gold extraction and bring this knowledge back home to Iolkos? There is another theory, that the term golden referred to a tan coloured sheep native to Colchis4, however coloured sheep were usually less favoured as their fleeces would not take up dye as easily, so why the Argonauts would journey to bring back a coloured fleece is unclear, but certainly highlights the importance of wool at the time.

Greek mythology has a lot to unpick so I’ve tried to be brief, but if there’s anything I’ve missed out, do let me know in the comments below. Next week I’ll be exploring the association between wool, fate and destiny.

Wovember posts from previous years can be found below:

  1. Okrostsvaridze, A., et al., A modern field investigation of the mythical “gold sands” of the ancient Colchis Kingdom and “Golden Fleece” phenomena, Quaternary International (2014), http://dx.doi.org/10.1016/j.quaint.2014.07.064  ↩︎
  2. https://www.georgia-tours.eu/looking-for-gold-in-svaneti/  ↩︎
  3. https://microsites.museum.ie/bronzeagehandlingbox/object-sheepskin.html  ↩︎
  4. Ryder, M.L. (1991) ‘THE LAST WORD ON THE GOLDEN FLEECE LEGEND?’, Oxford Journal of Archaeology, 10(1), pp. 57–60, https://doi.org/10.1111/j.1468-0092.1991.tb00005.x. ↩︎

DIY Wool Combs

There are several fleeces in my stash that I have put to the side as the fibres are too long to successfully card. There are two methods generally used to prepare wool depending on the staple length of the fleece, namely carding for short staples and combing for long staples. Some fleeces can be carded or combed depending on the intended use (a good example I’ve worked with being the Romney), but others will favour just one method – carding a long staple fleece is hard work and the fibres can become tangled, while combing is very difficult with a short staple.

Wool combs are expensive to purchase and tend to hold their price second-hand. After realising that I needed a pair of combs, but feeling I couldn’t justify spending a lot of money, I decided to see if I could DIY some for myself. Several people have come up with ingenious ways of DIYing combs, from using beekeeping combs to pet combs and a google search will bring up many different results. Antique wool combs come in various guises too, some are simply nails in wood and others have layers of fine sharp spikes. After looking at a range of commercial, DIY and antique combs I decided to try and fashion something with two rows of tines that was a medium sort of size.

I began with sourcing materials; the paddle portion of the comb would be made from the salvaged wood of a bookshelf made by my Grandfather, the handles from an offcut of oak and the tines from some 2mm stainless steel rods found at the bottom of a craft drawer (it’s important that the tines don’t rust as fleece is greasy and can sometimes need spritzing with water if it gets too static during combing). The stand was made from an offcut of windowsill and a section of leather from a damaged strap found in my Grandfathers shed.

Constructing the combs:

My first task was to decide on the paddle size; I wanted the combs to be light enough to be used in the hands, but large enough that they could also be put on a stand. I also wanted to have two rows of tines as I felt these would do a better job of separating the fibres than a single row (most commercial single row combs are finer than my tines would have been). After lots of experimenting within the confines of my materials I decided my paddles would measure approximately 11.5cm wide x 2cm deep x 3cm tall. The wood was cut, sanded and given a coat of oil.

I marked the tines 6mm apart starting 1cm in from each end and offsetting the second row so each tine was positioned in a gap. Each of my combs used 33 tines (16 in the back row, 17 in the front row). Most commercial combs have the back row of tines closet to the handle slightly shorter than the front row. My rods needed to be cut down before turning into combs so I offset the length measurement when I cut them in two so one side was longer than the other. One end of the tines was then ground down to a point. I also turned some simple handles.

The handles were attached and then holes were drilled through the paddles where I’d marked and the tines fixed in the first row using gorilla glue to secure them in place (the tines go all the way through the paddle so are unlikely to fly out). After 24 hours I could repeat the process on the second row. To keep the tines aligned as best as I could a thin piece of polystyrene slotted between the two rows worked wonders.

To finish off the combs I cut out a thin strip of leather to cover the bottom of the paddle where the ends of the tines were showing and glued it in place.

Constructing the base:

Most wool combs have a base that you can clamp to a table to make combing easier and safer, so I decided to construct one. I was confined to the dimensions of the offcut of wood I was working with, but a strip the width of my paddle was chiselled out so the comb could slot in. Two offcuts of wood the same width as the paddle could then be slotted in either side to reduce movement.

To secure the comb at the handle I decided to use leather and add wing nuts either side so the comb could be removed easily. The base itself had plenty of space to be clamped to a table.

Conclusion

The wool combs were a joint effort (thanks Dad!) and I’m very pleased with how they turned out. They make easy work of processing long fibres and are not too heavy. The tines aren’t perfectly straight, but this doesn’t seem to cause a problem. Most commercial tines seem to be a little thicker than the rods I have used, but although there is some flexibility in the tines, it doesn’t seem to be a problem. My tines may be a little sharper than commercial combs, so I am careful when handling them and removing waste fibre. I was lucky that I didn’t have to purchase anything to make the combs, so I can’t factor in a materials cost, but they were time consuming to design and make (though did allow me the option of customising them a little). I’m sure one day I will invest in some professional combs, but in the meantime these are proving effective and producing some beautiful combed nests.

If you have any tips for wool combing or have made wool combs/wool comb substitutes let me know in the comments below!

Happy Crafting!

Darning on a Vintage ‘Speedweve’ Loom

I’m a big advocate for repairing garments rather than replacing them and shun the throwaway culture of fast fashion wherever I can. A darn is one of the most common repairs required and can be used on most fabrics. Darning is essentially weaving without a loom, threads are laid across the fabric forming a warp before a weft is passed through. Depending on the repair, darning can be quite a fiddly and tedious task, so I was excited to discover that in the 1940’s-1950’s A. Chesstock of Manchester manufactured a ‘loom’ to make the process easier. I bought the ‘speed-weve’ at a car boot sale, it was in good condition without any rust and still had the original instructions. I’m always excited to try a new fibre gadget and the instructions are set out in 4 easy steps, so I set out to see if this device helps or hinders my darning.

Step 1 – Setting up

The instructions tell you to darn on the right side of the fabric, to place the wooden disc under the hole (as you would a darning mushroom) and use an elastic band to hold the fabric in place in the groove. Then slot the metal part into the groove and secure with another elastic band. I was weary of using elastic bands in case they snagged the fabric, so opted to use a hairband instead and manoeuvred it over both parts of the loom at once.

The Speed-Weve loom set up for darning

Next we need to add a warp. A thread is attached at a bottom corner of the hole, taken up around the hook directly above and back down to the base of the hole where a stitch is taken to secure it, before repeating the process across all hooks until the hole is covered. As you bring the thread back down from the final hook take another stitch at the base ready to begin weaving.

Warp threads ready for weaving

Step 2 – Adding the weft

The hooks on the loom attach to a bar that is pushed from side to side during weaving so they twist back and forth. This motion changes the warp shed as the right & left sides of the loops are lifted alternately every pass, just like weaving on a loom. This means the needle doesn’t have to be moved over and under the threads manually.

To begin weaving, ensure the hooks are facing either to the left or right and pass the needle through the shed created (under the raised threads). Pull the yarn through and take a stitch to secure it. Slide the hooks to face the other side, push the row you’ve just woven down with your needle and repeat the process back and forth until the hole is covered and the needle cannot pass through the shed any longer. It should look something like this:

Darn complete ready for casting off

Steps 3 & 4 – Finishing

Push the slider so the hooks are central and remove the hooked part of the tool (this was a little more fiddly for me as I had to move the hairband off the metal section, take the hooks off and then put it back on the fabric). When the hooks are removed, the top of the loops are left behind. These can then each be secured with an overstitch along the row before casting off and removing the disc.

Finished darn with hoops secured ready for casting off

Reflections

Much to my surprise the loom works rather well. As I was darning leggings, I expected the stretchy fabric to cause a problem, but the loom held it securely and kept the threads straight. When darning I would usually choose a thread of a similar size to that of the fabric, however since the hooks are a fixed size and space apart you need a minimum of a 2-ply yarn or the weave will be too open, but if the thread is too thick it will pop off the hooks (not so good if repairing thin weave linen or a thick jumper). I did find that on occasion my needle went through the middle of a warp thread rather than above or beneath it, which was difficult to see with the shadow of the hooks (though this may be because I was working with black).

On the whole I am impressed with the loom, it wasn’t as fiddly as I expected it to be, it kept the stitches even and the whole process only took me about 5 minutes, so I will definitely be using it again. Even though I used a thicker thread than I would normally have done, the darn isn’t too visible, and it will be interesting to see how well it holds up on a stretchy fabric.

If you’ve experimented with a darning loom and have any tips or tricks then I’d love to hear in the comments below.

Happy Crafting!

Spinning: Hampshire Down

Spinning Singles

The Hampshire Down is probably the shortest staple fleece I’ve worked with so far and I was concerned that spinning might have been more challenging, but was pleased to find this was not the case. I had good control with a long draw, using my other hand to even out any slubby areas and remove any large nepps as I spun. Since this yarn is destined to be woven, I needed to spin thinly to accommodate both plying, but also any fulling after washing. To that end, I decided to use my Kromski wheel as it was set up for spinning thin yarn and the double treadle gives a little more control. My carding hadn’t quite removed all the nepps in the fleece (they are harder to locate in fleeces with shorter fibres) and I left some in to help maintain the character of the fleece. Securing the nepps was harder than usual since the surrounding short fibres didn’t hold as much twist which caused several yarn breakages until I’d got the balance right.

I decided to compare spinning from rolags with spinning the batt I carded as an experiment on the drum carder. For this fleece, spinning from a batt was much harder, as the parallel fibres of the batt slid past each other quite erratically making tension control difficult. To reduce the sliding of the fibres I ended up spinning worsted style from strips of the batt, but spinning short draw with short fibres was challenging. This may be the reason that Hampshire Down is often blended with longer fibres commercially.

Below is a video of some quiet spinning filmed during TDF this year.

Plying

Since my plan is to use the yarn for both warp and weft, I needed to make sure that it was strong enough to be under tension, but also thin enough to fit through the reed I plan to use. I decided to start with a 2-ply and test the strength after a couple of metres; it didn’t break, so I continued in 2-ply. I used my Ashford jumbo flyer to ply as the bobbins are larger so can hold a longer continuous length of yarn, which should mean there is less waste when warping later. This was the first time I had used it to produce thin yarn and although treadling did become harder as the bobbin filled up, I still had good control, particularly with the orifice reducer in the flyer to prevent the yarn from jolting.

Hampshire Down 2 Ply Yarn on a Jumbo Bobbin

Setting the Twist

Deciding I would experiment with Hampshire Down’s felting resistance, I washed the yarn in quite hot soapy water. I didn’t agitate it, but the fibres never started to catch so the yarn does appear to be as hardy as my research suggests which bodes well for turning it into something more hard wearing. After washing there was some fulling, but the yarn should still be thin enough to fit through the reed I plan to use.

Overall this fleece produced over 1km of 2-ply yarn. I have a rough idea of what I want to make with the Hampshire Down, but have yet to do any design or calculations to find out if I have enough yarn for warp and weft, so I may have to save the Hampshire until I have a complementary fleece to use alongside it.

Happy Spinning!

Spinning: Clun Forest

When I began spinning this Clun Forest my intention was to turn it into a woven cloak, which dictated how I went about spinning. As mentioned at the end of my fibre prep post, I ended up impulsively casting on a Victorian jumper using the Clun Forest yarn, so although the method I used produces a sturdy yarn that knits up well, if I had been spinning with the intention of knitting I would probably have made it a 2-ply.

Spinning Singles

I originally planned to use the yarn for both warp and weft so knew I would need a thin, but strong yarn for the warp. I decided the best way to achieve this was to spin thin singles and then chain ply them into a 3 ply yarn. I began the process of spinning from rolags on my Ashford traditional and the resulting singles were fluffy with significant halo around them (I decided to leave in some small nepps for added texture).

A while later I saw a second-hand Kromski Sonata spinning wheel advertised for sale locally (these wheels fold into a rucksack so you can travel with them). I had been considering getting a portable wheel for a while and knowing this would make it easier to upgrade my Ashford trad with its Jumbo Flyer, I purchased it and transferred Clun forest spinning to the Sonata while I experimented with Lincoln Longwool on the Trad.

This was an interesting experiment in how much a wheel influences the spinner. At a natural dye workshop several years ago, someone said that no matter how hard they tried they couldn’t spin a lace weight yarn on their wheel and another member of the group explained that different wheels were more suited to spinning certain yarns than others (I believe they recommended a Louet wheel for spinning lace). Most of my spinning so far has been medium/thick, but I never had a problem spinning finer yarn on my Ashford (though it is more difficult with the jumbo flyer). I was pleasantly surprised to discover that the Sonata seemed very suited to spinning fine yarns. I’m unsure if the castle style alters the tension or the double treadle gives me more control, but I found the fine Clun forest singles I spun on the Sonata were more even than those spun on the Trad, despite the wheels both being single drive scotch tension.

Spindle Spinning

Early into spinning this fleece I decided to see how the rolags would spin on the spindle. Much the same as on the wheel, the yarn had a halo around it and the fibres weren’t too slippery. It seems to make a good beginner fibre too; if I’m out with my drop spindle then I’ll let friends or curious passers by have a go and so far people have tended to get the hang of spinning very quickly with this fibre.

Plying

Chain Plying Clun Forest

Chain plying creates a 3 ply yarn from a single thread in a similar way to a crochet chain stitch. I find chain plying quite fun as I don’t have to worry about getting my yarn lengths even on multiple bobbins and can also work from one bobbin at a time which means I don’t run out. I’ve read several recommendations that chain plying should be used for strength when spinning sock yarn, so although I think a 2-ply would have been adequate for knitting, it may be that the jumper is harder wearing and holds it’s shape better since it’s been chain plied.

I’m currently carding and spinning one or two balls at a time as I knit, so although the jumper is using quite a bit of yarn I anticipate there will still be plenty left over to use in other projects and I’m curious to see how it behaves when weaving (although I may not make a cloak as it seems a shame for a soft fibre to be used on outer ware).

Happy Spinning!

Fibre Prep: Hampshire Down

The Fleece

I bought this Hampshire Down fleece via eBay during lockdown from Our Welsh Farm’s Ram. The fleece was clean and had very little VM and there were very few areas of significant kemp. The fleece had varied colour palette, moving between oatmeal, white, grey and black. Although soft, it was slightly coarser than other fleeces I’ve worked with, but mature rams do tend to have coarser fleece than ewes. Since I’ve been making lots of next to skin clothing and accessories from my other fleeces, I think the colours in this need to be shown off in outerwear or homeware.

Washing

This fleece was washed in my suint bath (and was quite challenging to lift out when wet as I had forgotten that rams are larger than ewes, so the fleece was much heavier when wet!). The suint bath removed most of the grease and in the absence of a lingering suint smell, I decided to forgo a wash in detergent.

Picking & Carding

After washing and drying I noticed the fleece was a little tangled and still seemed to have quite a bit of dust. I decided to put it through my wool picker and open up the fibres to make carding easier and remove most of the dust. This worked perfectly, although I did find that the shorter staple fibres needed removing from the teeth at times.

Due to the short fibres, carding was the sensible option. I found hand carding was easiest using my flat carders rather than the curved and most of the time the fibres only needed two passes to align. I did put some through the drum carder, but found it needed more passes than doing it by hand and I found I had more control over the shorter fibres spinning from rolags rather than batts. Hand carding also gave me more control over removing any left over VM and nepps.

I had a conversation with a friend recently who said how much they enjoyed watching crafters work and that I ought to film myself working. Thinking this quite a good idea, particularly in demonstrating what I write about, I took the opportunity during tour de fleece to do just that, so for those interested please find below some hand carding.

(I don’t have a very professional set up so excuse the harsher audio and any loss of focus – it’s best viewed in 1080p HD on the Youtube Settings)

As always, let me know if you have any tips/advice in the comments below and let me know if you would like more video content in my future posts.

Happy Crafting!

Further Reading about Hampshire Down:

  • Breed Society Website – www.hampshiredown.org.uk
  • British Sheep & Wool by the British Wool Marketing Board – ISBN 9780904969108
  • The Field Guide to Fleece by Deborah Robson & Carol Ekarius – ISBN 9781612121789
  • The Fleece & Fiber Sourcebook by Deborah Robson & Carol Ekarius – ISBN 9781603427111

A Little About: Hampshire Down

Hampshire Down Sheep
Photo Credit Hampshire Down Sheep Breeders Association

History

Hampshire Down sheep are a newer breed, established in the Victorian period by crossing Wilshire horn, Southdown and Berkshire knot and were considered vital to maintaining the fertility of the soils in these areas. A popular breed due to their ability to survive in extreme climactic conditions as lambs, they were exported and are now one of the most dominant breeds globally. Hampshire Down sheep today are mainly raised for meat and their wool is most often sold commercially.

Fleece Research

The British Wool Board classify Hampshire Down fleece as fine with a 5-8cm staple length and most suitable for knitting or blending with other fibres. As is often the case with fine fleeces, it is described as being dense with good elasticity. The sheep have black faces and legs, with a solid, usually white coloured coat (multicoloured fleeces are not desirable in industry) that is resistant to felting. This makes it particularly suitable for making hardwearing items and in some cases it may even be machine washable. Surprisingly these fleeces are said to often be overlooked by hand spinners.

Being such a short stapled fleece, there are limited ways to process it. Short staples lend themselves to carding and the density of the locks may also lend itself to picking. Fine fleeces I’ve previously worked with have been considerably greasy, but since Hampshire is said to be resistant to felting it will be interesting to see if this means there will be less grease. Despite their name the Down fleeces are not feather-like, so should have a stiffness to them and as such I have an idea to spin the fibre woollen as would be most suitable, but use it for weaving to explore the interplay between the stiffness and loft.

Further Reading

The following sources have been used for reference

  • Breed Society Website – www.hampshiredown.org.uk
  • British Sheep & Wool by the British Wool Marketing Board – ISBN 9780904969108
  • The Field Guide to Fleece by Deborah Robson & Carol Ekarius – ISBN 9781612121789
  • The Fleece & Fiber Sourcebook by Deborah Robson & Carol Ekarius – ISBN 9781603427111

Tour De Fleece 2023 – Week 3 Wrap-up

The Completed Tour de Fleece Spins

As Tour de Fleece draws to a close, I’ve spent this week focusing on finishing spinning and plying my Gotland roving and the sample fibres. My Turkish spindle progress has been slower than using my wheel or usual drop spindle, but I think I have finally got the hang of using it. I’ve also spent time this week skeining and washing my yarn, which has proven challenging during the wet weather. Below are the photos from the final week of this years challenge.

Reflections

Even after three years of doing TDF it’s surprising what I can still learn from the experience. I commented at the end of week one, how useful it was having a detailed to-do list and this is definitely something I will take forward into future challenges – it’s helped me remain motivated and spend more time spinning, rather than deciding what to spin. So reflecting on my original list, how did I get on?

  • Hampshire Down – This was my main focus and I’m pleased to say it was all carded, spun and plied by the end of week 2.
  • Gotland prepared roving – All roving spun and plied on my Turkish spindle by the end of week 3.
  • Lincoln Longwool – I managed one skein of Lincoln and tried to spin to highlight the locks even more than I had done before, but found the section of fleece I was spinning had larger locks that struggled to fit through the orifice of my jumbo flyer. Since this is art yarn and not destined for any specific project, I decided I may see if I can access a spinning wheel with a larger orifice (such as Ashford’s country spinner) through a guild to see if this works any better with the Lincoln.
  • Luxury Fibre Samples – I managed to get all four of my luxury fibre 5g samples spun and plied into embroidery thread and also experimented spinning silk. I’m not sure I’ve quite got the twist quite right for the silk as it’s a bit looser then I expected after plying, but I will see what happens after washing and will continue experimenting in the future.

This year I worked out that I spun approximately 4.79km (multiplying plied skein length by 3 to account for the length of the two single ply threads and the length plied).

Since I’ve now ticked some things off my fibre to-do list I can begin writing up more detailed posts on the process. Finishing the Hampshire Down means that I can now focus my efforts on filling the gaps in my fibre posts and finishing existing projects before starting anything new, so hopefully my blog posts should gradually get back on track.

If you’ve joined in with Tour de Fleece this year I’d love to hear how you’ve got on and what your plans are going forward. Let me know in the comments below!

Happy Spinning!

For more information about my tour de fleece challenge this year my introductory blog post is here. You can find my Week 1 and Week 2 wrap-up’s by clicking the links and view my daily photo updates on instagram.

Tour De Fleece 2023 – Week 2 Wrap-up

I’m now over the halfway point of TDF and am pleased with my accomplishments so far. After making good progress on the Hampshire Down last week I was able to finish carding, spinning and plying the rest of the fleece this week. It’s been satisfying to see the fleece I started carding and spinning last TDF finally turn into finished yarn after I put it to the side while working on other projects. I didn’t vary my spinning as much this week, but did experiment with spinning hemp and rose fibre. With the Hampshire Down now finished, I’m hoping to spend the final week making progress on the spindle project and luxury fibres from my list.

If you are also joining in with Tour de Fleece (whether part of a group or going it alone like me!) I’d love to hear how you’re getting on, let me know in the comments below! Until next week…

Happy Spinning!

For more information about my tour de fleece challenge my introductory blog post is here. I’m also posting my progress photos daily on my instagram.

Tour De Fleece 2023 – Week 1 Wrap-up

My first week of Tour de Fleece has been very productive, although most days I have spent longer than my one hour aim. I’ve made good progress on the Hampshire Down so I think there’s a very good chance I’ll get it finished by the end of the month and have also made progress on my spindle project (I’m now onto the second 100g roving).

I’m definitely seeing the benefit of making a specific ‘to-do’ list at the start of the tour; it’s allowed me to focus my efforts and means I can clearly see my progress as my bag of fleece decreases. It’s also meant I don’t feel overwhelmed by options, so I think this is something I’ll be taking into future challenges.

If you are also joining in with Tour de Fleece (whether part of a group or going it alone like me!) I’d love to hear how you’re getting on, let me know in the comments below! Until next week…

Happy Spinning!

For more information about my tour de fleece challenge my introductory blog post is here. I’m also posting my progress photos daily on my instagram.