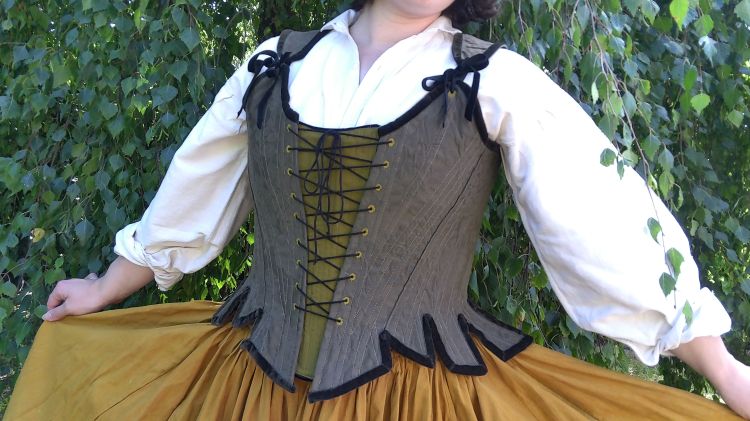
I’ve done quite a few spinning demo’s so far this year, and it’s been great fun chatting wool and teaching people how to spin and weave. While my natural style seems to be ever evolving into eccentric wool witch, one of the demo’s was a family event at the end of May, and somehow the witchy side of my wardrobe didn’t feel colourful enough for the occasion. Thankfully, I do own some brighter autumnal colours and my linen ‘pirate shirts’ are handy bases for any outfit, but I felt I should jazz it up a bit more.
I’ve been wanting to make more of my wardrobe with particular focus on historical clothing and Mandy Barrington’s book Stays & Corsets has been sitting on my bookshelf for the past five years waiting for me to pluck up the courage and have the time to make one. I’ve fallen in love with most of the corsets in the book, but have a particular soft spot for the 1735-1750 boned bodice from the National Trust’s collection since it was designed to be worn as a top layer, has beautiful lacing front and back, and the silhouette looks like it came from The Shire. So, with three weeks to go before the event in question and never having made a corset before, I decided this spinning demo was the perfect catalyst to start the project I’d been dreaming of making ‘one day’ – what could possibly go wrong?!…
The making of these stays was incredibly chaotic; I didn’t have a table free so my sewing machine and I were on the floor and since this was my first attempt at corsetry, I didn’t want to add in additional stress by trying to film it, so there is no ‘making of’ video this time, but I did remember to take the odd picture throughout and there is a short video of the final reveal.
Drafting The Pattern
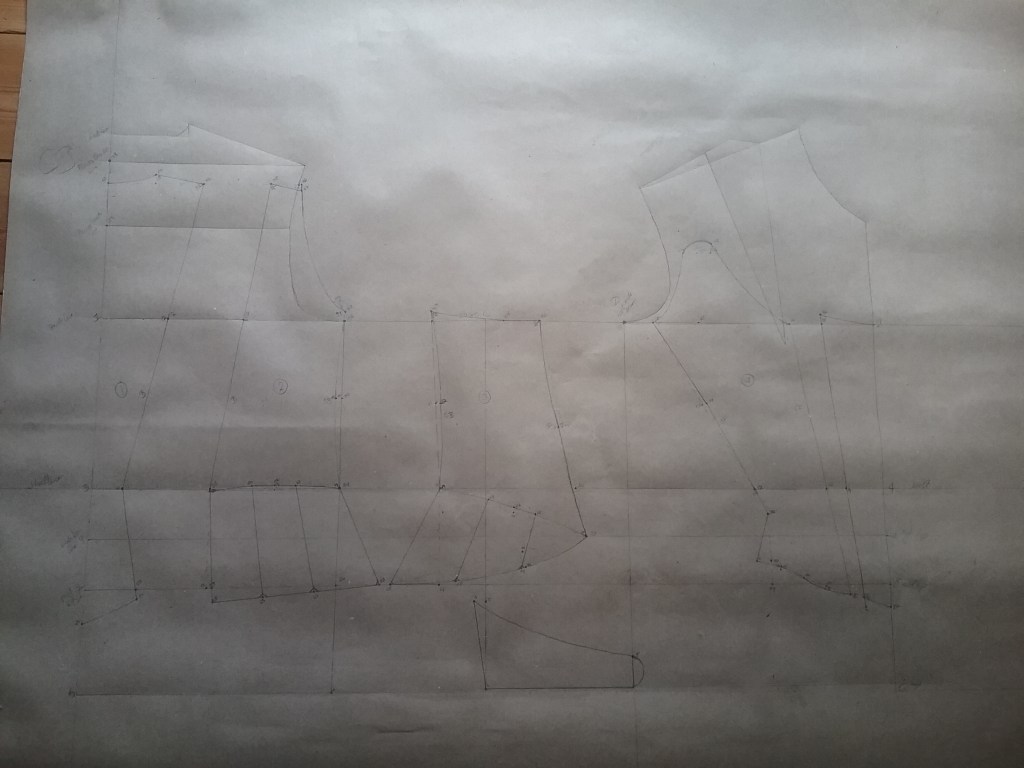
Mandy Barrington’s book is a guide on drafting patterns for historical corsets; there are instructions on how to take a table of measurements and turn them into a paper pattern, but no guidance on how to make the garment (for guidance on that I watched copious Youtube videos, scoured other sources and ‘followed my nose’ when I wasn’t quite sure). Personally, I find drafting my own pattern to be easier than working with a commercial pattern for the following reasons:
- A pattern that is drafted to my specific measurements is much more likely to fit without much adjustment after making a mock-up than the standardised sizing on commercial sewing patterns. The extra time it takes at the start saves time in the putting together.
- By following the instructions on the pattern draft, I can understand exactly which measurements as being used where. If there is a problem with the fit later, it’s much easier for me to see where adjustments can be made; if one measurement needs to change I know what else in the pattern used that measure and might need adjusting too.
- Self drafted patterns are net – I have to add my own seam allowance which makes it easier for me to sew as I use a vintage sewing machine without seam allowance guides.
- I really hate flimsy tissue paper patterns. Even if you trace one size out to be able to use it again, they catch, rip, wrinkle and never fold back up as flat as they arrived. Drafting my own pattern means I can use thick paper which will last much longer and I avoid the inevitable wailing and gnashing of teeth!
I won’t go into great detail on the drafting process since it’s in the book; you first draft a basic block (which you can mock up in fabric to check the fit) before using these points to create the stays pattern. There are step-by-step instructions with clear diagrams, and I found it really easy to use.
Mocking Up
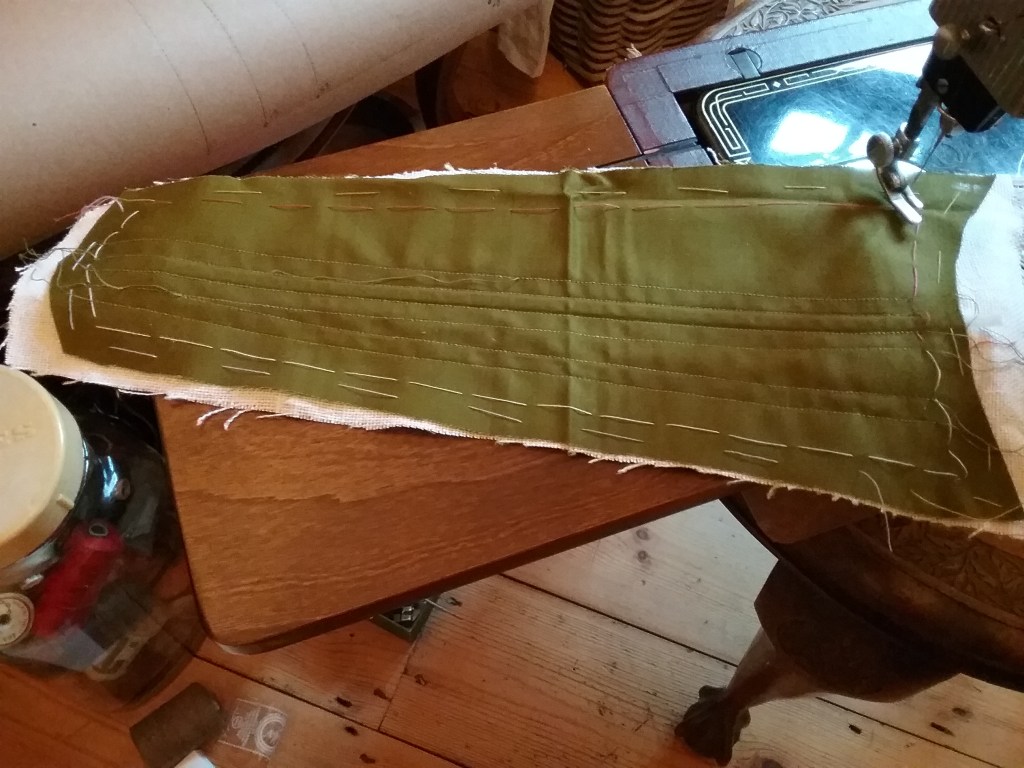
I made a quick single layer mock-up in old cotton sheet using string to lace myself into it. Usually you’d use a thicker/stiffer fabric to check the fit of a fitted corset/stays as it will hold the shape better, however since this was my first time using this pattern, I wanted to check I wasn’t way off before cutting up anything better. I was initially pretty happy with the fit, but made a note to add a little extra height to the centre front panel to better cover the bust. I also wasn’t quite sure on my fabric choice (a green cotton backed with a heavy linen), so decided I would make up the stomacher (the part that slots behind the lacing at the front) properly with boning since there shouldn’t be any fit issues with that and I could try out the colour on a smaller section of fabric.
That completed, I decided to try the mock-up on again with the stomacher in place and it was then I could see that something wasn’t quite right. The stomacher had helped more correctly position the cotton mock-up and I could now see the waist wasn’t sitting on my waistline. So I decided to re-take the length measurements and discovered a 4cm discrepancy in the nape to waist measurement (I’d asked someone else to take this measurement as I didn’t think measuring my own back would be accurate – ironically it was!). Happily, very little of the pattern drafting used this measurement, so I was able to cut the pattern pieces at the waist line and add in 4cm of extra paper, re-drawing the lines at the edges of the pattern so the new points connected at the right angle AND this also fixed my previous issue of the bust line being a bit low since the whole panel was raised from the waist!
Making the Stays
I didn’t have time to make another mock-up in stiffer fabric with boning and then make the stays (which would essentially be making two garments), so I decided to make one ‘mock-up’ but treat it as the real thing so that if all went to plan it would be good enough to finish and wear. I selected a thick brown/green cotton fabric for the outside and a white cotton for the lining, since I had enough of both to recut pieces if needed. It also complimented the green stomacher well (the stomacher wasn’t too short to be used and I added some trim around the edges to give it a little extra width – it isn’t too noticeable).
I cut out all the pieces in both fabrics, leaving more seam allowance than was nessecary so that I had some flexibility if I needed to adjust the seams (I felt this would be less wasteful than recutting whole pieces). Linings and outer fabric were then tacked (basted) together around the seam lines before the boning channels were stitched down.
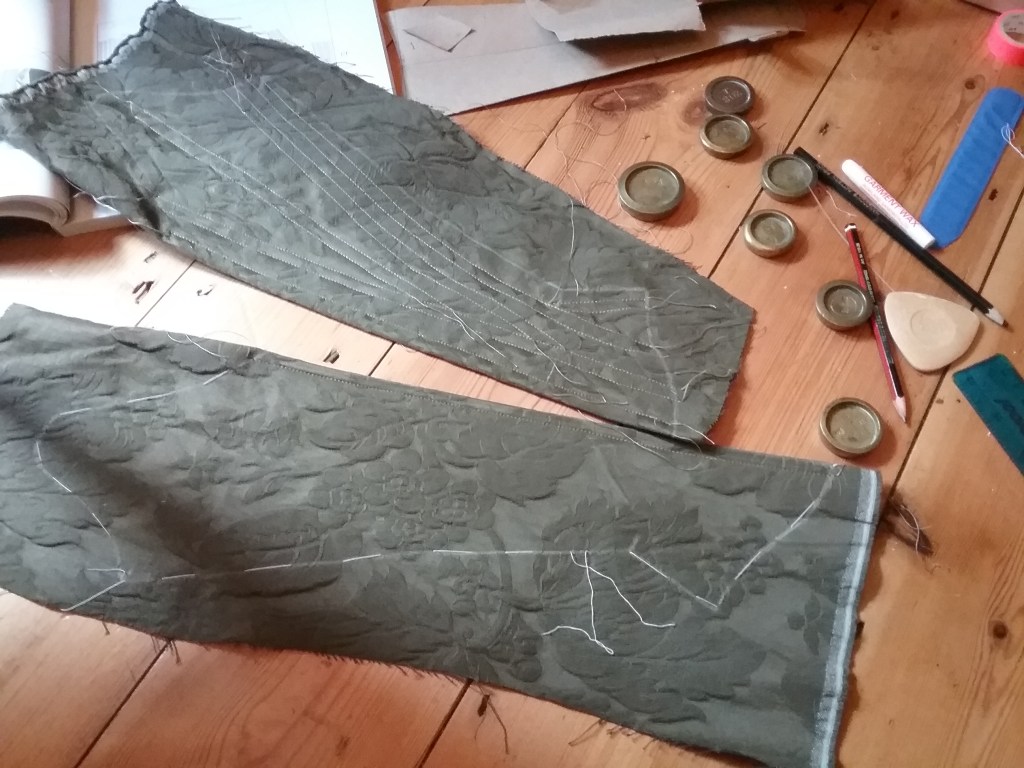
After all the sections of the stays were stitched together with boning channels I removed the tacking stitches and then spent several hours threading the cut ends of thread to the back of the stays and hiding all the tails in the lining.
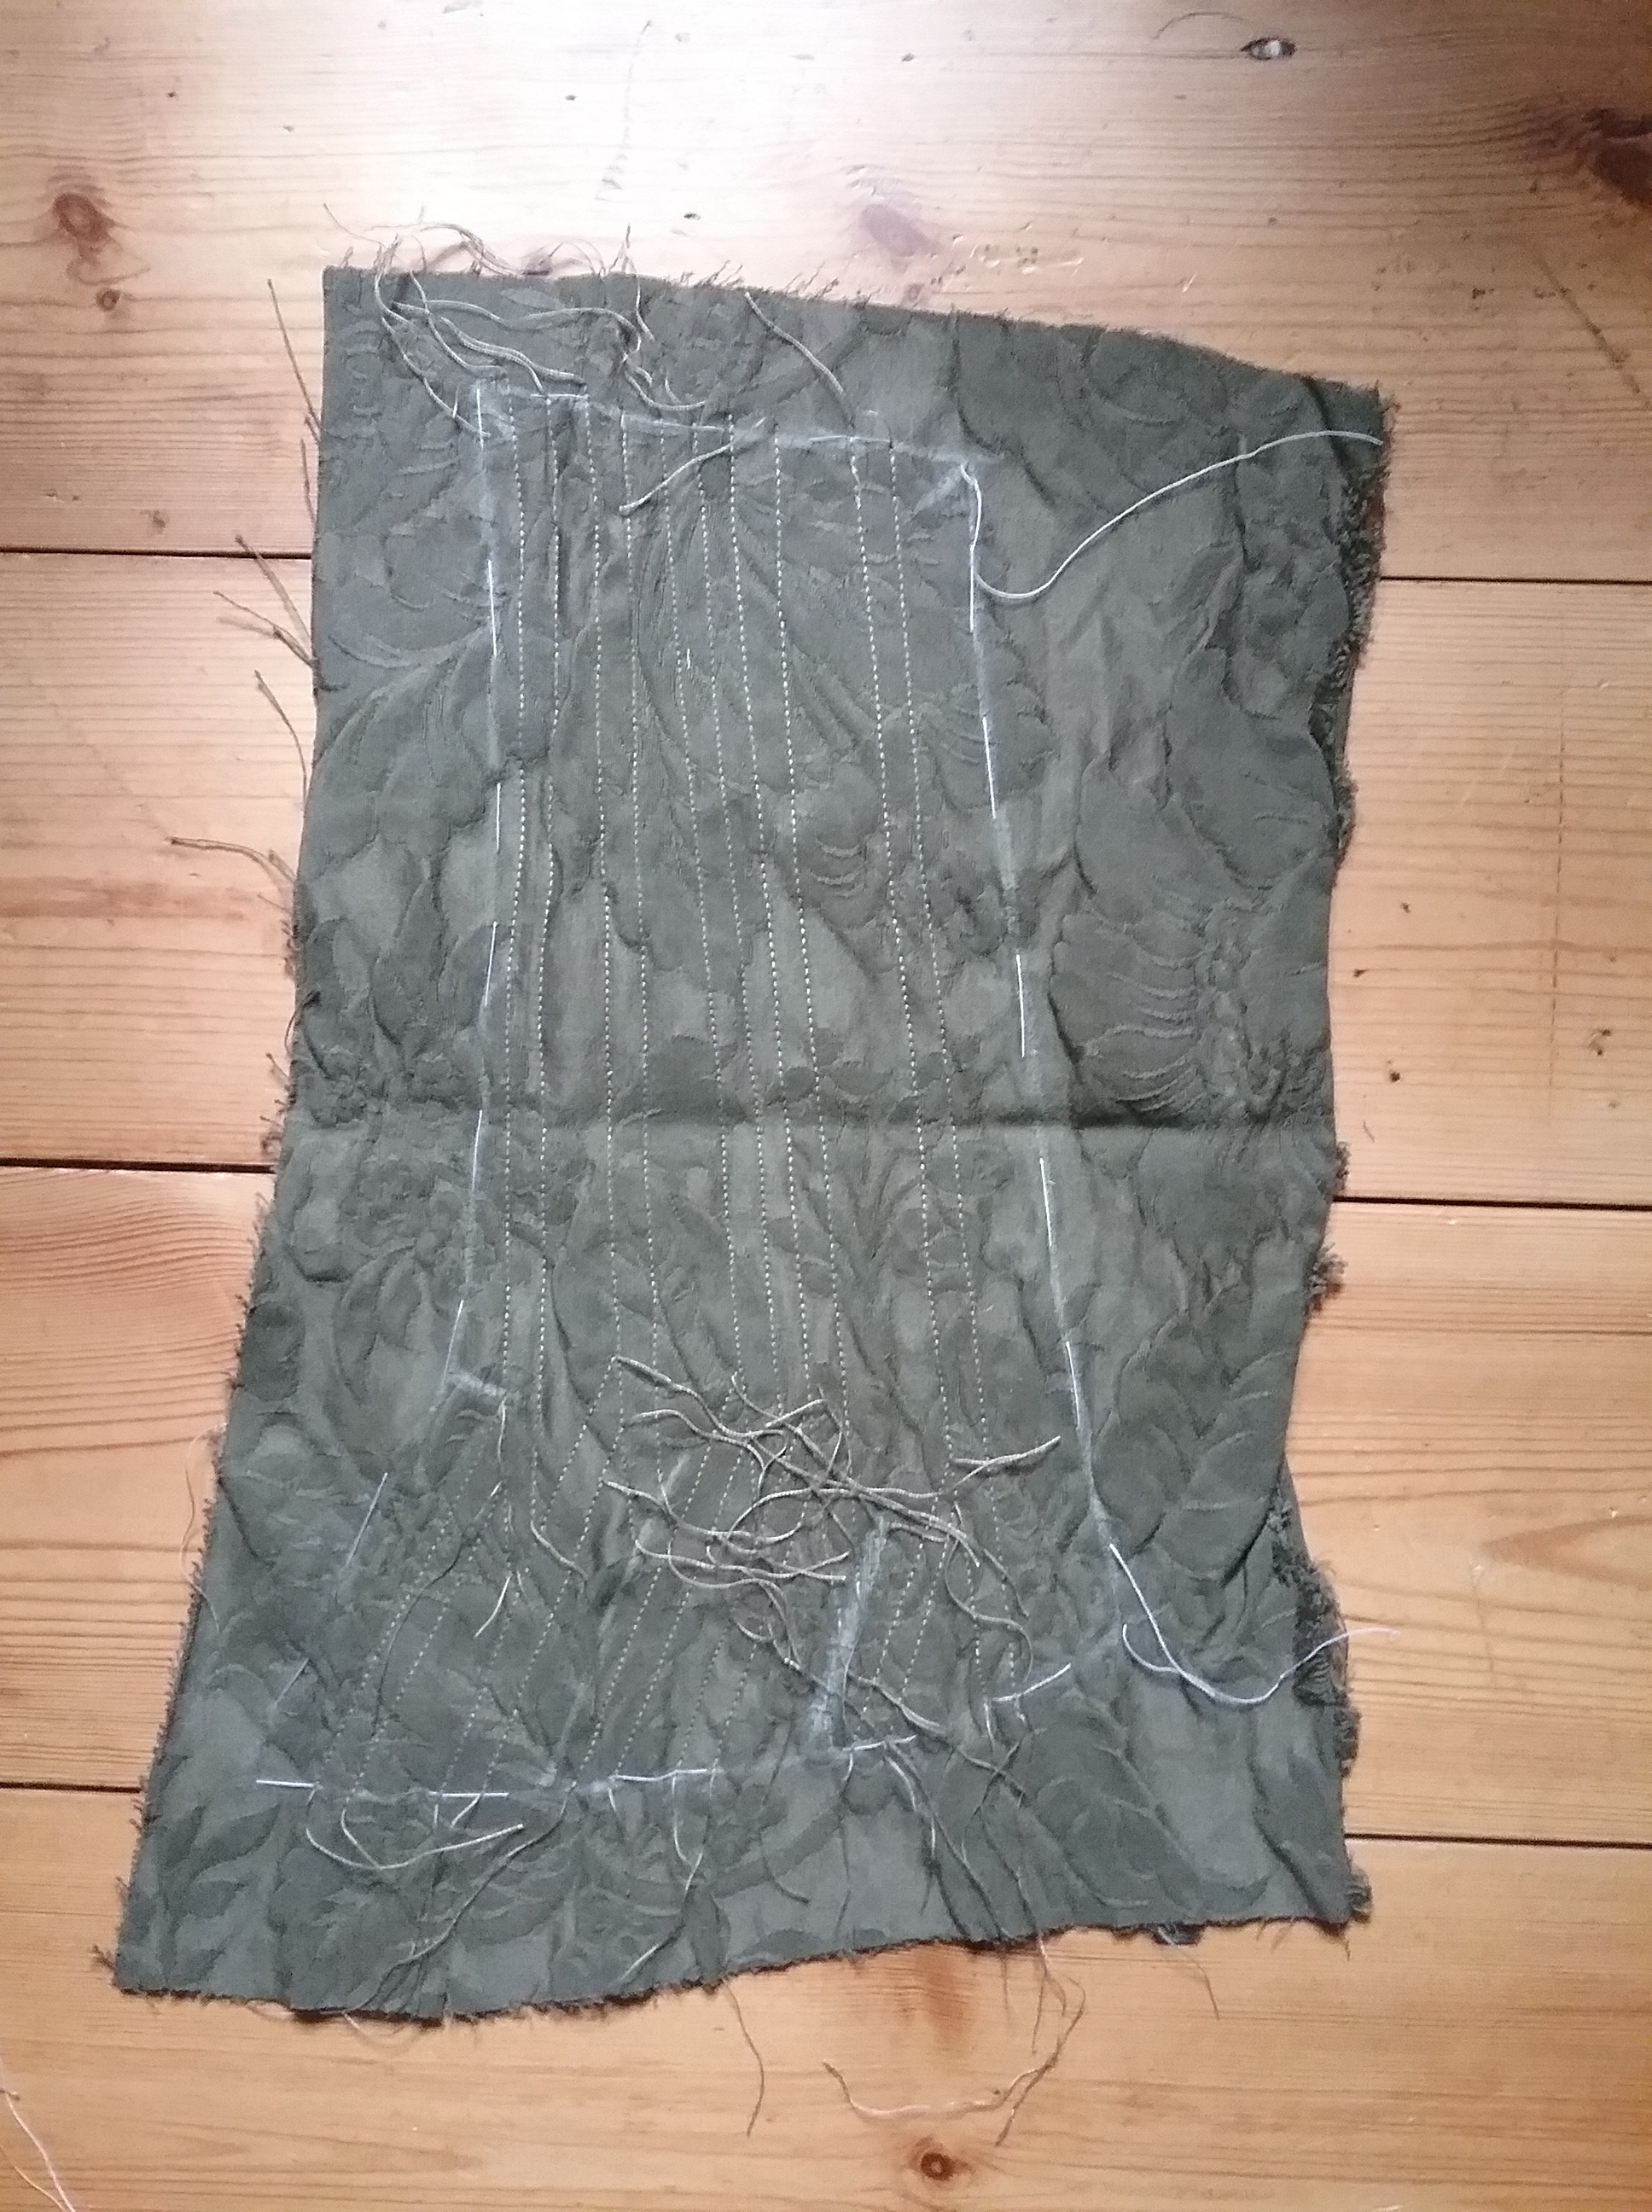
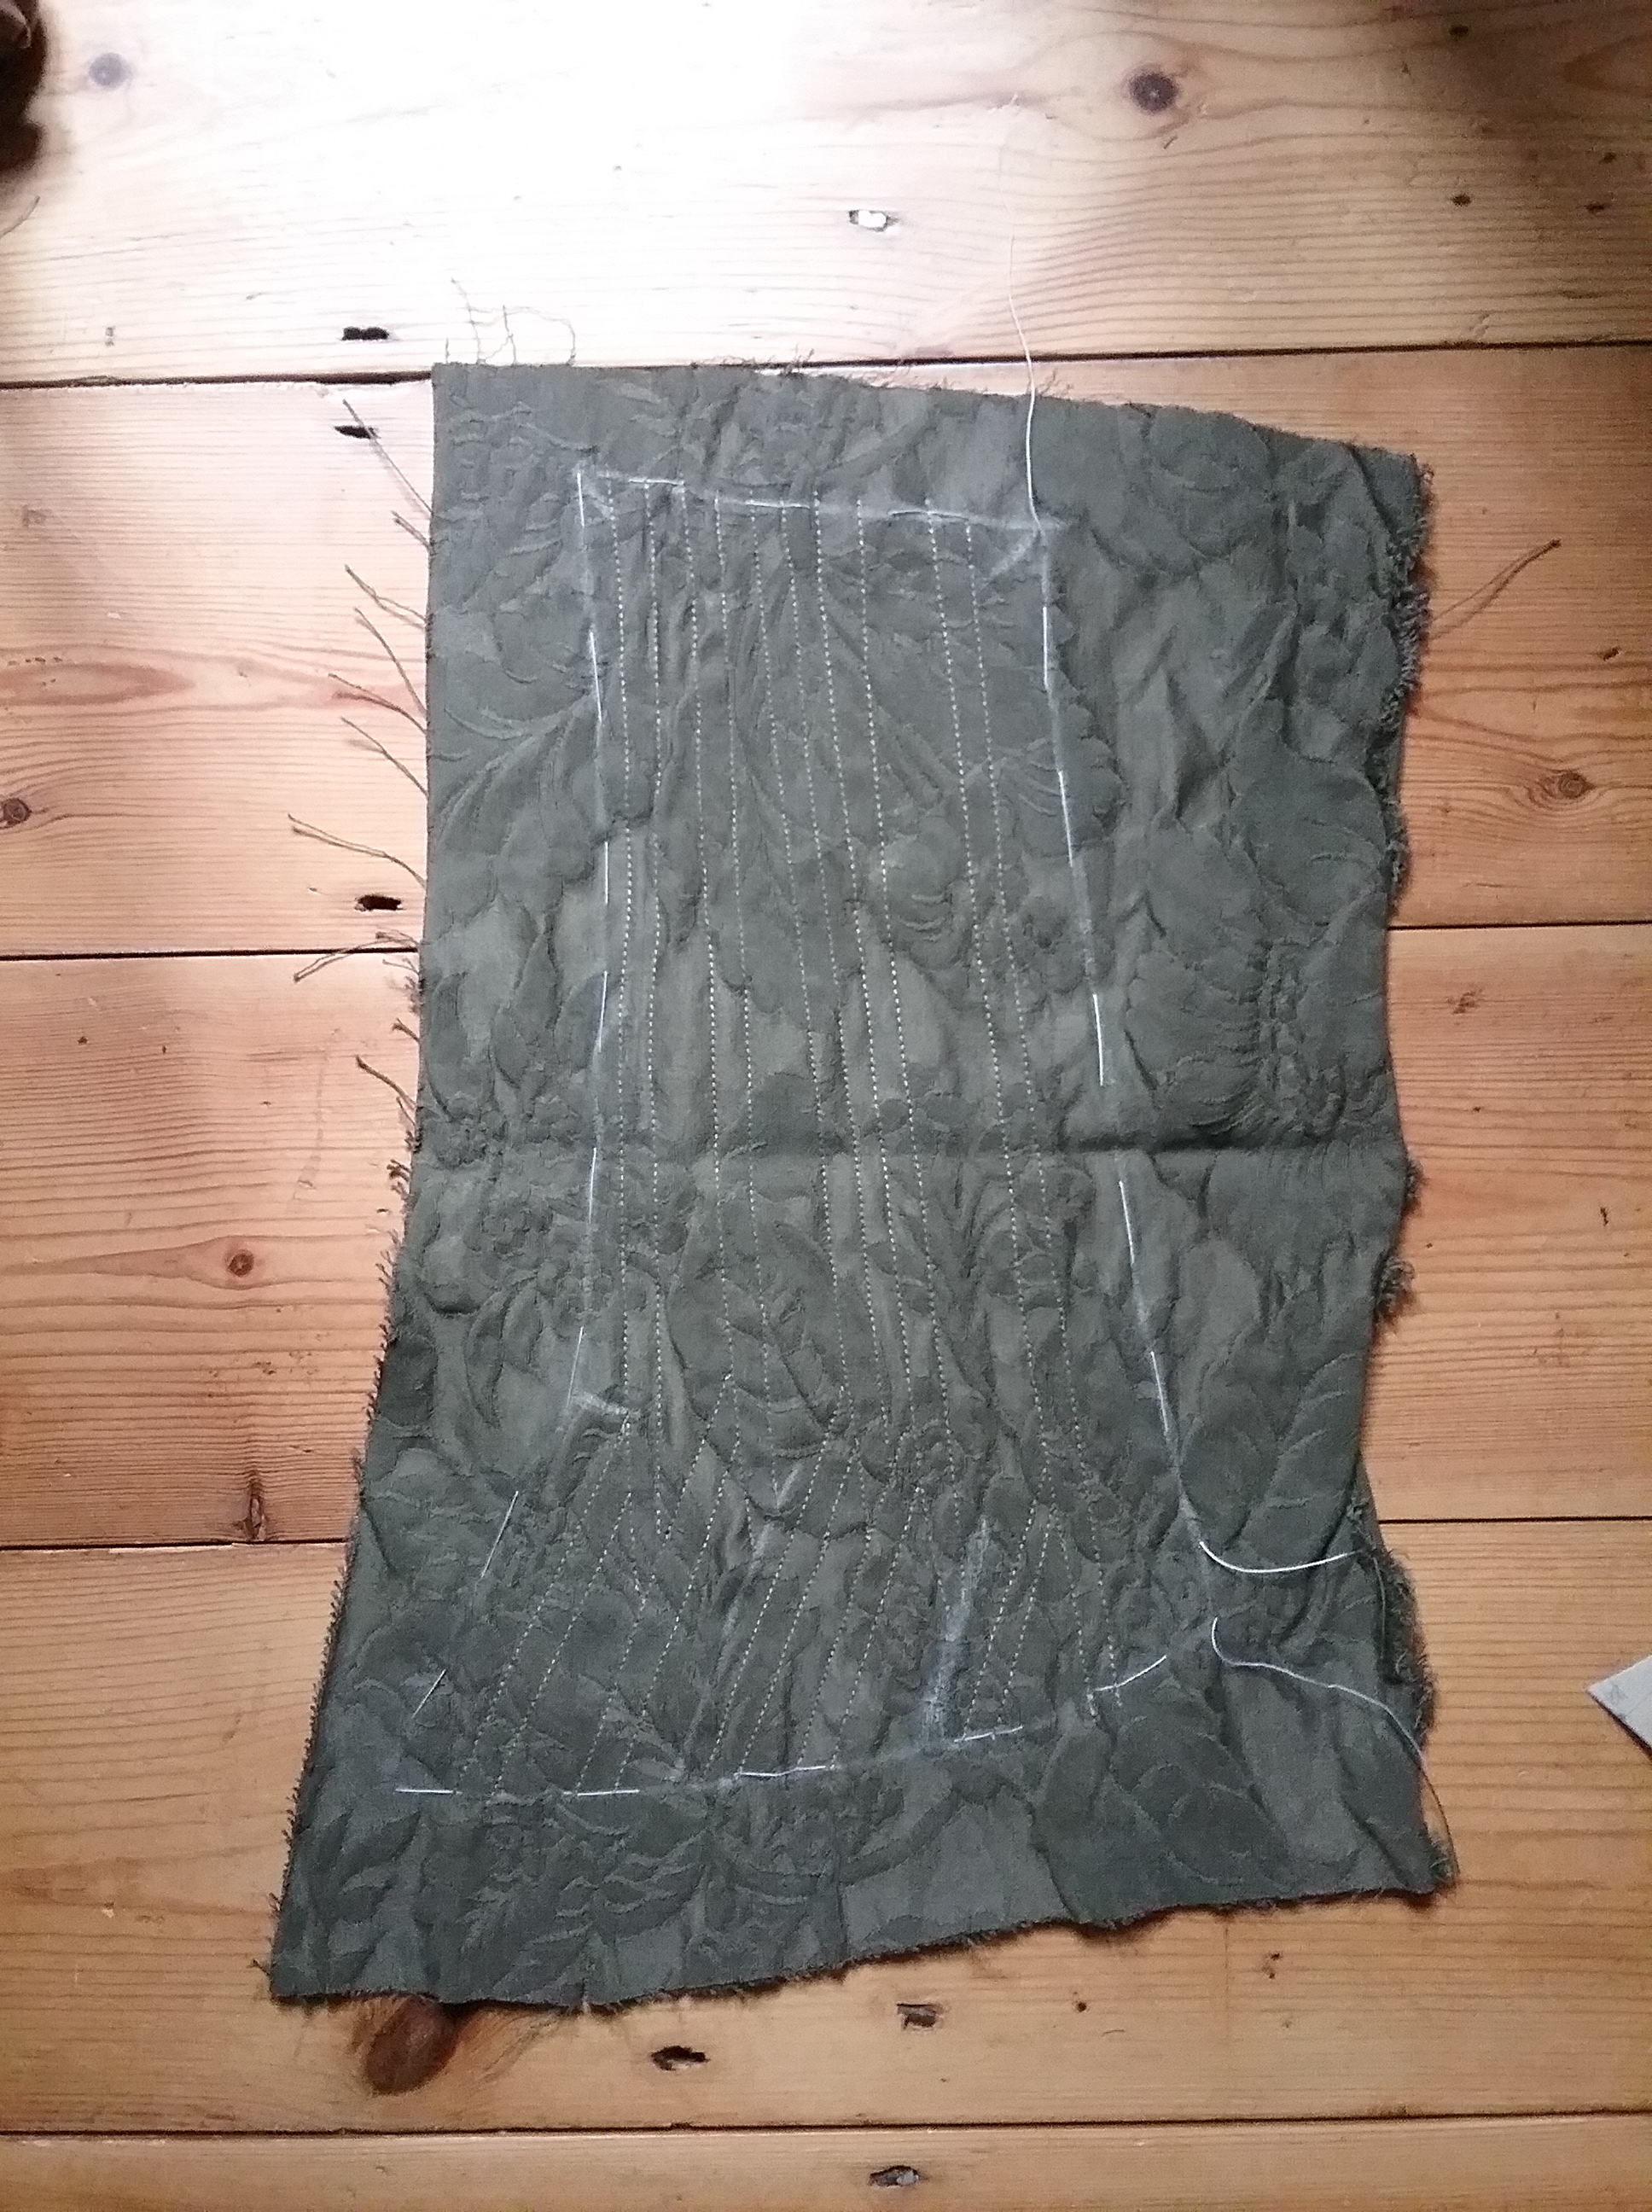
Then I could begin to assemble the stays. The example in Barrington’s book appears to have been stitched so the seam duplicates as a boning chanel running along the edges of each piece, so I aimed to replicate this on my version since it would also be easier to match up the chalk marks accurately by folding the seam allowance of one piece over and matching right sides together.
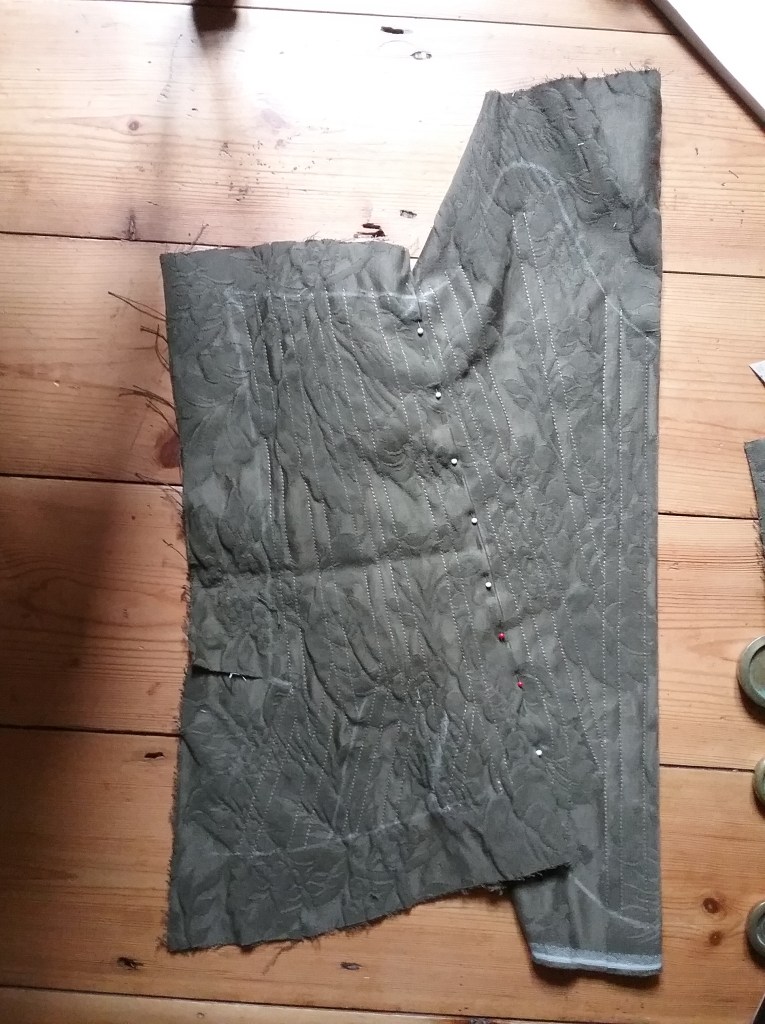
I repeated this for all the pieces until both sides of the stays were complete. I then cut my synthetic baleen boning1 to fit the channels, filed the sharp ends and slotted it into the boning channels. I also attached the shoulder straps at this point (these I adapted slightly from the pattern as I wanted to have ties at the front).
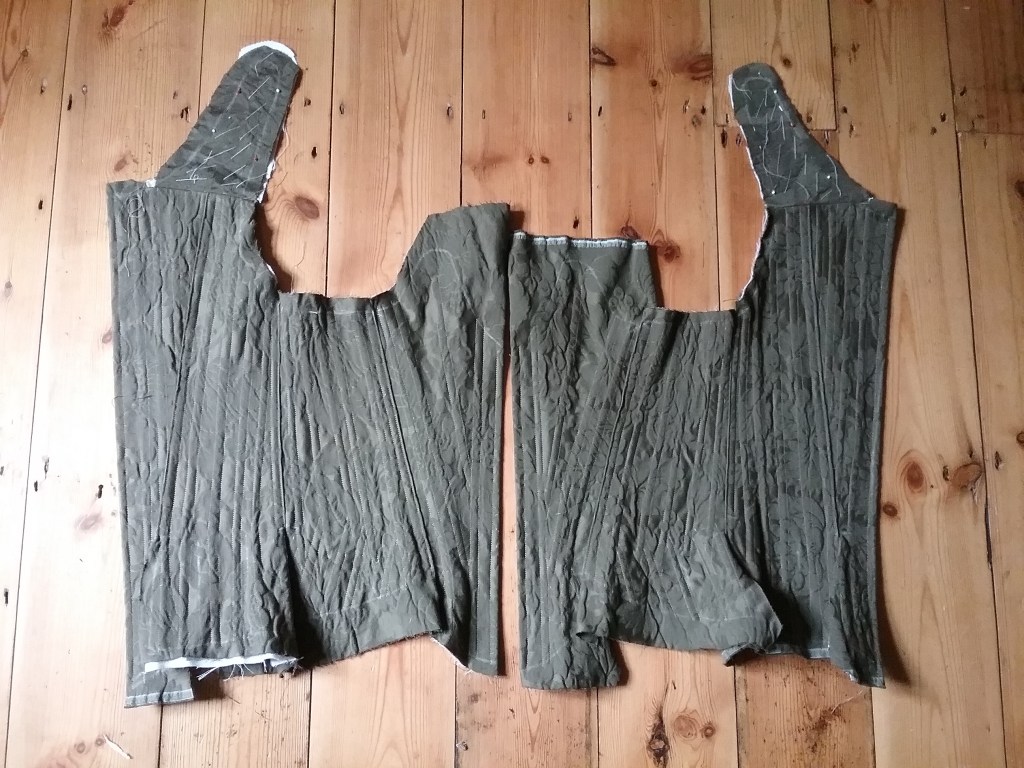
I then trimmed away the excess seam allowance (I’ll use the scraps for something in the future), finished the inside seams with thin cotton tape, hand embroidered the front and back eyelets and cut the hip tabs (and I didn’t document any of it until it was all done – oops!)
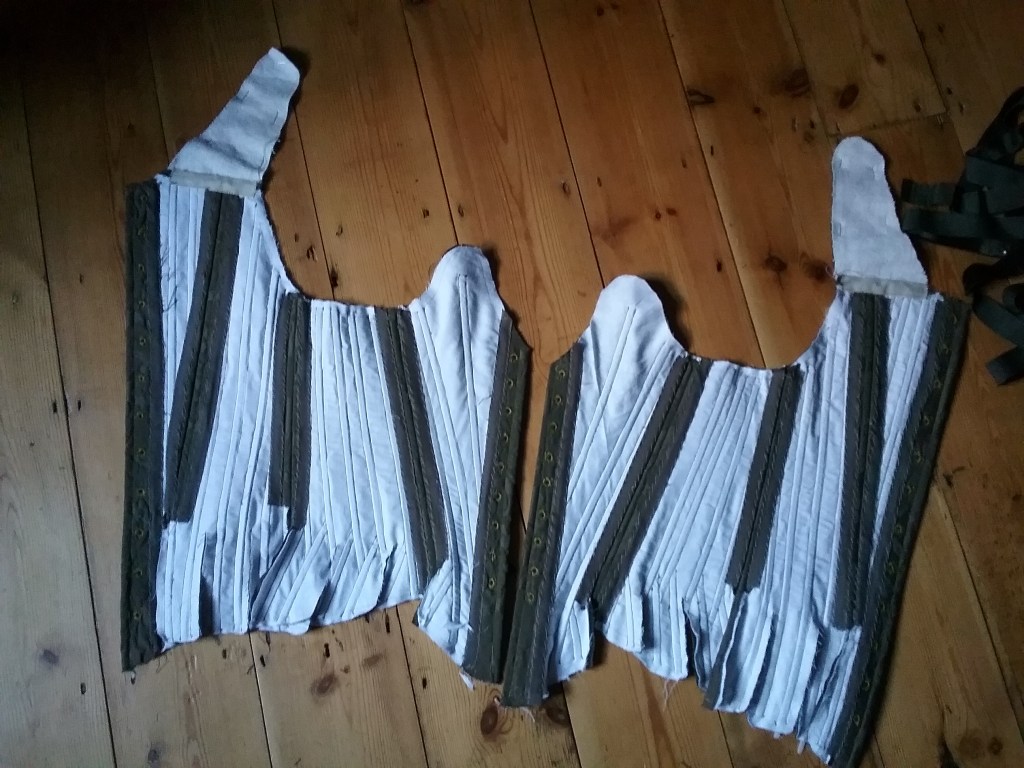
Finishing Touches
I raided my ribbon stash to find a trim to bind the raw edges with and ended up choosing a grey/green velvet which I managed to manouvre around the corners with some mitre-ing. Finally, I made eyelets on the shoulder straps and front panels and added ribbon ties (these can be replaced depending on the occasion). I grabbed some black cotton cord to loosely lace through the back and, with some help to adjust the back lacing, laced myself into the stays at the front (after the back was correctly fitted I was able to knot it in the right position, so I don’t need assitance getting into the stays anymore). And with that (and just in the nick of time), I had a pair of stays to wear to my demo!
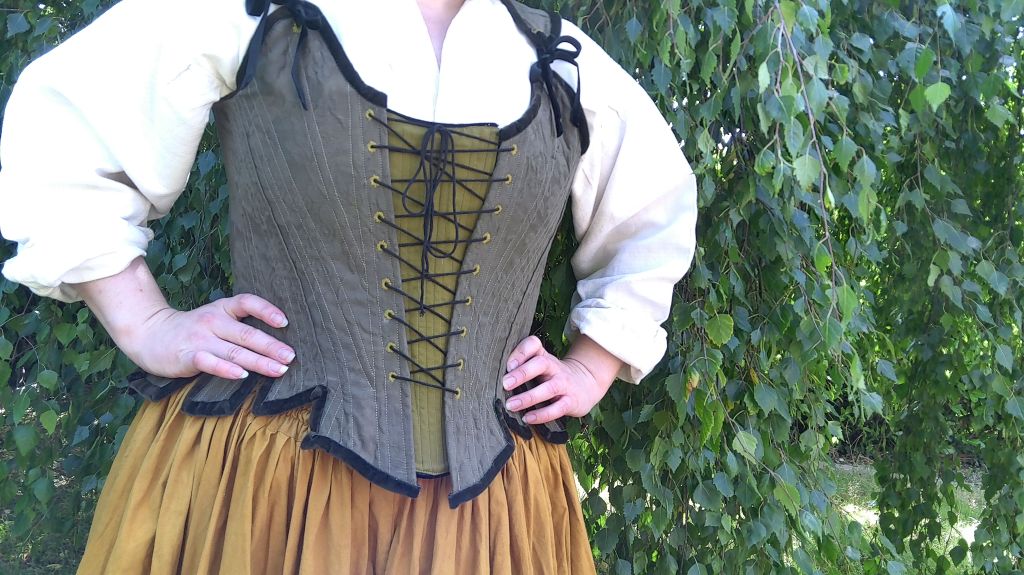
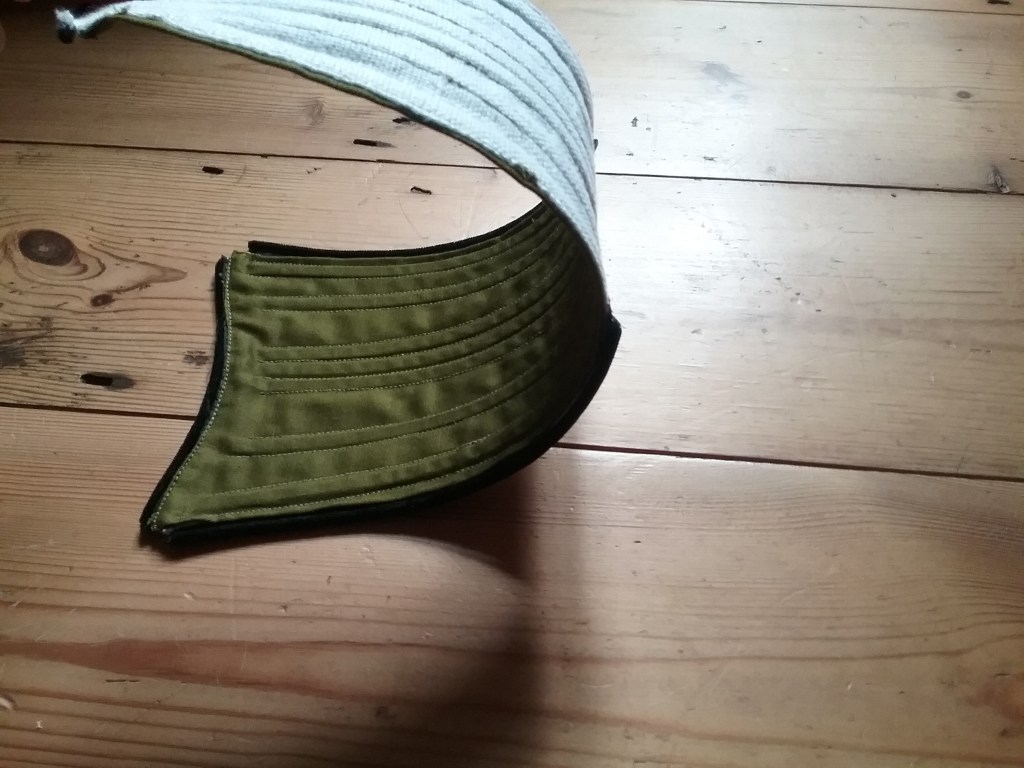
For a first attempt, these were a very wearable mock-up that I plan to get a lot of use from. Interestingly, the day I wore this outfit happened to be the first of the UK heatwaves, so it also allowed me to conduct a little experiment. There is a myth often reinforced by media that corsets/stays were uncomfortable suffocating garments, however, if that were true women would not have worn them as supportive garments for hundreds of years as they got on with their everyday lives. While one could choose to tight lace if they so desired, the same discomfort can be endured wearing modern undergrarments if the wearer chooses. While actual baleen might not have been quite as flexible as the synthetic versions available today, the photo below illustrates just how bendy the stomacher is to show that I have much more movement than it might appear.
I was however, incredibly curious to see for myself how stays compare to the modern bra. I wore a linen shirt underneath the stays with a cotton skirt and was no hotter than I would have been in any other clothing that day despite wearing a close fitting garment, in fact I think the better posture I had from wearing the stays helped me to get through the suffocating heat. Overall, the stays were very comfortable and I’ll definitely be exploring some more historical corsetry in future!
Happy Sewing!
Further Reading:
- Barrington, M. (2016) Stays and corsets: historical patterns translated for the modern body. New York: Focal Press, Taylor & Francis Group.
- Salen, J. (2008) Corsets: historic patterns and techniques. London: Batsford.
- A short note on sustainability; I’m not a fan of using plastic and actively use natural materials wherever I can, however historical baleen was sourced from whales and quite rightly, is not available today. Plastic versions are now used in museums and historical reconstructions to replicate the qualities of baleen where steel bones of the Victorian period would be too rigid. One of the big problems with synthetics is microplastics shedding in the wash, however stays were not designed to be frequently washed, the bones are solid rather than fibrous and if the stays wear out beyond repair, I will be reusing the bones rather than throwing them away. ↩︎
 Loose Ends
That is all very interesting. I like learning about the history of clothing. I recently listened to a podcast about the history of buttons. They were only for the rich originally because each one was made by hand. And button holes were not figured out at the same time. Before buttons, rich men had their clothes sewn on to them in the morning, and then undone late in the day (or so the author said). So much of history is written by men, so of course leaving out most of things related to women. And what they thought women could do was ridiculous. I have read (who knows if accurate) that they thought typing was too taxing for women.
LikeLiked by 1 person
That is interesting about the buttons – I knew many early buttons were very intricately handmade, but had never really made the connection that it would of course have made them a symbol of wealth and status. I’m sure I’ve seen something about typing being considered taxing somewhere too. What I find fascinating about the arguments made by those writing about stays and corsets in the late Victorian/Edwardian period is that many stay-makers historically would have been men since before the sewing machine all the stitching was by hand and it would have required a lot of strength to pull the needle through thick layers of fabric (particularly on areas like the shoulder straps or if the stays were fully boned then the boning channels would have been very tight). My hands were sore after pushing the awl through 2-3 layers of fabric to make all my eyelet holes, so I can imagine the toll it would take if you were doing it every hour of the day – stay-making was definitely not for the faint hearted! I think it also highlights the significant class difference between the men writing about stays vs those who were actually involved with crafting them (who, I expect would have been put out of work during the industrial revolution).
LikeLiked by 1 person
Your corset turned out beautifully! I have read about women wearing their corsets very tight due to fashion requirements of having a very small waist. I am glad to hear that is not the only scenario.
LikeLiked by 1 person
Thank you! A lot of the references to how restrictive corsets supposedly were actually come from dubious historical sources (more than often not produced by men who weren’t wearing them) and there are some interesting blog posts and videos from historical costume makers on Youtube who have done a lot of research and mythbusting. I actually have an interesting medical dictionary from 1902 in which the male author writes about ‘the evils of stays’- referencing tight lacing and the steel boning that came in during the industrial revolution – but considering he also spends several pages debating whether or not girls should receive an education at the risk of ‘overstimulation’, I’m not convinced by his argument! Most women actually padded out to fit the proportions of the time (Victorians wore quilted ‘rumps’, padded out their corsets in the bust and hips and wore clothing with puffy sleeves and wide skirts to give the illusion of a tiny waist), which would have been much more comfortable.
The best way I can describe wearing my stays is that they’re like a hug of support – the cut of the fabric encourages me to bend at the hips rather than the stomach (so my centre of mass does change), but they allow my diaphragm movement to breathe. In many ways they actually feel quite similar to the way a dance leotard provides support – just slightly more structured.
LikeLiked by 1 person
Here is a link to the podcast about the history of buttons. Very interesting. I am not sure what their sources are, so take it with a grain of salt.
LikeLiked by 1 person
Ooh, thank you – I will give it a look!
LikeLike