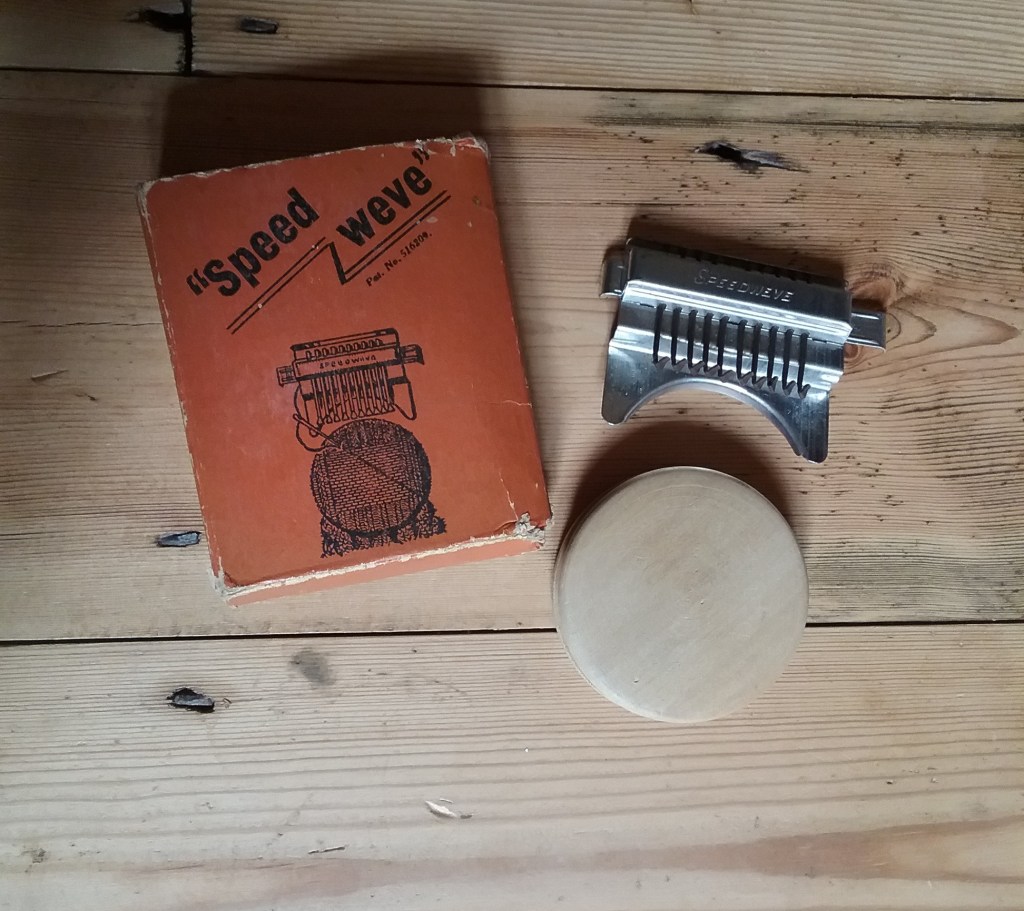
I’m a big advocate for repairing garments rather than replacing them and shun the throwaway culture of fast fashion wherever I can. A darn is one of the most common repairs required and can be used on most fabrics. Darning is essentially weaving without a loom, threads are laid across the fabric forming a warp before a weft is passed through. Depending on the repair, darning can be quite a fiddly and tedious task, so I was excited to discover that in the 1940’s-1950’s A. Chesstock of Manchester manufactured a ‘loom’ to make the process easier. I bought the ‘speed-weve’ at a car boot sale, it was in good condition without any rust and still had the original instructions. I’m always excited to try a new fibre gadget and the instructions are set out in 4 easy steps, so I set out to see if this device helps or hinders my darning.
Step 1 – Setting up
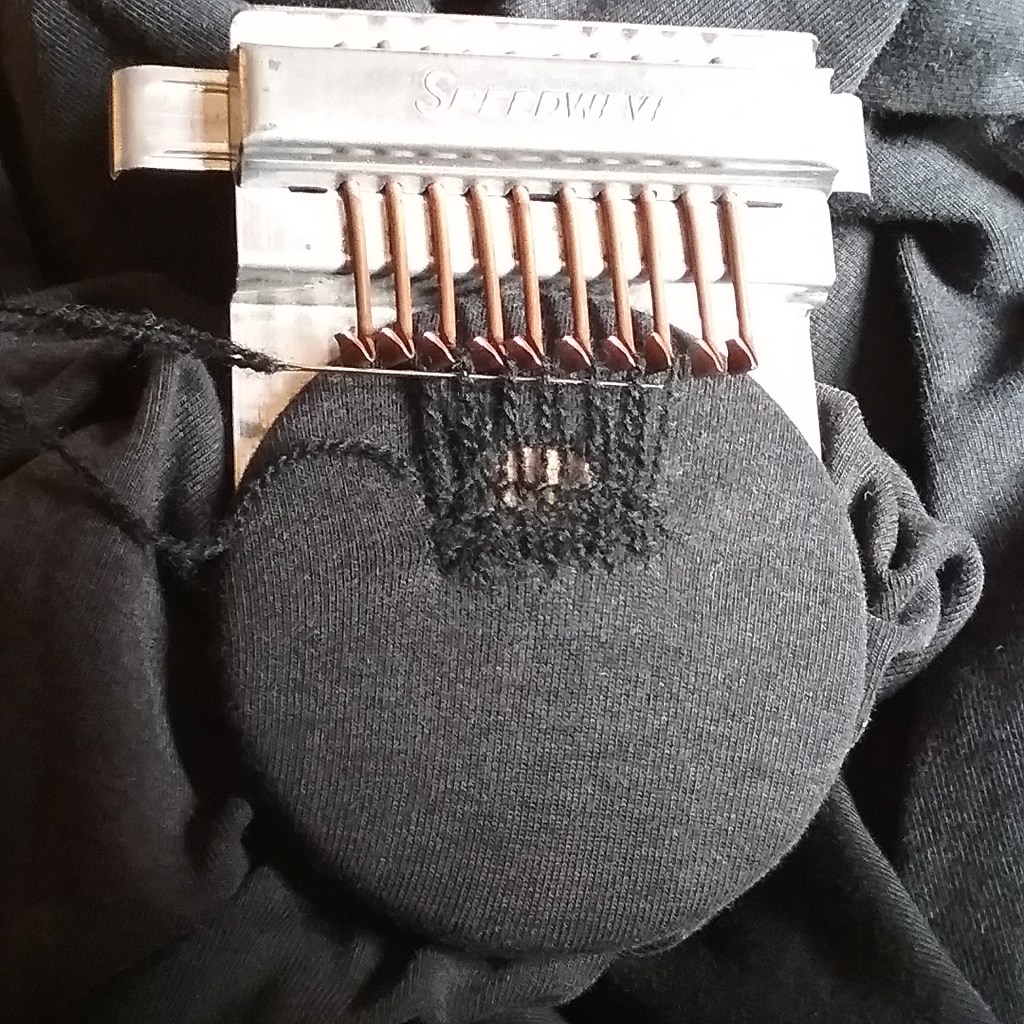
The instructions tell you to darn on the right side of the fabric, to place the wooden disc under the hole (as you would a darning mushroom) and use an elastic band to hold the fabric in place in the groove. Then slot the metal part into the groove and secure with another elastic band. I was weary of using elastic bands in case they snagged the fabric, so opted to use a hairband instead and manoeuvred it over both parts of the loom at once.
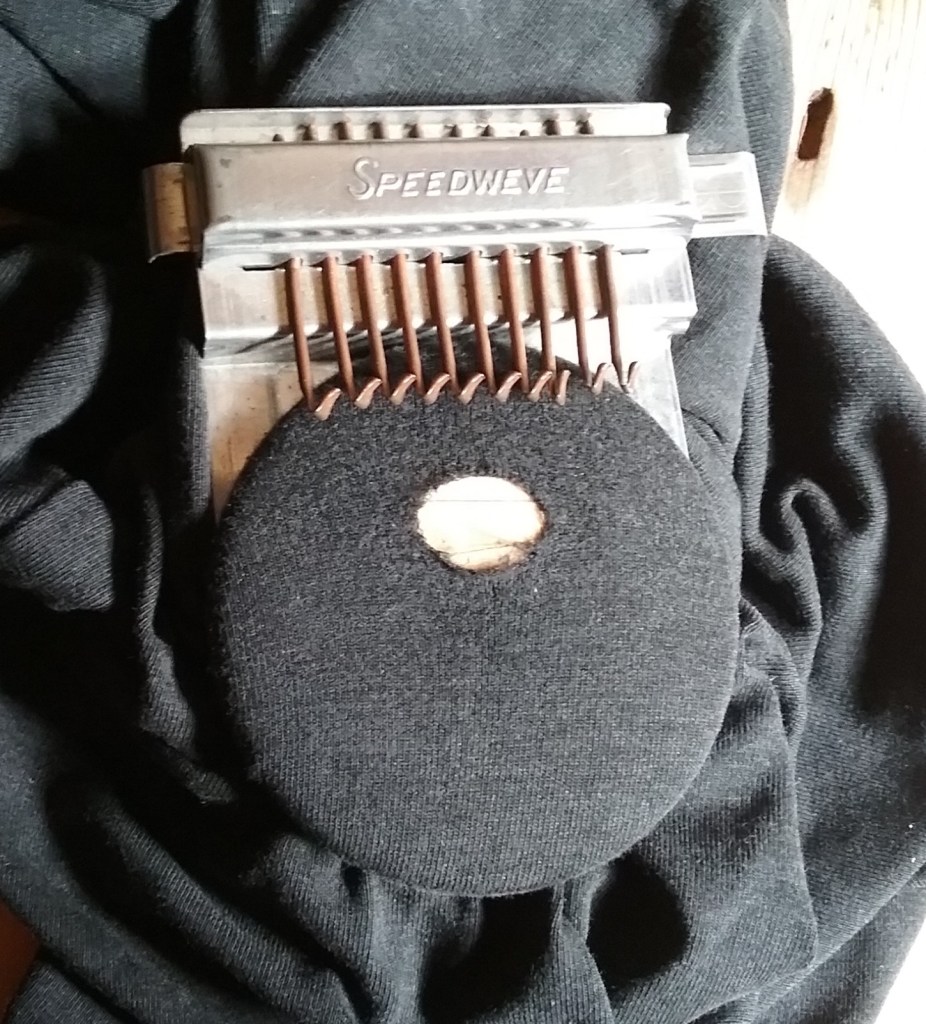
Next we need to add a warp. A thread is attached at a bottom corner of the hole, taken up around the hook directly above and back down to the base of the hole where a stitch is taken to secure it, before repeating the process across all hooks until the hole is covered. As you bring the thread back down from the final hook take another stitch at the base ready to begin weaving.
Step 2 – Adding the weft
The hooks on the loom attach to a bar that is pushed from side to side during weaving so they twist back and forth. This motion changes the warp shed as the right & left sides of the loops are lifted alternately every pass, just like weaving on a loom. This means the needle doesn’t have to be moved over and under the threads manually.
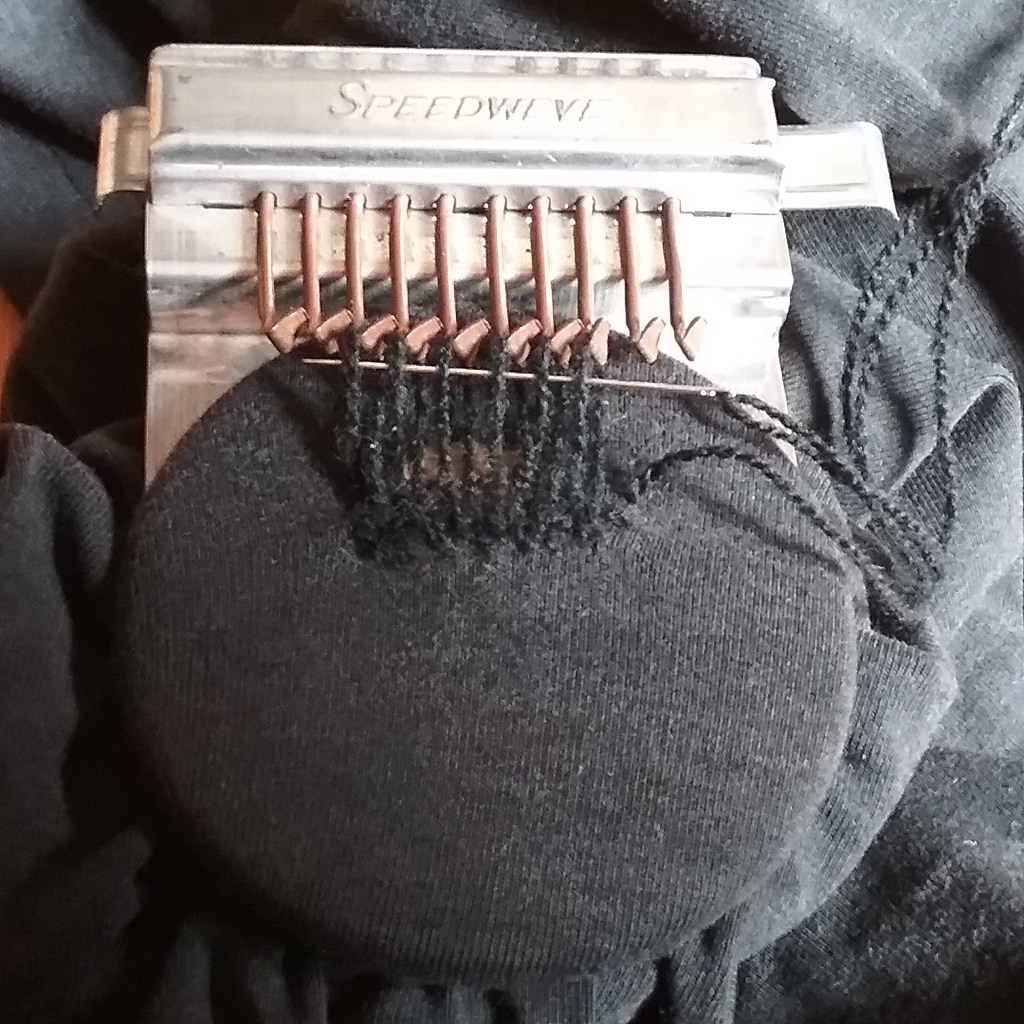
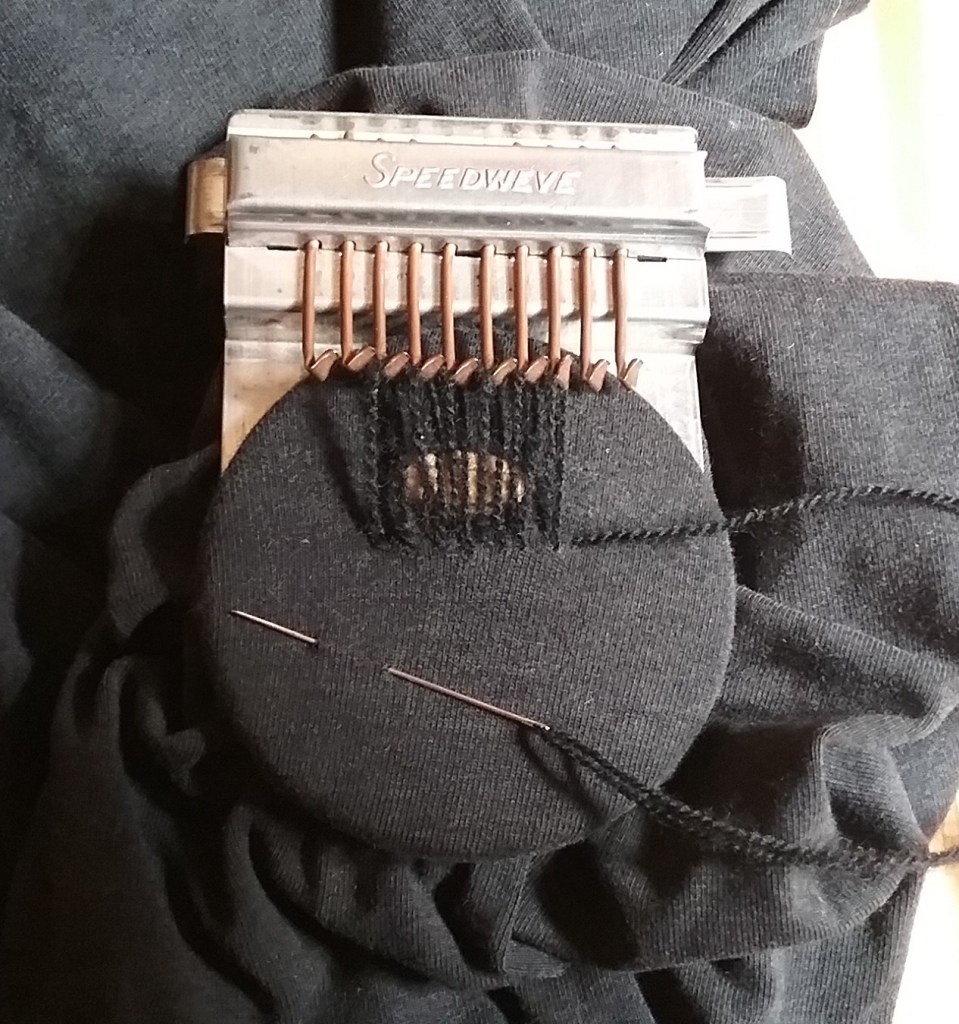
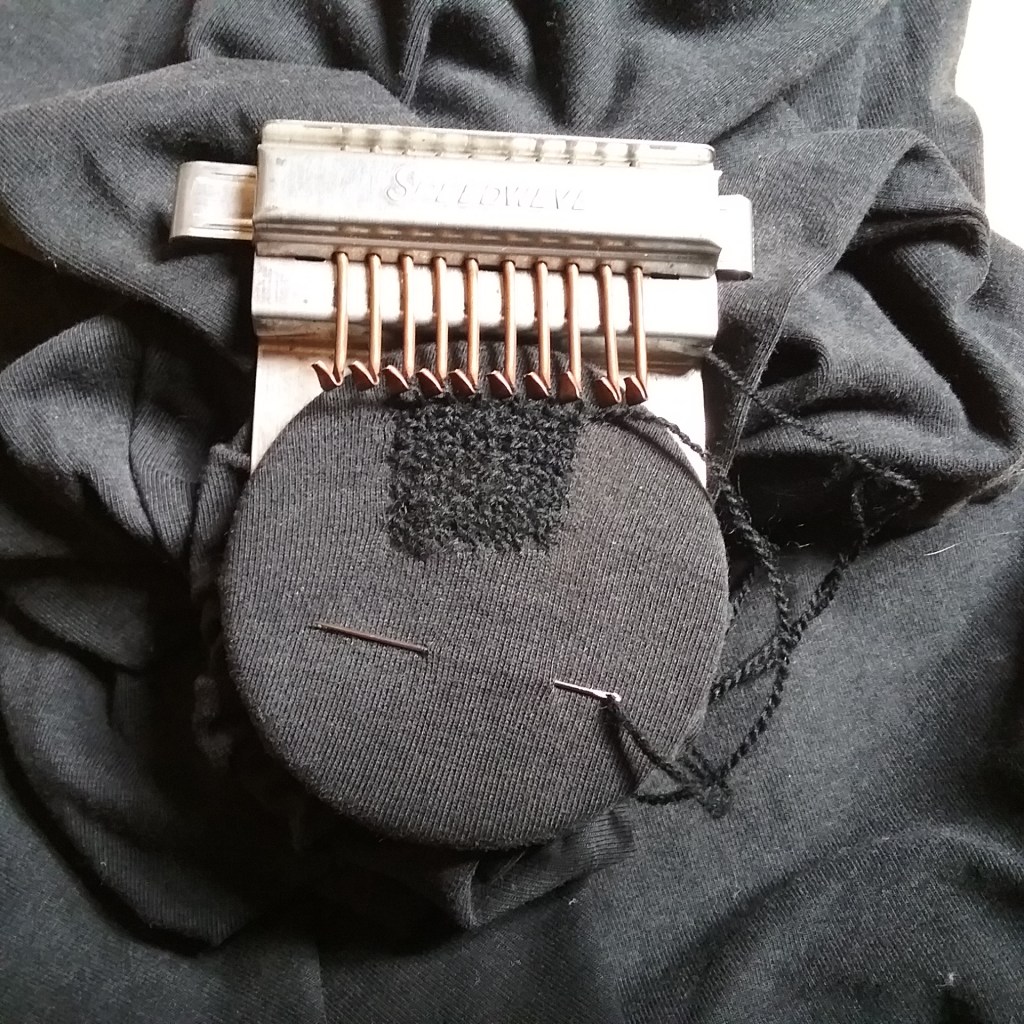
To begin weaving, ensure the hooks are facing either to the left or right and pass the needle through the shed created (under the raised threads). Pull the yarn through and take a stitch to secure it. Slide the hooks to face the other side, push the row you’ve just woven down with your needle and repeat the process back and forth until the hole is covered and the needle cannot pass through the shed any longer. It should look something like this:
Steps 3 & 4 – Finishing
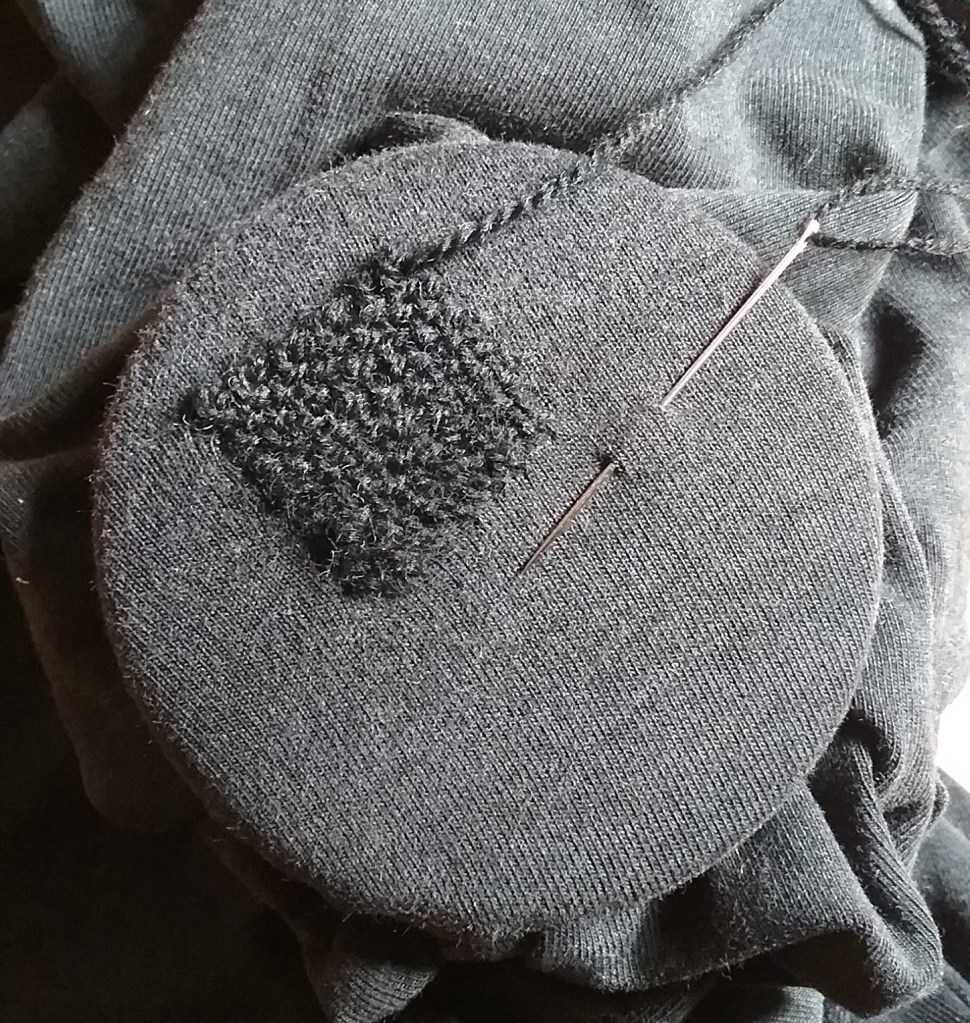
Push the slider so the hooks are central and remove the hooked part of the tool (this was a little more fiddly for me as I had to move the hairband off the metal section, take the hooks off and then put it back on the fabric). When the hooks are removed, the top of the loops are left behind. These can then each be secured with an overstitch along the row before casting off and removing the disc.
Reflections
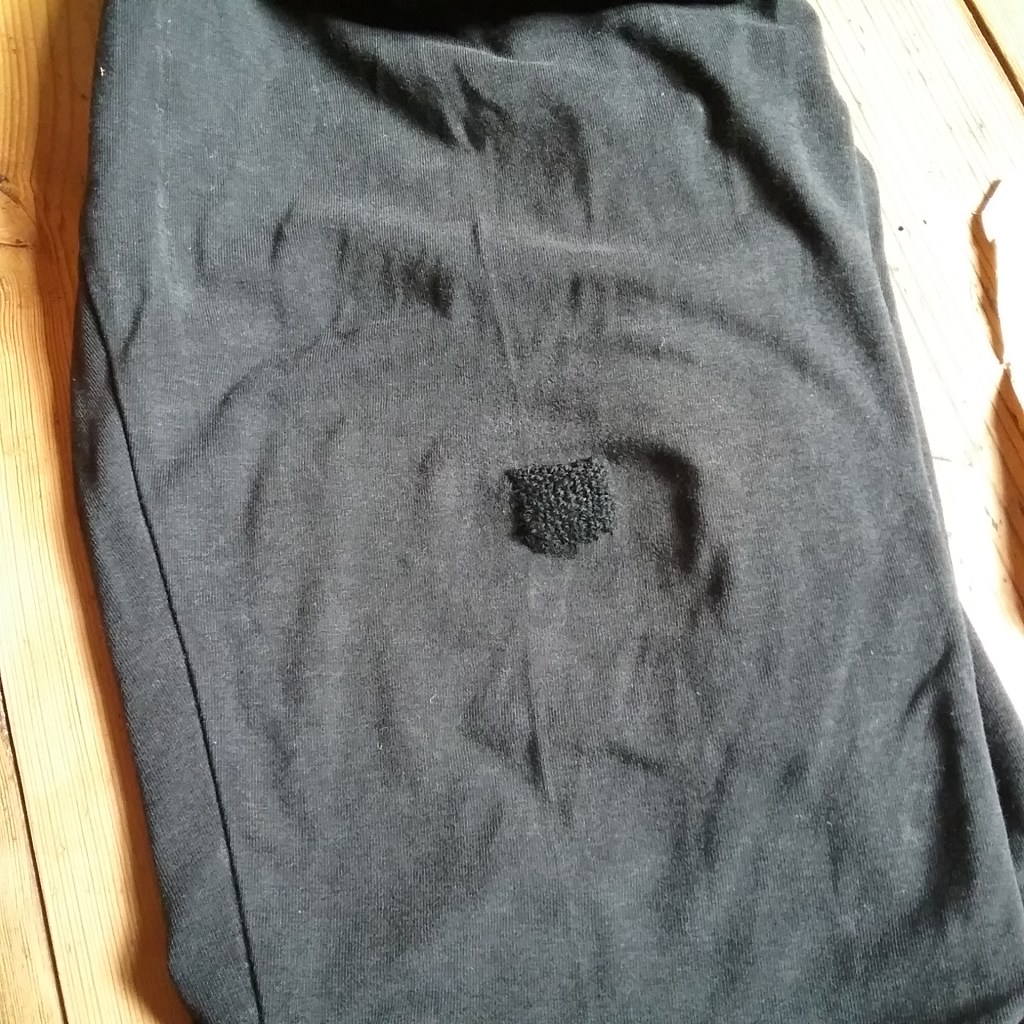
Much to my surprise the loom works rather well. As I was darning leggings, I expected the stretchy fabric to cause a problem, but the loom held it securely and kept the threads straight. When darning I would usually choose a thread of a similar size to that of the fabric, however since the hooks are a fixed size and space apart you need a minimum of a 2-ply yarn or the weave will be too open, but if the thread is too thick it will pop off the hooks (not so good if repairing thin weave linen or a thick jumper). I did find that on occasion my needle went through the middle of a warp thread rather than above or beneath it, which was difficult to see with the shadow of the hooks (though this may be because I was working with black).
On the whole I am impressed with the loom, it wasn’t as fiddly as I expected it to be, it kept the stitches even and the whole process only took me about 5 minutes, so I will definitely be using it again. Even though I used a thicker thread than I would normally have done, the darn isn’t too visible, and it will be interesting to see how well it holds up on a stretchy fabric.
If you’ve experimented with a darning loom and have any tips or tricks then I’d love to hear in the comments below.
Happy Crafting!

Very interesting especially as a youngster I was always darning socks with a mushroom most nights as socks were prone to were thin.
LikeLiked by 1 person