Despite loving the natural tones of wool, I also enjoy playing around with colour. There are lots of options to blend colours for spinning, felting or weaving:
- Spinning different rolags end to end or drafting two colours together
- Blending on hand carders
- Using a blending board
- Using a drum carder
All these methods have their pros and cons depending on what effect you want to create. Hand carders are cheaper, but only produce one rolag at a time. Drum carders can produce textured batts that are lovely to spin from, but are very expensive. Blending boards can create both rolags, roving and mini batts, but are also quite pricey. Being on a tight budget I decided I would have a go at DIYing a blending board for less than half the price of a new one with some added extras.
The basics you will need:
- 30x30cm Carding cloth (I purchased mine here)
- A wire slicker dog brush
- A wooden tray or chopping board larger than 30x30cm
- A staple gun or screws
- A round dowel or a pair of long chunky knitting needles
Disclaimer-Please consider your safety and use common sense when working with the above equipment.
Basic Building:
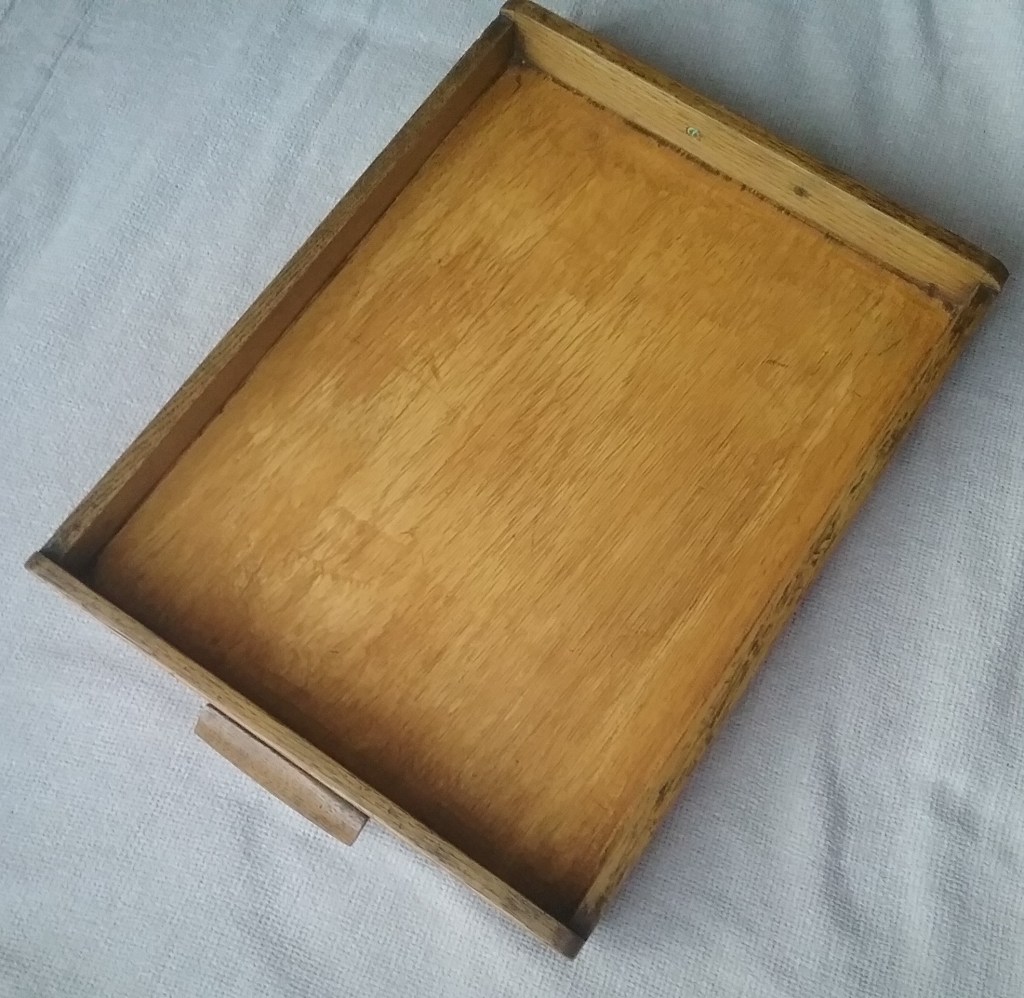
For my board, I salvaged an old wooden tray that belonged to my great grandmother and was sitting on the firewood pile. It was quite scratched and in need of some TLC, so I sanded it down and finished it with some oil. You could also use an old wooden chopping board.

When my carding cloth arrived, I laid it out on the back of the tray and centered it. Using the staple gun, I then put a staple in the top two corners and worked my way along the top edge. Making sure to stretch the cloth out flat I then stapled the bottom corners, before continuing to staple the other edges. It’s advisable not to use glue to adhere the carding cloth as it hinders the flexibility of the backing cloth and makes the teeth go rigid. If you don’t have a staple gun then you could perhaps use screws instead.
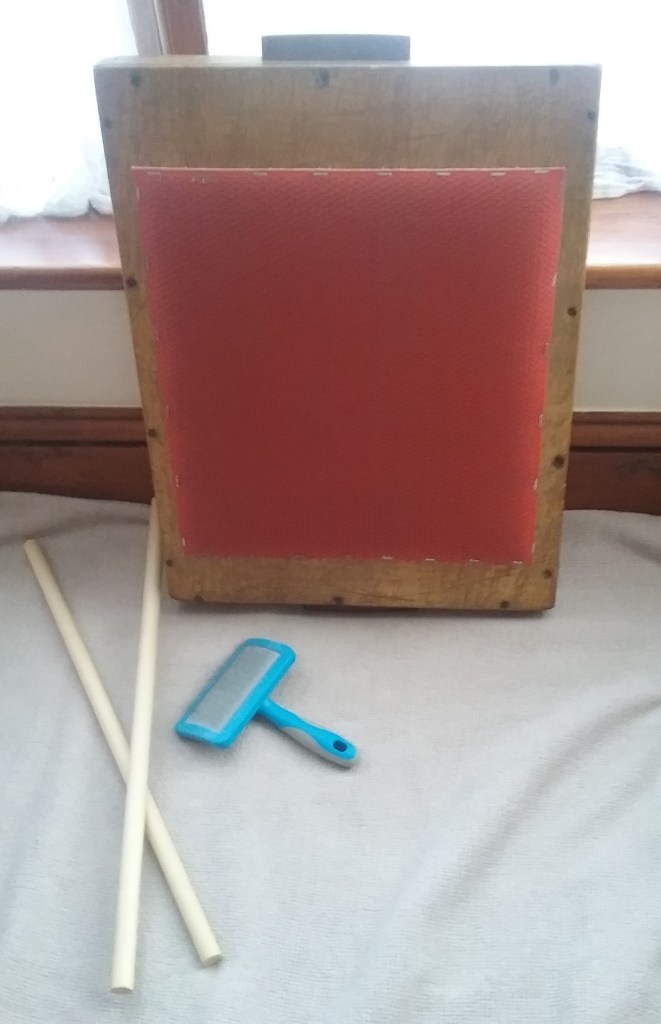
I purchased my dowel in one length, so I cut it in half so it was just wider than my tray as you need to be able to get a firm hold of the dowels when creating your rolags. If you have a pair of long chunky knitting needles lying around then you can use these instead of dowel.
At this point the blending board was perfectly useable and I (and my friends!) became impatient to play around with some acid dyed fleece I’d bought from a small business owner at a local craft fair (I’m not keen on acid dyes, however I haven’t had time to try natural dyeing and do believe in supporting small businesses). I do have some other customisations I want to make to it which I will post in a part 2 at a later date.

If you’ve never used a blending board before then I recommend Ashford’s ‘how to‘ video, however I use my DIY board a little differently, so will make a post about how I use it soon.
Happy Crafting!

It is nice to see the different ways people make their own blending boards as they are quite expensive to purchase. I bought my fabric from a company in Holland as when I worked out all the UK costs, it ended up being cheaper in the end as I paid in Euros. I also had the hubs make the board as he had some leftover plywood. I don’t spin, but I do make batts for scarves with any leftovers I have lying around and recently used some as the top layer for a pair of slippers. Have fun with it! 🙂
LikeLiked by 1 person
I’ve not done much felting before, but I’m excited to try it out with a blended batt when I have the time – it’s such a good way of using up bits and bobs! Fibre crafts shouldn’t require lots of expensive equipment, most ‘extras’ can be DIYed cheaply and effectively and you have the opportunity for customisation (when I stop playing around with my board for long enough I’ll have time to finish it properly and showcase my added extras in a Part 2 post!). 🙂
LikeLiked by 1 person