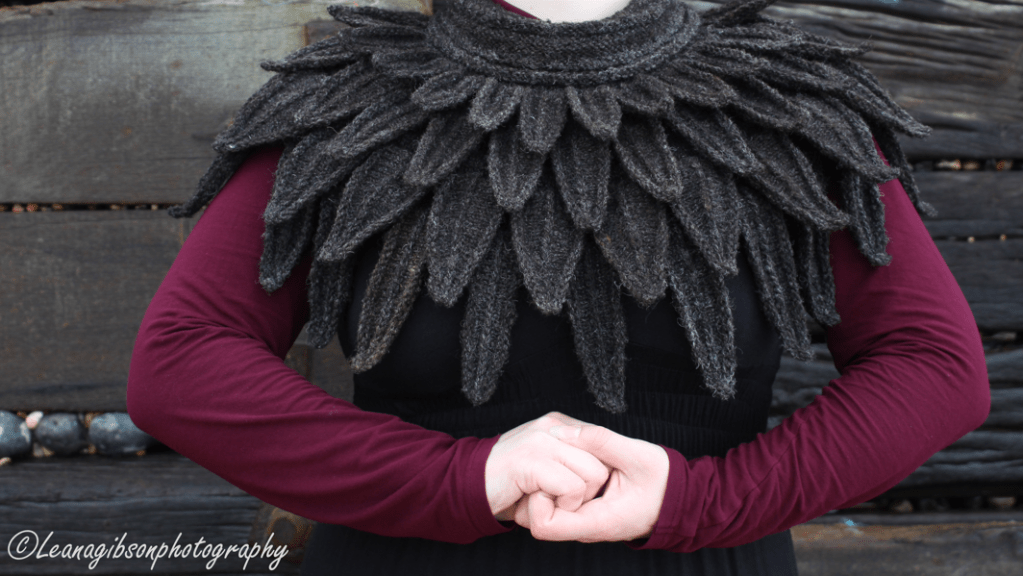
Earlier this year I knitted the Eagle wrap from Alice Starmore’s Glamourie and waxed lyrical about the other patterns in the book. The raven poncho was the design that first grabbed my attention as I thought it would be a perfect project for my Black Welsh Mountain. Though the poncho is beautiful, I was most interested in the feathered collar portion, so was very happy to discover that Starmore has created a version of this herself. Something I love about the Glamourie book is how you are encouraged to take the bare bones of the patterns to tweak and adapt what you make, with the beautifully intricate costumes serving as inspiration. For anyone wanting to make this there is a specific pattern available on Starmore’s site, however I knitted the 3 layers as per the Glamourie book and then improvised the fourth layer based on these.
Those of you following along with my BWM journey so far will know that this fleece wasn’t the best quality and I combed it to remove broken fibres, however the resulting yarn was still on the slightly coarser side. So why use it for this project?
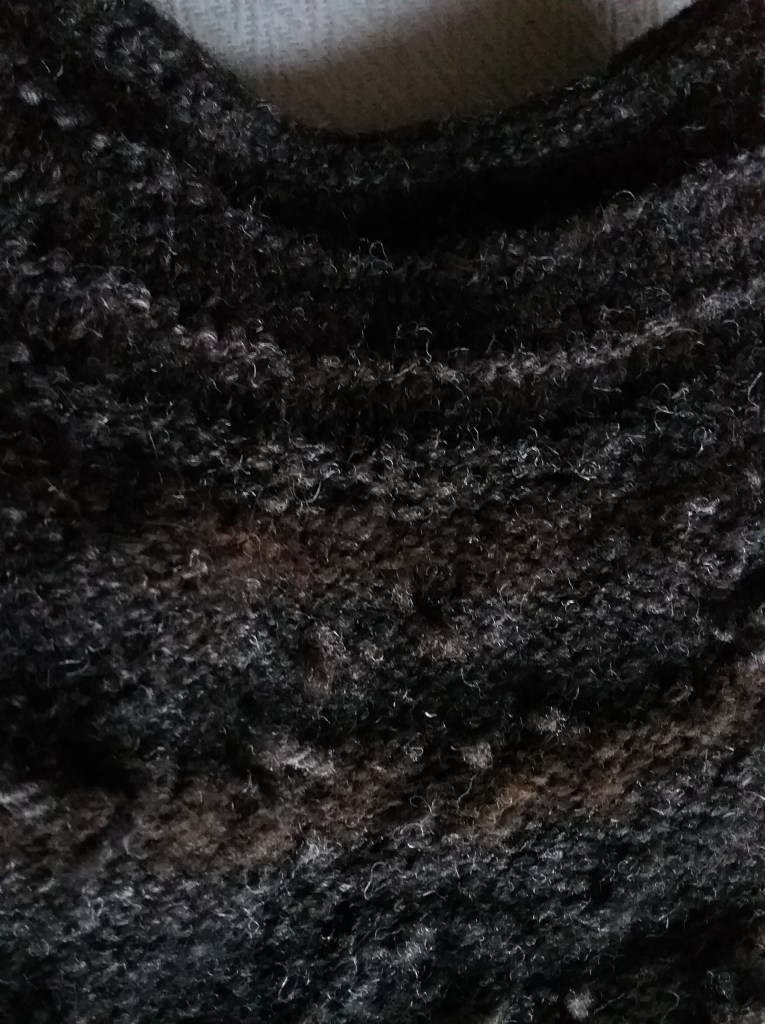
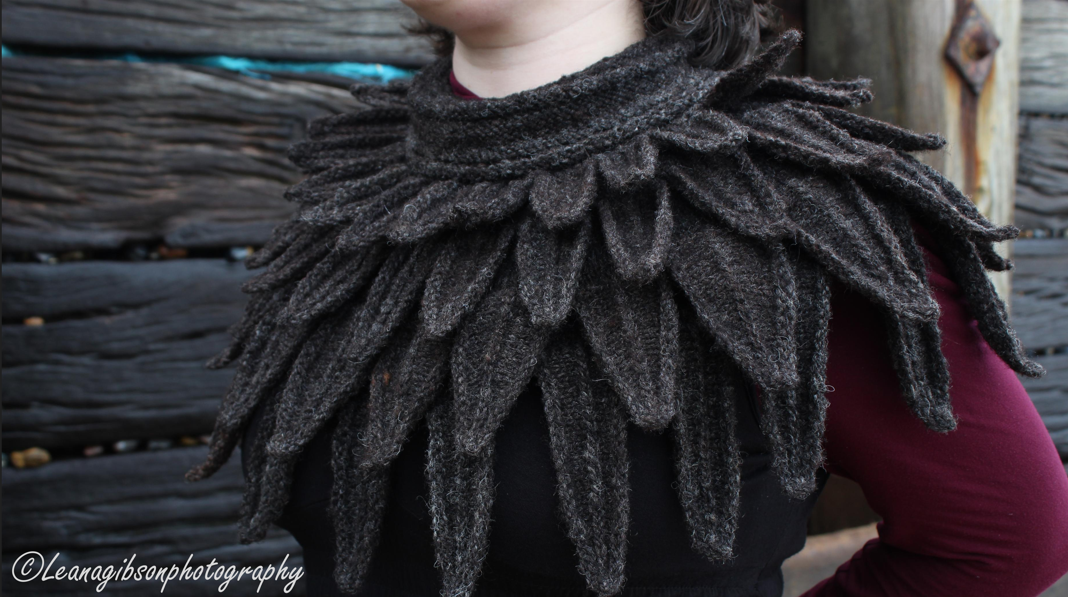
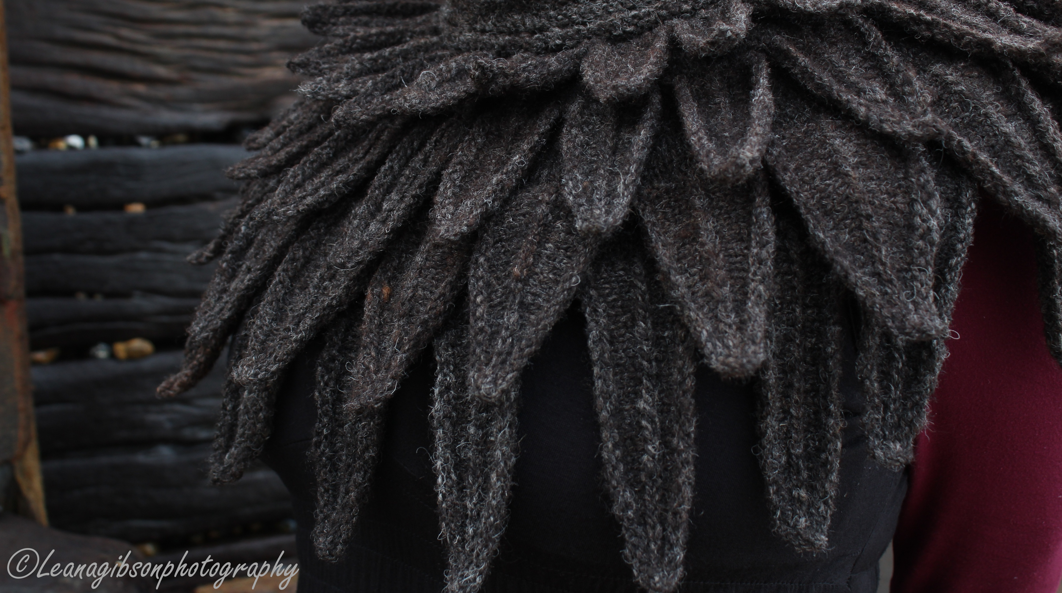
The most obvious reason was the colouring; though the feathers of Scottish ravens that Starmore is replicating are blue tinged, my BWM has tinges of white and grey that do interesting things when they catch the light, much like the feathers of corvids. The slightly coarser nature of the yarn meant it had more stiffness to it, which would help give the collar a more feather-like structure (a drapey yarn would make the feather’s floppy) and also showed off the vein pattern well. Finally, since the collar is not designed to be a next to skin garment, coarser or itchy fibres wouldn’t be a problem. When combing and spinning I’d also separated out the softest fibre to spin a ball of wool specifically for use on the neck portion of the design.
Knitting Feathers
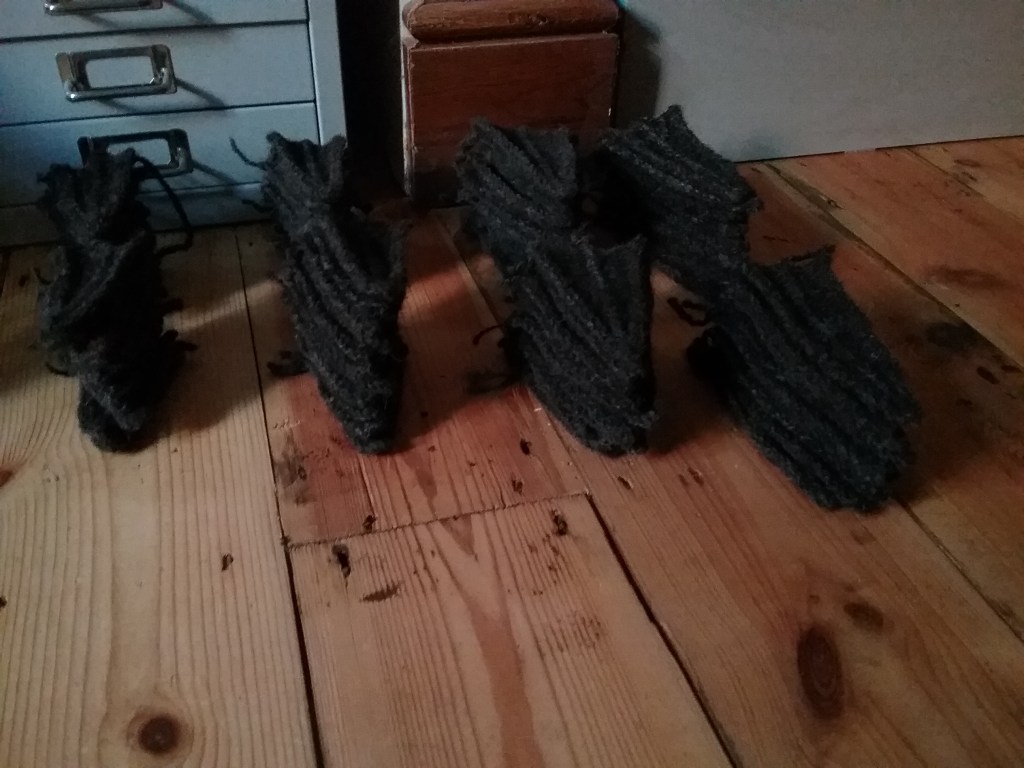
And thus began a long journey knitting 84 individual feathers of different sizes. I love constructional knitting projects, but even after reading through the pattern, I couldn’t quite visualise how the feathers would come together, so it was quite magical watching the first feather evolve before my eyes! I found the pattern easy to follow, although I couldn’t fathom out how to slip the stitches in the correct orientation for the purl double decreases, so ended up using a cable needle to swap stitches, which worked just as well (though I am still so curious how to do this on two needles!). At the start of the fourth layer of feathers, I was running low on yarn and was slightly concerned that I wouldn’t have enough, but somehow finished with yarn to spare!
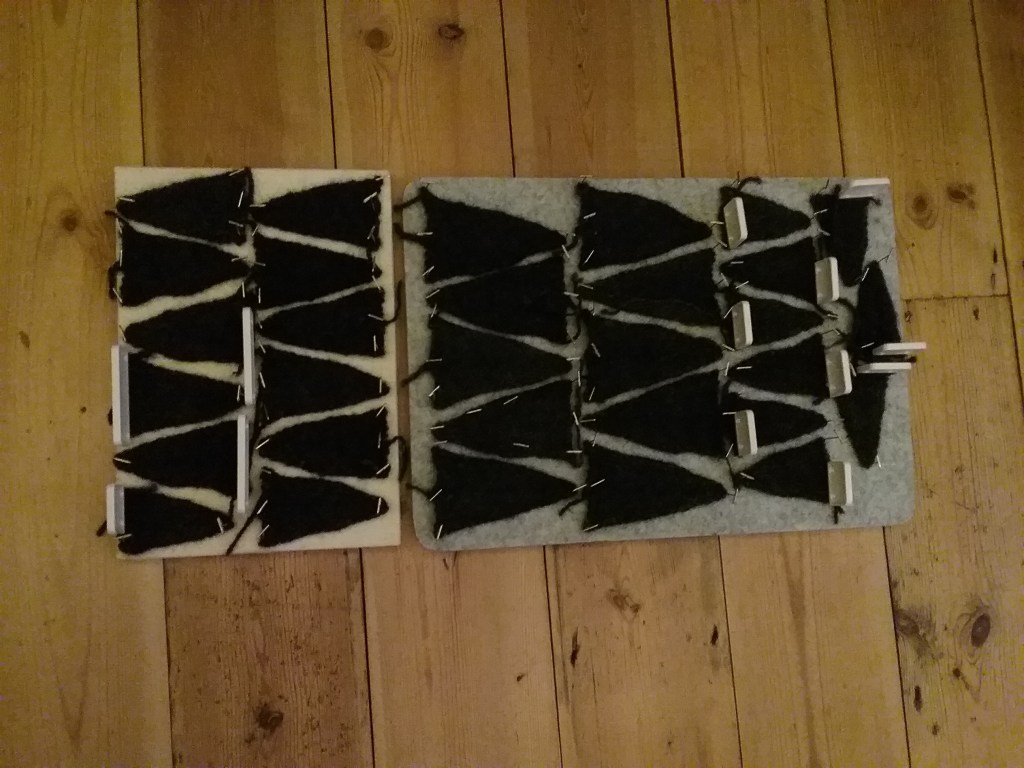
Then came the challenge of blocking. I returned the blocking mats I borrowed for my eagle wrap, but realised that I could use my wool felting mats as a more natural option than foam and block the feathers in batches. I purchased some blocking pins from Hobbycraft and also saw an A3 ironing mat made of wool, so I bought that too (I seem to end up working on my sewing projects on the floor, so thought it would also save me moving back and forth to an ironing board to press seams in the future!). The mats worked well for blocking and unlike foam, the pin holes can ‘rub out’, the only limit being the mat size.
Joining the Layers
Once all the feathers were dry it was time to join them together. This required some calculating for the fourth layer I was improvising, since this layer was knitted first. Unfortunately I was so wrapped up in my stitch and decrease calculations that I didn’t notice the instruction to knit several rows before joining the next layer in the book, so had to frog my first two rows and start again – oops! I found using two sets of circular interchangeable needles incredibly handy for this portion; they are more flexible when joining layers of feathers together and when I accidently left two feathers behind (and didn’t notice until I reached the end of the round too early!), I was able to swap the needles to the other end of the cable and join them on without having to unravel everything.
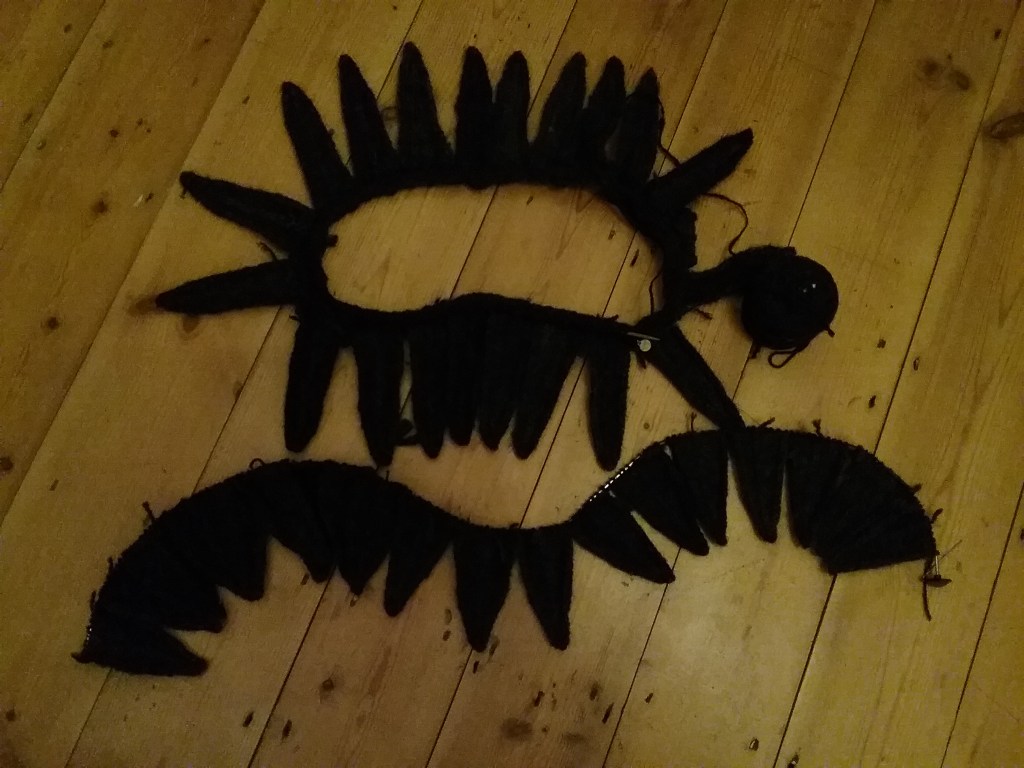
Since my yarn was limited for this project, I decided that I would swap to Zwartbles yarn for the rounds that would be hidden underneath each layer of feathers. This worked well since any colour variation showing through to the front looks like down feathers (although it’s visible as stripes from the inside).
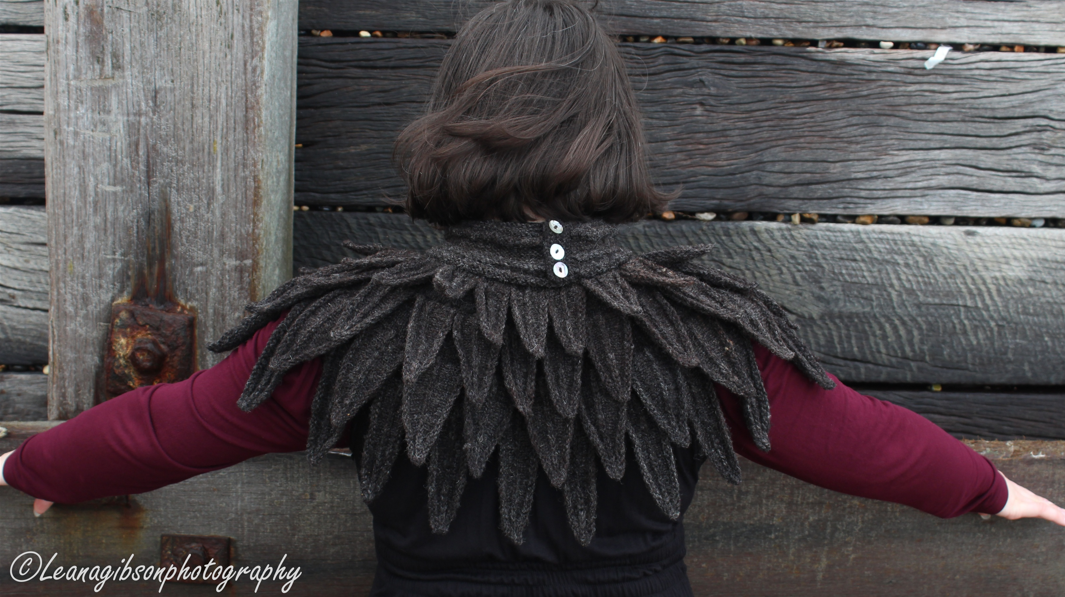
Once all the layers were assembled I tried the collar on before working out the neck. The neck portion given in the book is more rounded and bumpy, while Starmore’s collar version has a more ruffled appearance and buttons, which I prefer. After examining the pictures closely I felt the ruffle effect was achieved in a similar way to joining the feather layers, while also knitting back and forth for the buttons rather than in the round. At which point I put the pattern down and proceeded to completely wing it. I’d been working on this project much longer than I’d anticipated and was onto my last ball of yarn, so rather than trying to work out ruffle combinations that I might not have enough yarn for, I decided to just go for it. To avoid wasting yarn I worked from both the outside and inside of the ball, making sure I checked I was happy with the position and look of each ruffle before cutting the yarn and attaching it. I would then try on the collar and decide what to do for the next 2-3 rows.
Knitting more instinctively like this gave me an interesting collar pattern that I wouldn’t have thought to plan, and also allowed me to work some additional decreases to better fit my neck that I probably wouldn’t have fiddled with had I been following the pattern.
Finishing Touches
To close the collar I opted for some vintage abalone buttons and picked up and knitted a quick placket to cover them. I then wove in the ends before sitting the collar on my mannequin overnight to rest in position, and finally the project was finished…
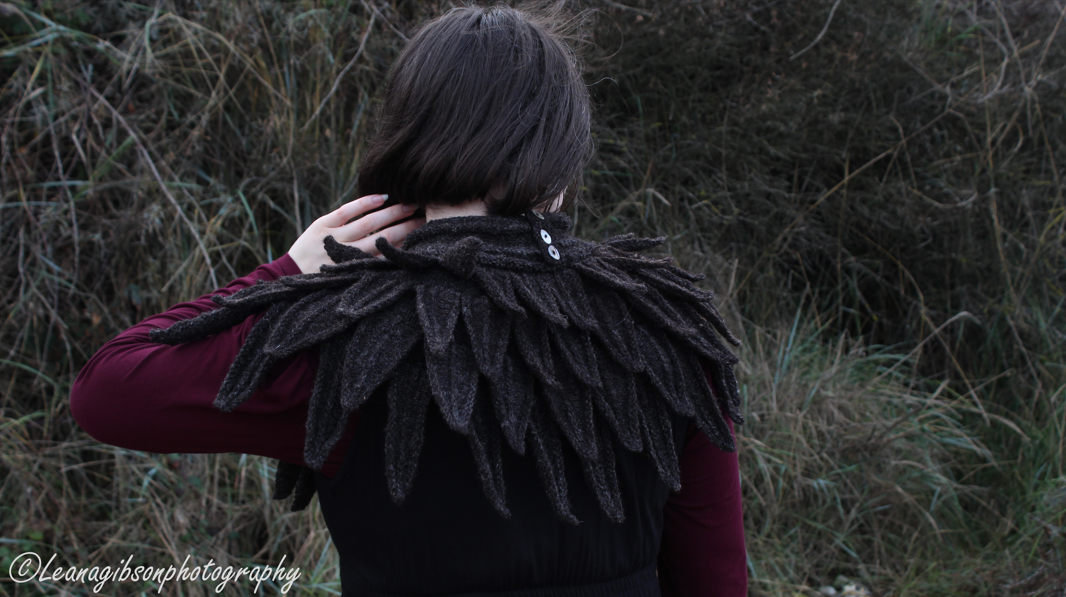
A massive thank you to the wonderful @leanagibsonphotography for another amazing photoshoot – narrowing it down to a few images to share was incredibly difficult as I had so many favourites!
I also have a video showing the whole process of making from raw fleece to collar:
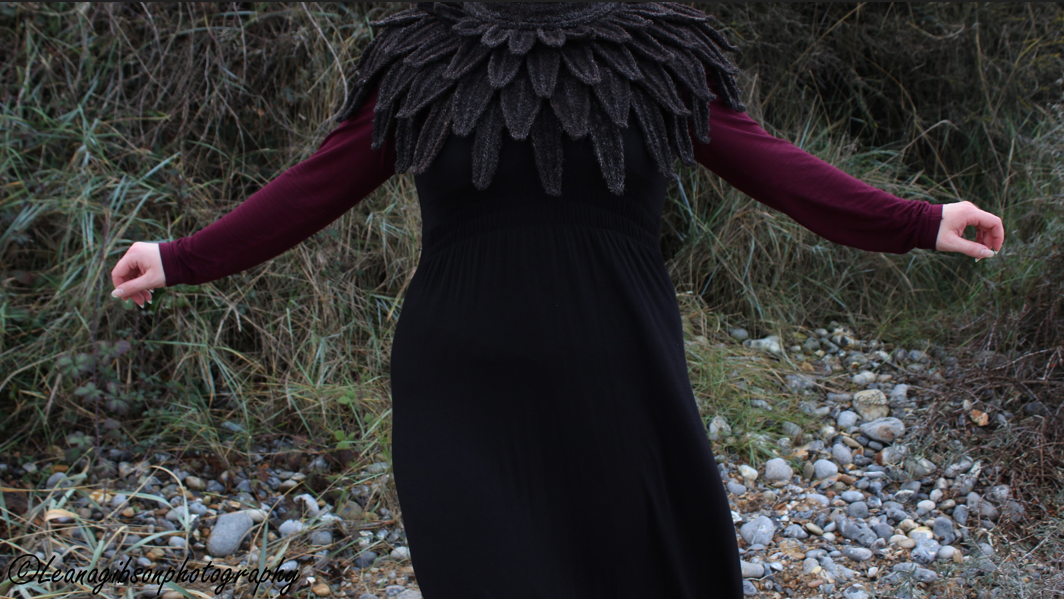
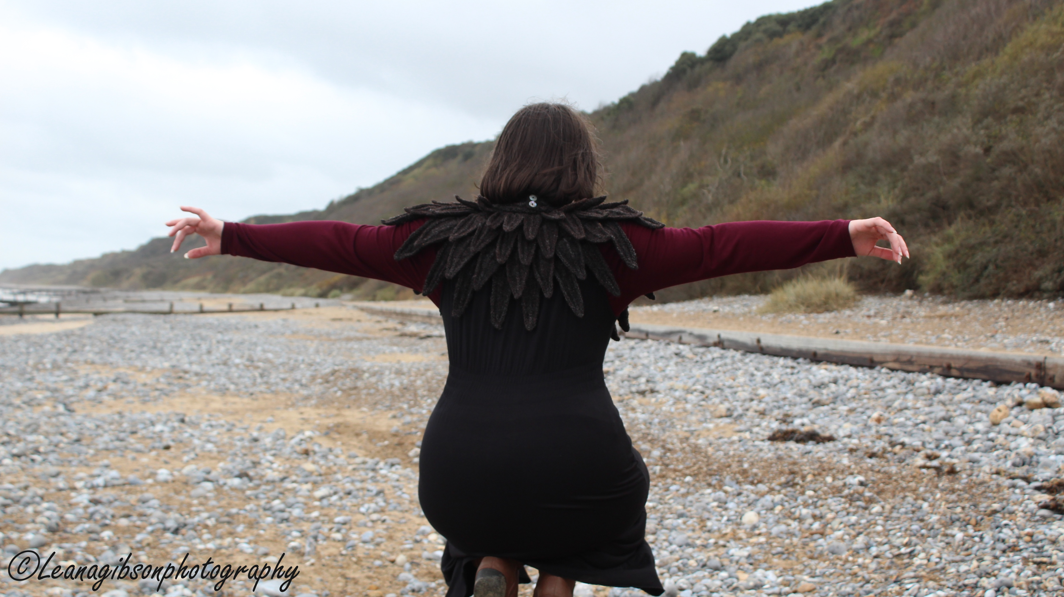
I am very pleased with how this project turned out. I believe every fleece, however imperfect can be turned into something useful or beautiful (or both!) and this is might now be my new favourite accessory. It’s practical – keeping me warm under multiple layers of wool, dramatic enough to dress up any outfit and I’ve learnt some new knitting techniques. So, if you have a fleece that isn’t the best quality, but isn’t bad enough to compost, I hope this inspires you to experiment and see what you can make or learn from working with it.
Happy Crafting!

Wow, that is quite the project and fashion statement!! It looks like something from an historical TV series. So cool.
LikeLiked by 1 person
Thank you! I walked past a very confused seagull during the photoshoot, so it must do the job! It was definitely one of those projects you look at and question – can I actually do that?! but Alice Starmore has some beautiful patterns, many of which are a little more everyday than this but have some nature inspired flair.
LikeLiked by 1 person